
Nothing dates a bathroom or kitchen faster than tired grout. The tiles might be perfectly fine — sturdy, classic, still level — but when the grout lines are cracked, stained, or crumbling, the whole room looks neglected. Learning how to regrout tile is one of the highest-return DIY projects you can take on: a weekend of work that can make a room look freshly remodeled, without tearing out a single tile.
Regrouting means scraping out the old, failing grout and pressing new grout into the joints. It’s dusty, a little tedious, and entirely doable for a first-timer. This guide walks through the whole job: when it’s worth doing, what to buy, how to get the old grout out without chipping your tile, how to float in the new grout, and how long to let everything cure before you seal it. The payoff is real — and if you’ve already tackled something like a budget kitchen backsplash, you’ve got more skill than this job asks for.
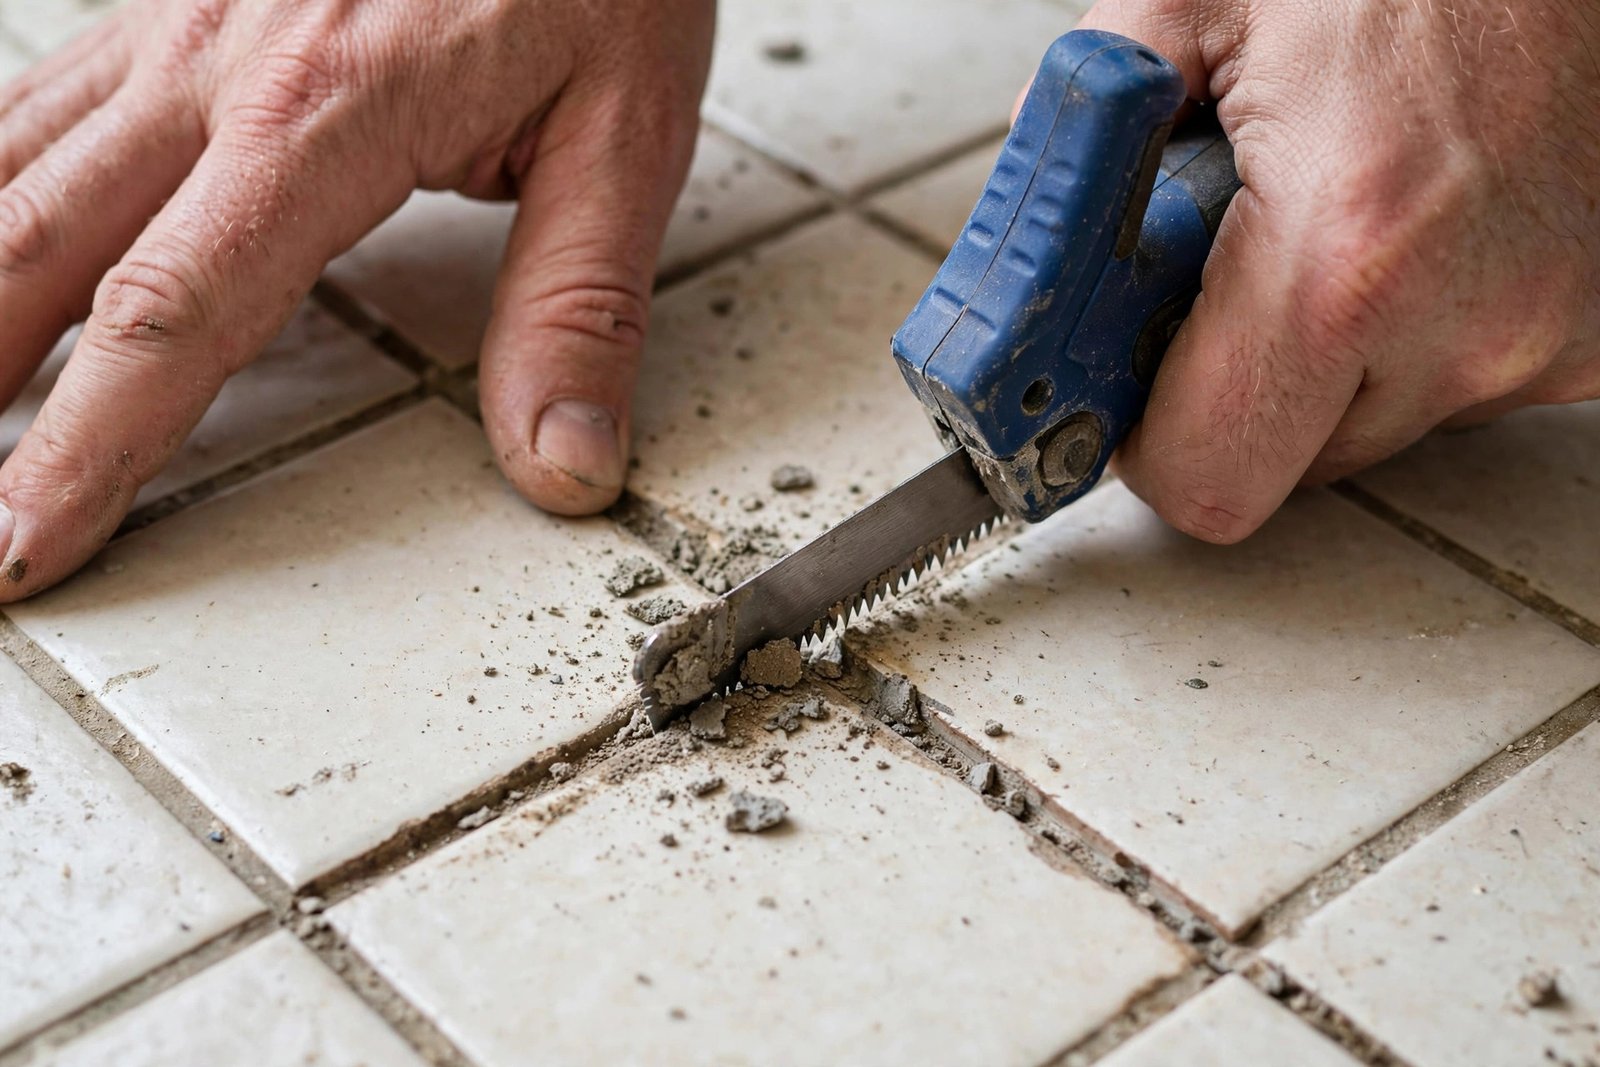
When Regrouting Is Worth It (and When You Should Re-Tile Instead)
Regrouting is the right call when the tile is sound but the grout has failed. Cracked, powdery, or permanently stained grout lines are exactly what this job fixes. It’s also the answer when a previous owner picked a grout color you can’t live with — pulling the old grout out and putting in a fresh color changes the whole look of the surface.
Re-tile instead when the problem goes deeper. If tiles are loose, wobbling, or hollow-sounding when you tap them, the adhesive bond has failed and new grout won’t hold them. If you can see water damage, soft drywall, or mold behind the tiles, you’re looking at a demolition and rebuild, not a cosmetic fix. And if the tile surface itself is badly cracked or the layout is a 1970s relic you hate, regrouting is good money after bad — save it for the full renovation.
The honest middle case: grout that’s just dirty. Try a real deep clean first — an oxygen-based cleaner and a stiff brush can revive grout that only looks dead. If the lines are cracked or falling out, though, cleaning won’t fix it. Time to regrout.
Tools and Materials You’ll Need
Gather everything before you start, because once grout is mixed, the clock is ticking. You’ll need:
- Grout saw (manual) or oscillating multi-tool with a grout-removal blade — for digging out the old grout. The manual saw is cheap and precise; the multi-tool is faster but needs a steadier hand.
- New grout — matched to your joint width (more on choosing below).
- Grout float — the rubber-faced trowel used to press grout into joints.
- Grout sponge — the big, dense cellulose sponge designed for tile work.
- Two buckets of clean water — one for mixing, one for rinsing the sponge.
- Grout sealer — a penetrating sealer for cement-based grout.
- Painter’s tape, safety glasses, and a dust mask — grout dust gets everywhere, and silica dust is no joke.
- Old towels or drop cloths, a utility knife, and a putty knife — for protecting surfaces and tight corners.
- Grout haze remover — optional, for any film left after cleanup.
For mixing, a margin trowel or a small mixing paddle on a drill keeps the grout lump-free.
Step 1: Remove the Old Grout Safely
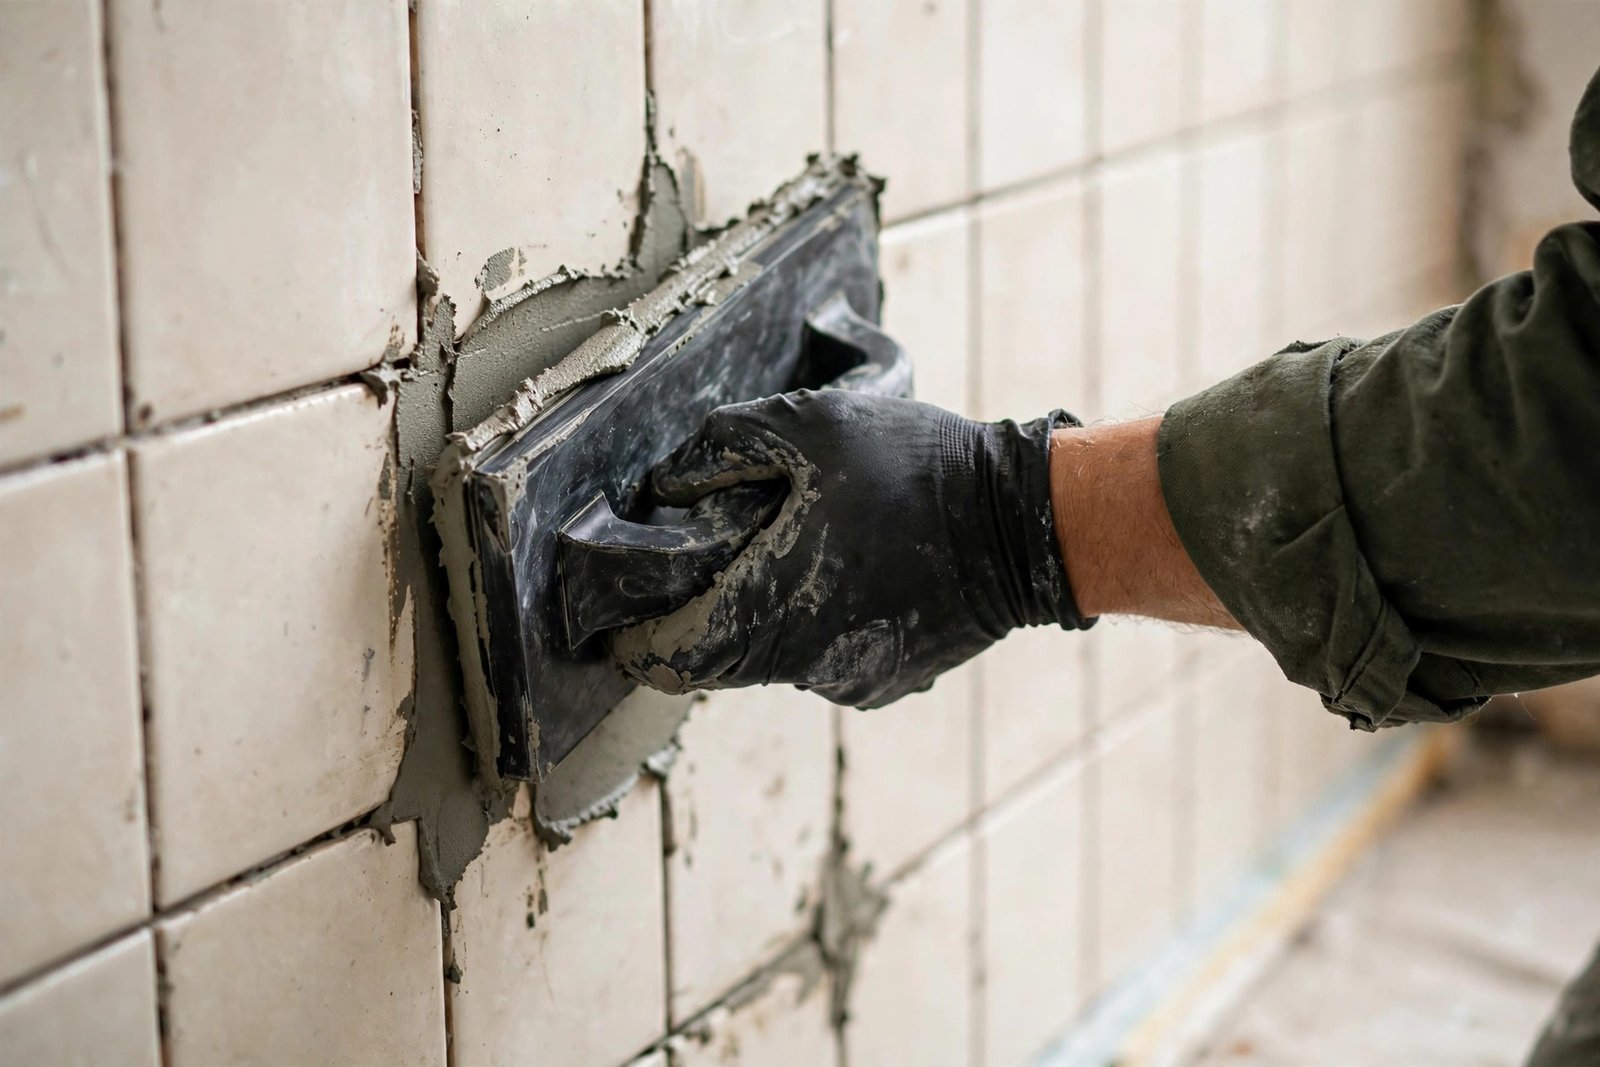
This is the longest part of the job, so settle in. Tape off the tile edges adjacent to your work area if you want extra insurance, put on your safety glasses and dust mask, and start with a test patch in the least visible corner.
A manual grout saw — a small handle fitted with a carbide blade — is the safest way to start. Saw back and forth down the center of each joint, at a slight angle so you don’t ride up onto the tile glaze. For a small bathroom floor or backsplash, the manual saw is all you need, and doityourself.com’s floor-tile regrouting guide walks through the same section-by-section removal technique.
An oscillating multi-tool with a grout-removal blade does the same job in a fraction of the time on larger floors — but a slipping blade can gouge a tile edge in a second. Keep the blade centered in the joint, use a light touch, and slow down at corners. Vacuum as you go; grout dust is fine, abrasive, and settles into everything nearby.
How deep to go? Dig the old grout out until the joint is clean and deep enough for the new grout to grip — fresh grout needs something to bite into. Brush or vacuum the joints clean when you’re done; dust left in the joints weakens the bond.
Step 2: Choose the Right Grout
The grout aisle is where regrouting jobs get quietly ruined. Buy the wrong type for your joint width and it’ll shrink, crack, or scratch your tile. There are three main players:
| Grout type | Best joint width | Best for | Typical dry time | Notes |
|---|---|---|---|---|
| Sanded grout | 1/8 in. and wider | Floors, wide joints | 24–48 hours | The sand makes it dense and durable with minimal shrinkage — but keep it away from glass, polished stone, and glazed tile, which the sand can scratch. Needs sealing. |
| Unsanded grout | 1/8 in. and narrower | Walls, narrow joints, delicate tile | Up to 72 hours | Smooth and easy to work with, but it can shrink and crack in wide joints. Angi notes wall tile joints should be no wider than 1/8 in. with unsanded grout. |
| Epoxy grout | Narrow to wide (check the product label) | Showers, high-moisture and high-traffic areas | Around 24 hours | Extremely stain-resistant and waterproof; no sealer required. Pricier and less forgiving to apply — mix only what you can use before it starts to set. |
The joint-width rule is the one that matters most: unsanded grout in wide joints shrinks and cracks; sanded grout’s abrasive particles can scar delicate tile. If you’re regrouting a shower — the wettest, harshest environment in the house — epoxy is the premium choice because it doesn’t need sealing and shrugs off moisture. For a kitchen backsplash where you picked your tile on a budget, plain sanded or unsanded cement grout (matched to joint width) does the job beautifully.
Pick your color deliberately. Light grout shows dirt and needs sealing discipline; dark grout hides grime but makes a small room feel smaller. If you’re on the fence, buy two sample cups and grout a test joint of each before committing.
Step 3: Mix and Apply the New Grout
Mix only as much grout as you can apply in about 20–30 minutes — mixed grout starts to set in the bucket. Add the powder to the water, stir to a thick peanut-butter consistency, then let it rest for about ten minutes — this rest, called slaking, lets the water fully soak into the dry ingredients — and give it one final remix. Never add more water after slaking to loosen it up; you’ll weaken the final grout.
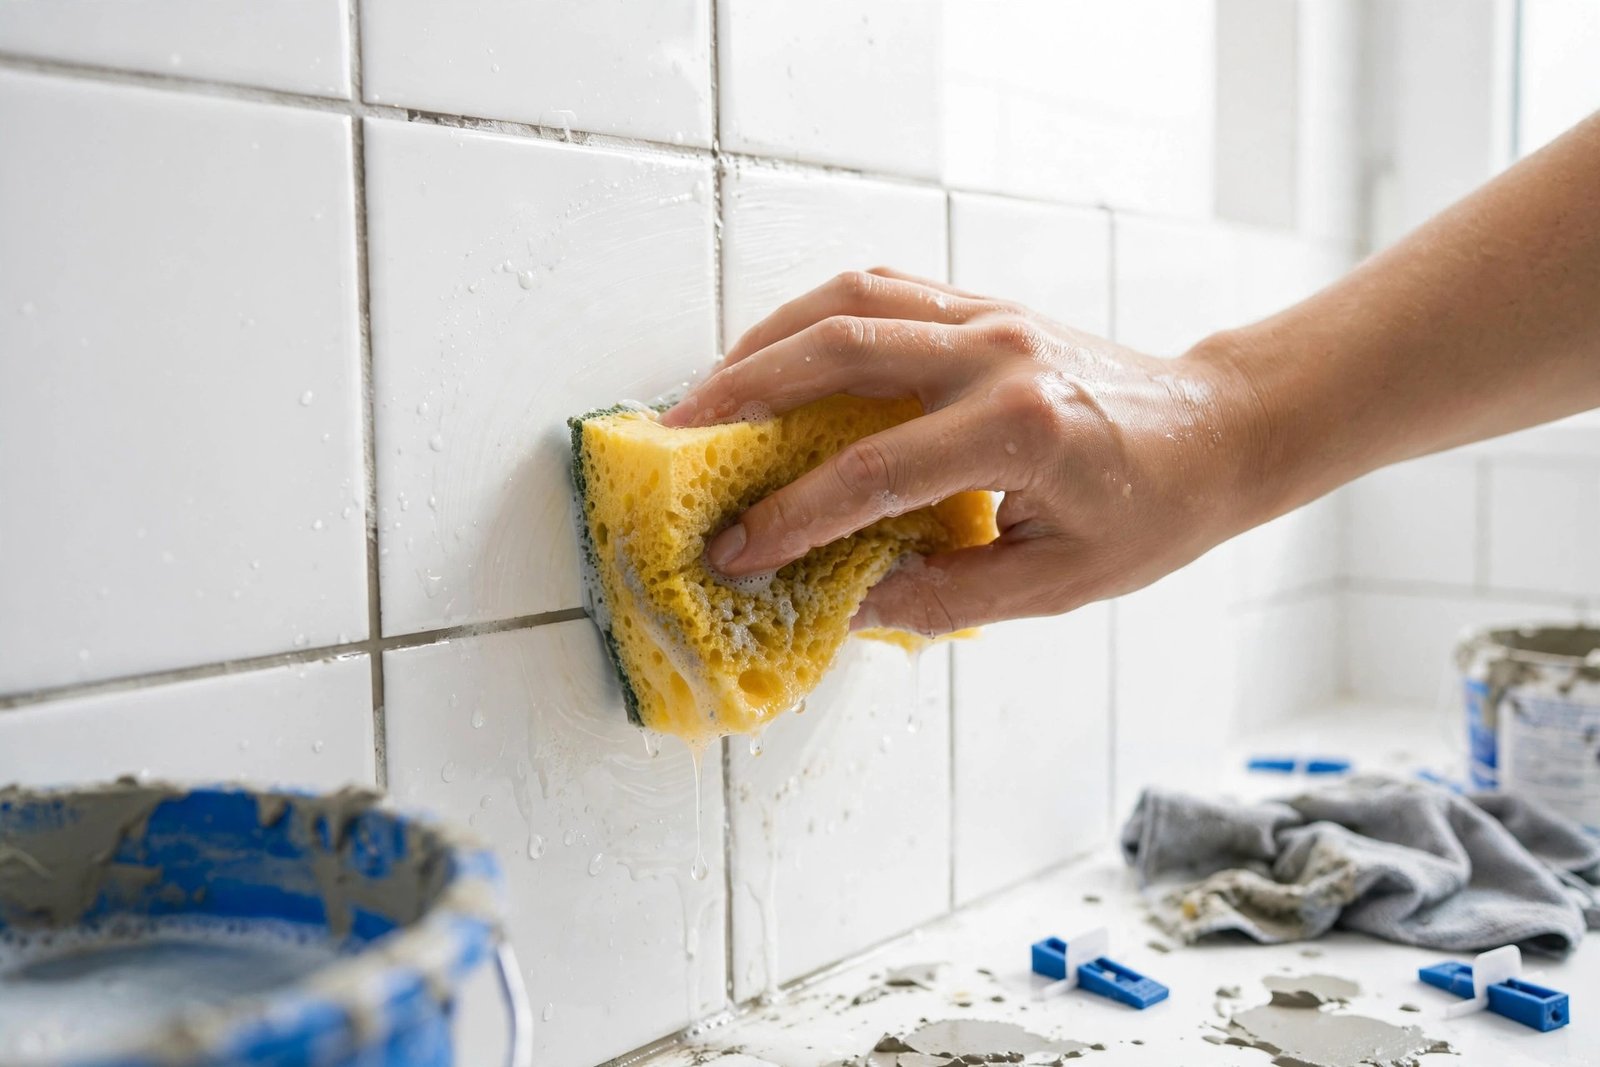
Home Depot’s tile-grouting guide recommends working in small sections — about three feet by three feet — and the same applies to regrouting. Scoop up grout with the float, hold it at roughly a 30- to 45-degree angle, and press the grout into the joints with sweeping arcs, working diagonally across the tiles. Diagonal strokes fill joints fully without scooping grout back out of them. Go over the section a second time to make sure every joint is packed — air pockets become weak spots later.
Once the joints are full, flip to cleanup mode: hold the float at a steep 90-degree angle and drag it diagonally across the tiles to squeegee off the excess. Keep your water and sponge clean throughout — a dirty sponge just moves grout haze around instead of removing it.
Step 4: Cleanup, Haze Removal, and Sealing
Wait a few minutes until the grout just starts to firm up, then wipe the tiles with a barely damp sponge, using light circular motions and rinsing the sponge constantly. This is where over-wetting ruins grout: a soaking sponge pulls water into the joints, washing pigment and weakening the surface. If the sponge drips, it’s too wet. Work diagonally so you don’t drag grout out of the joints, and refresh your bucket water before it gets murky.
Let the surface dry for a couple of hours, then buff off the thin film left behind — the dreaded grout haze — with a clean, dry cloth. If the haze is stubborn after 24 hours, a dedicated grout haze remover takes it off without scratching the tile.
Then seal it. Sealing is what keeps shower steam, cooking grease, and floor grime from soaking into cement grout and staining it within months. LATICRETE’s grout FAQ recommends letting cement-based grout cure for a minimum of 72 hours at 70°F before applying a sealer — sealing too early traps moisture and can cause the sealer to flake or turn milky. Epoxy grout doesn’t require sealing at all. That same “seal what can absorb water” logic applies around the house: if you’re already doing bathroom maintenance, check whether your faucet needs attention too, since slow drips keep grout wet and speed up its decline.
How Long to Wait: Drying and Cure Times
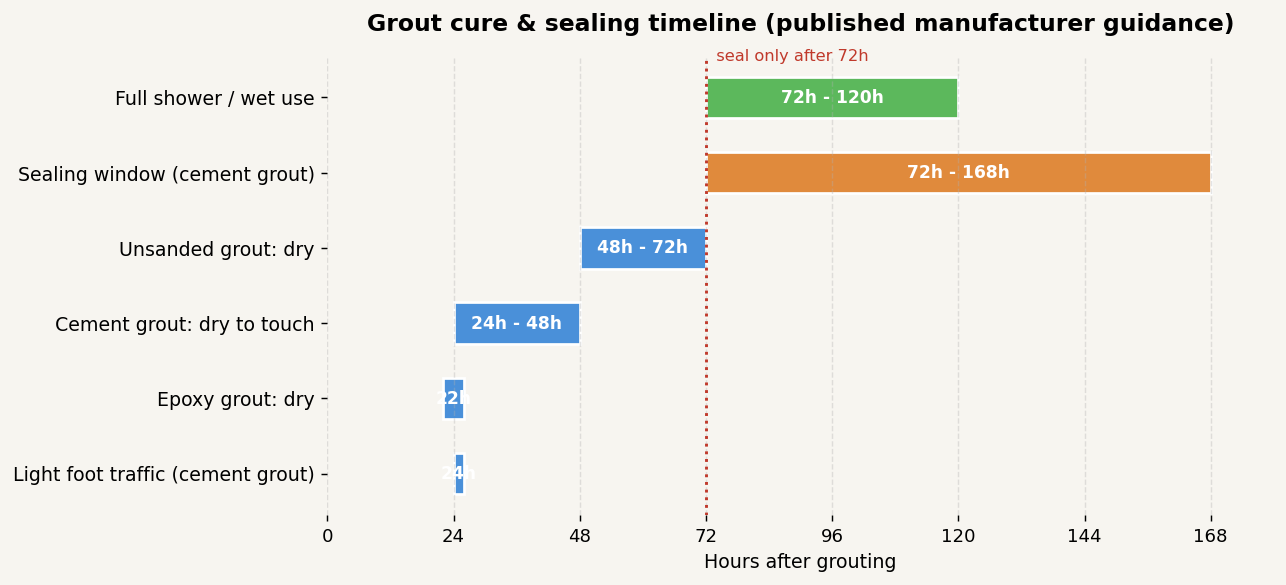
Patience is a material in this job. Here’s the timeline most manufacturers and guides agree on:
- Light foot traffic: after about 24 hours, once cement grout is dry to the touch.
- Epoxy grout: dry in roughly 24 hours.
- Sanded grout: 24–48 hours to dry; unsanded: up to 72 hours, per Angi’s regrouting guidance.
- Sealing: wait a minimum of 72 hours of cure time before sealing cement grout; some manufacturers recommend up to 7 days.
- Full shower use: plan on 3 to 5 days total before subjecting the grout to regular water and cleaning chemicals.
The worst thing you can do is rush the wet areas. Grout that’s merely dry on the surface is still chemically curing underneath, and early water exposure can wash out pigment, cause efflorescence (that white powdery bloom), or weaken the joint permanently. If the shower is your only one, plan the project for a stretch when you can use an alternative — or regrout the walls in stages.
Cost Breakdown: DIY vs Hiring a Pro
The math is heavily in your favor here. Angi’s 2026 regrouting cost data puts a professional shower regrout at $600 to $2,500, averaging around $1,500, or roughly $10 to $35 per square foot — with epoxy grout, large showers, and extras like re-caulking ($150–$300) pushing costs up.
The DIY version costs a fraction of that. Your shopping list is short: a bag of grout, a grout saw (or a multi-tool blade if you own the tool), a float, sponges, and a bottle of sealer — most of it reusable for future projects, with the grout itself the cheapest line item. Expect the better part of a weekend, with removal the slow part, but you pocket the labor cost — the bulk of any pro quote. When to hire anyway: large or intricate showers, natural stone that scratches easily, any signs of water damage behind the tile, or if you simply don’t have a spare weekend.
7 Mistakes to Avoid When You Regrout Tile
- Grouting over old grout. The new layer needs to bond to clean, open joints — scrape the old grout out first or the fresh layer will crack and pop loose within months.
- Skipping the slake step. Mixing grout and using it immediately skips the rest period the powder needs to hydrate properly. Slake ten minutes, remix, then float it in.
- Over-wetting the sponge. The single most common DIY error. A dripping sponge washes out the grout surface and weakens it — wring until it’s barely damp.
- Working too large a section at once. Grout starts setting in minutes. Stick to small sections so you can apply, clean, and shape each one before it firms up.
- Sealing too soon. Trapped moisture under a premature sealer causes hazing and flaking. Wait the full 72-hour cure minimum.
- Regrouting over loose tiles. New grout can’t re-bond tiles whose adhesive has failed. Tap-test first; anything hollow or wobbling needs re-setting or a pro.
- Grout in the corners where caulk belongs. Inside corners, tub-to-tile joints, and changes of plane flex with the house — grout cracks there. Use color-matched silicone caulk at those joints, and re-caulk while you’re at it. Victorian Plumbing’s seven-step regrouting guide is a handy second walkthrough if you want another set of eyes on the process.
One more caution while you’re working around wet areas: if your shower drain has been slow lately, fix it with a mechanical method rather than pouring harsh chemicals onto your fresh grout — here’s how to unclog a drain without chemicals. Acid-based drain cleaners can etch and discolor brand-new grout lines.
FAQs
Can I regrout tile without removing the old grout?
No — not properly. New grout bonds poorly to old grout, and the joint won’t be deep enough for the new layer to grip. The result cracks and flakes out far sooner than a proper job. Removal is the tedious part, but it’s also the part that makes the rest last.
How long after regrouting can I use the shower?
Plan on 3 to 5 days. Cement grout needs at least 24 hours before light contact and 72 hours of cure time before sealing; the sealer itself then needs time to set. Using the shower early risks washing out pigment and weakening the joints.
Should I use sanded or unsanded grout on a bathroom floor?
It depends on your joint width, not the room. Use sanded grout for joints 1/8 inch and wider — typical for most floors — and unsanded for narrower joints or delicate tile that sand could scratch. Measure your joints before you shop.
Do I really need to seal the grout?
For cement-based grout, yes — sealing keeps moisture and stains from soaking into the porous joints. Wait at least 72 hours of curing first. Epoxy grout doesn’t require sealing at all.
Can I change the grout color when I regrout?
Absolutely — it’s one of the best reasons to do the job. Since you’re removing the old grout anyway, you can switch colors freely. Just remove the old grout thoroughly so the original color doesn’t show through at the edges.
How much does it cost to have a shower professionally regrouted?
According to Angi’s 2026 data, most homeowners pay between $600 and $2,500, averaging about $1,500, or $10–$35 per square foot. Epoxy grout, large or intricate showers, and add-ons like re-caulking push toward the top of that range.
The Bottom Line
Learning how to regrout tile comes down to four disciplined steps: scrape out the old grout carefully, pick the right grout for your joint width, float it in cleanly in small sections, and then wait for it to cure before sealing and using the room. Few weekend projects transform a room so completely for so little money. Give it one Saturday, respect the cure times, and your tile will look like it was installed yesterday.