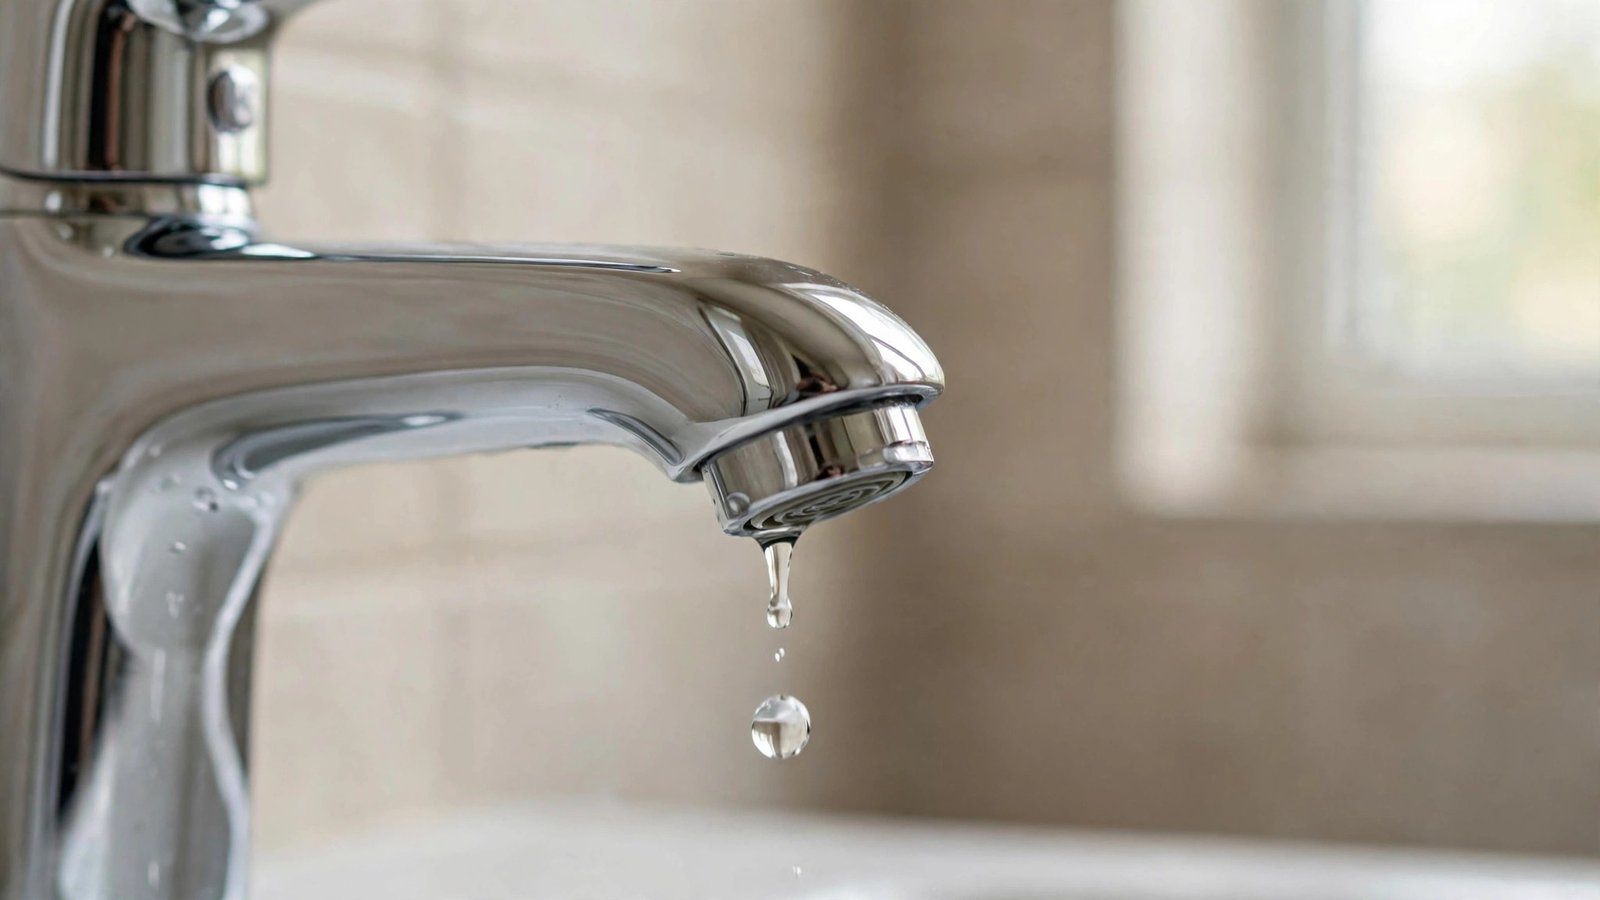

That steady drip… drip… drip from the bathroom faucet isn’t just annoying — it’s expensive. According to the U.S. EPA, a faucet leaking at one drip per second can waste more than 3,000 gallons of water per year, and the U.S. Geological Survey’s water researchers estimate it takes only about 15,140 drips to make a gallon. The good news? Learning how to fix a leaky faucet is one of the most beginner-friendly plumbing repairs there is. Most drips come down to a worn-out washer, O-ring, or cartridge — a cheap part and about 30 minutes of your time.
This guide walks you through the whole job: identifying your faucet type, gathering tools, shutting off the water safely, and replacing the faulty part step by step. No prior plumbing experience required.
Why Do Faucets Leak in the First Place?
A faucet is a valve, and like any valve, its seals wear out. The most common culprits:
- Worn washer or O-ring: In compression faucets, a rubber washer presses against the valve seat every time you turn the handle. Thousands of cycles compress, crack, and wear it down until water sneaks past.
- Corroded valve seat: The metal seat the washer presses against can corrode or collect mineral deposits, especially in hard-water areas, preventing a clean seal.
- Worn cartridge: Cartridge, ball, and ceramic-disc faucets use a cartridge mechanism instead of a washer. These last longer but eventually wear, crack, or get gummed up with sediment.
- Loose parts: Sometimes the packing nut or adjusting ring just needs tightening — the internal parts shift over years of use.
- High water pressure: Excessively high household water pressure stresses every seal in the system and accelerates wear.
Figuring out which one applies to your faucet starts with knowing what type you have.
Identify Your Faucet Type First
There are four common faucet designs, and the repair differs for each. Here’s how to tell them apart:
| Faucet type | How to recognize it | Most common leak cause | Fix difficulty |
|---|---|---|---|
| Compression | Two separate handles for hot and cold; handles tighten down as you turn | Worn rubber washer or corroded valve seat | Easy — washers are cheap and universal |
| Ball | Single handle that pivots on a ball joint (common in kitchens) | Worn springs, seats, or O-rings inside the ball assembly | Moderate — repair kits with all parts are widely available |
| Cartridge | Single or double handle; handle moves up/down and side to side smoothly | Worn cartridge | Easy to moderate — cartridge must match your faucet model |
| Ceramic disc | Single lever over a wide cylindrical body; very smooth, quarter-turn action | Worn seals or scratched ceramic discs (often from sediment) | Moderate — parts are model-specific and pricier |
Not sure? Take a photo of your faucet and handle, and note any brand name stamped on it — the manufacturer’s support pages and Delta Faucet’s help resources have identification guides, and matching the right part is half the battle.
Get to Know the Parts
The walkthrough below focuses on the compression faucet — the most common type in bathrooms and the simplest to fix. Here’s what you’ll find inside one:
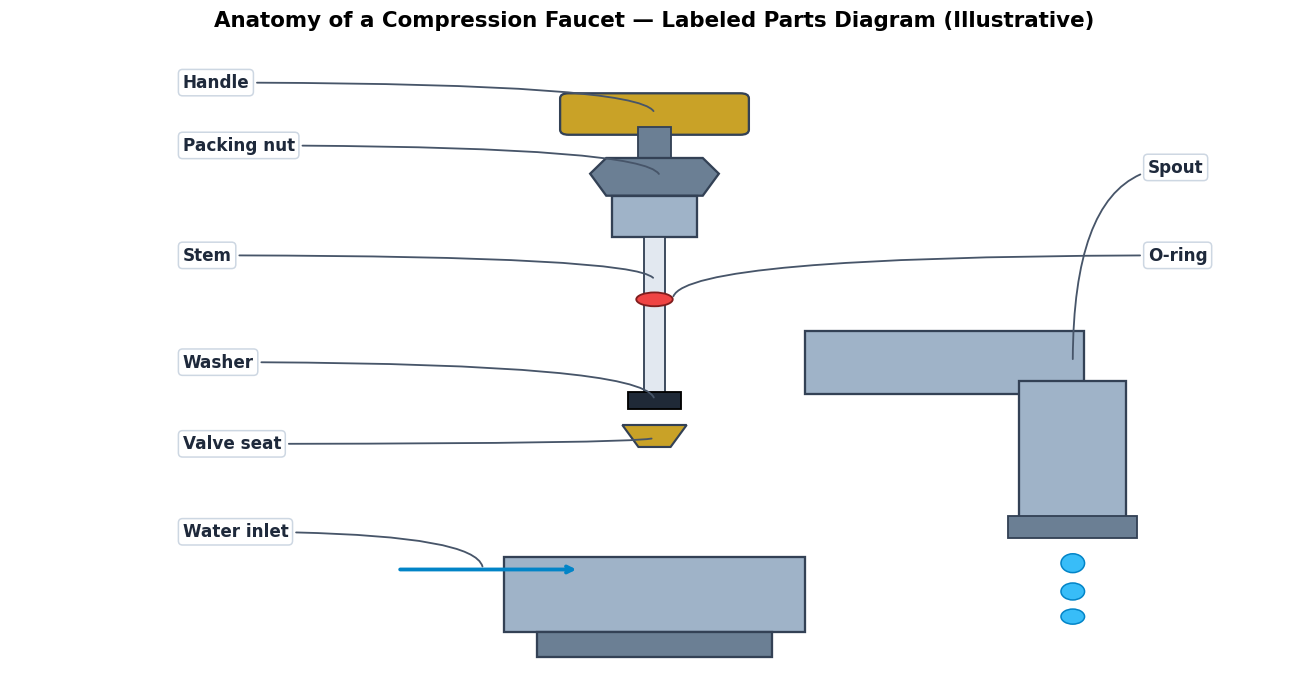
The handle turns the stem, which screws down through the packing nut. At the bottom of the stem sits the rubber washer, which presses against the metal valve seat to stop water flow. The O-ring seals around the stem so water doesn’t leak up through the handle. When the washer wears out or the seat corrodes, water dribbles past — and you get the drip.
Tools and Parts You’ll Need
Gather everything before you start so you’re not hunting for tools with the water off:
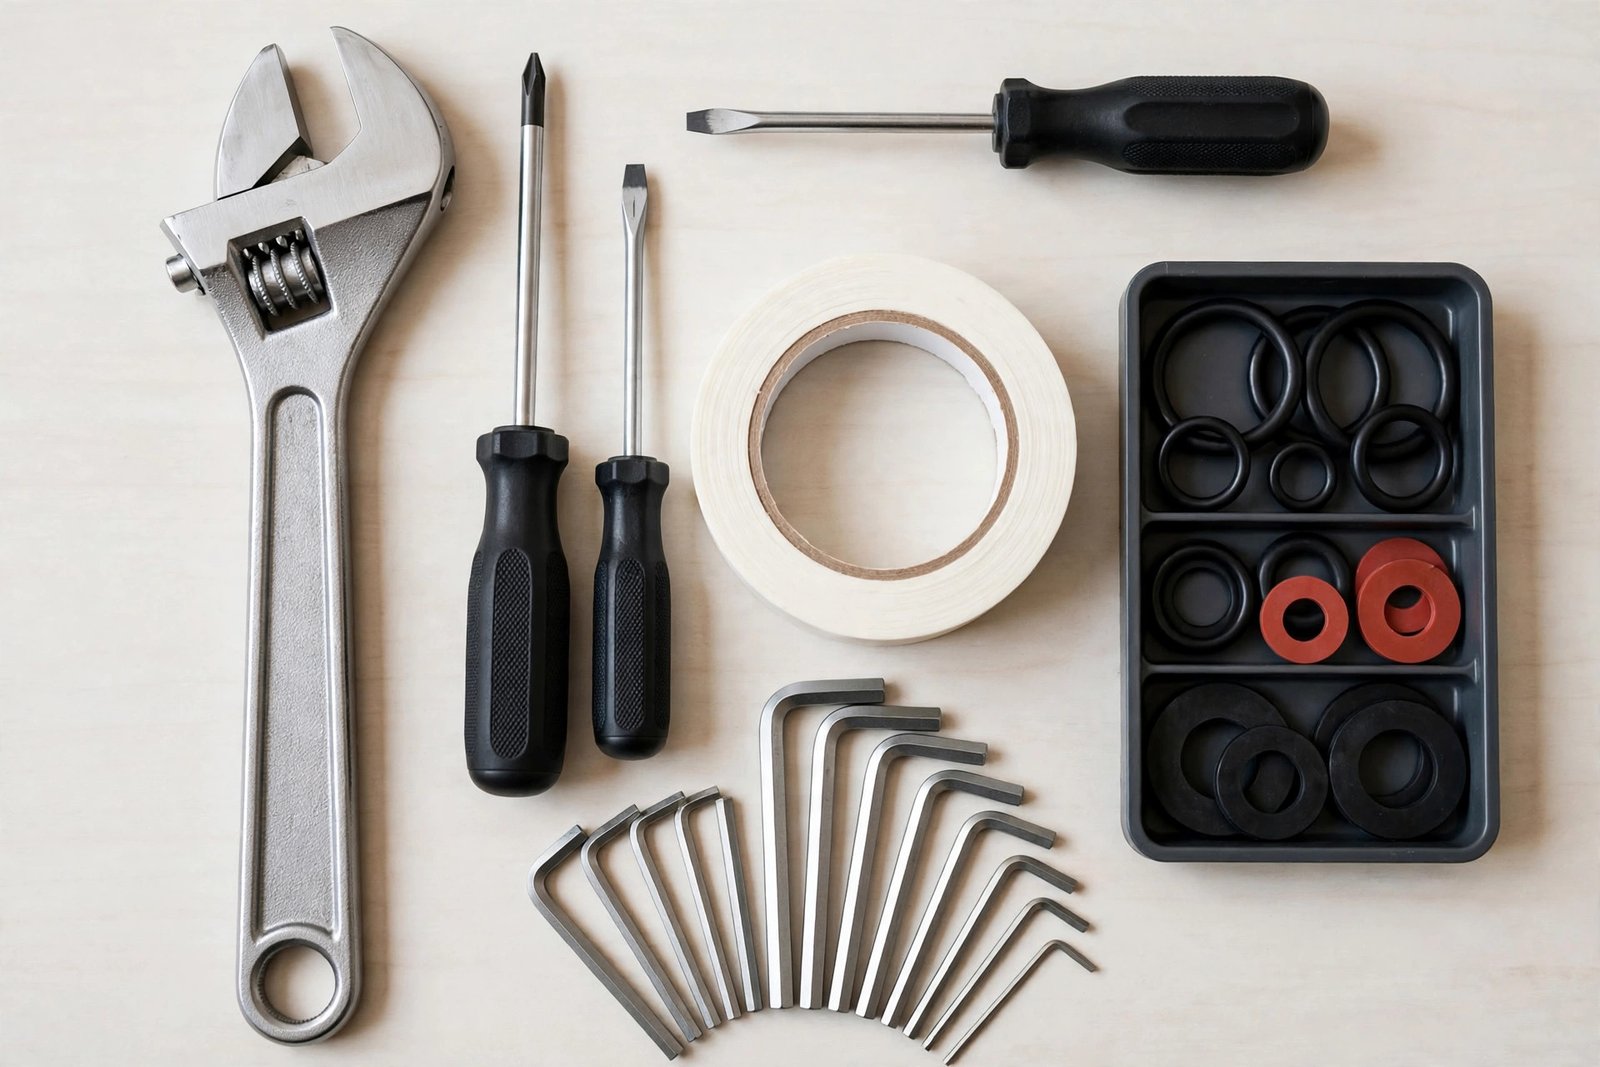
- Adjustable wrench (or basin wrench for tight spaces)
- Phillips and flat-head screwdrivers
- Replacement washer and O-ring kit (take the old ones to the hardware store to match size, or buy an assorted kit)
- Plumber’s PTFE tape (thread-seal tape)
- Penetrating oil (for corroded nuts)
- An old towel and a small container or tray for parts
- Vinegar and an old toothbrush (for cleaning mineral deposits off the valve seat)
Washer assortments cost very little at any hardware store — grab one with multiple sizes and you’ll be set for this repair and the next. If you have a cartridge, ball, or disc faucet, buy the repair kit or cartridge specific to your faucet’s brand and model instead.
Safety First: Shut Off the Water
Before touching anything, turn off the water supply to the faucet. Look under the sink for the shutoff valves on the hot and cold supply lines — oval or lever handles you turn clockwise (levers turn perpendicular to the pipe).

Turn both valves fully off, then open the faucet to release pressure and confirm the water stops. If the under-sink valves are stuck, corroded, or missing, shut off the home’s main water valve instead — usually near the water meter or where the main line enters the house. Never force a stuck valve with all your strength; a snapped valve turns a small job into an emergency. Plug the sink drain with the towel too — tiny screws love to disappear down drains.
How to Fix a Leaky Faucet: Step-by-Step
Step 1: Remove the handle
Pry off the decorative cap on top of the handle (it often has a red/blue hot-cold indicator) with a flat-head screwdriver. Remove the screw underneath and lift the handle off. If it’s stuck with mineral buildup, wiggle gently — don’t yank. A little penetrating oil around the base helps stubborn handles.
Step 2: Remove the packing nut and stem
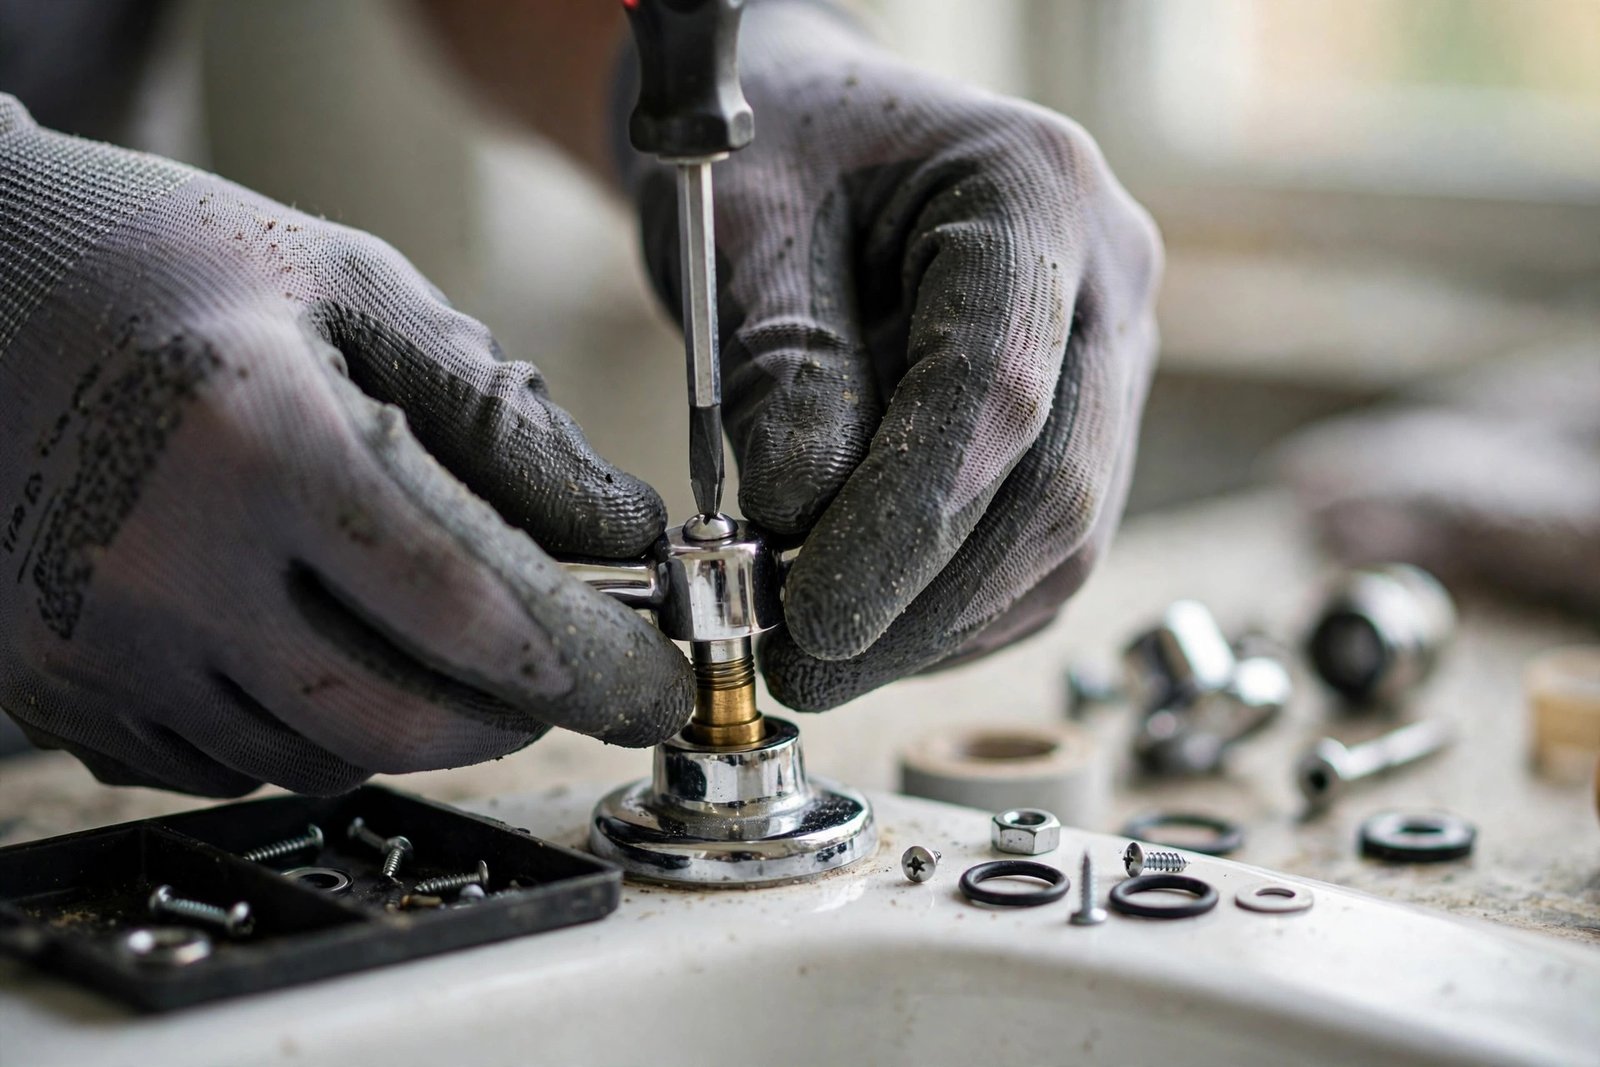
You’ll now see the packing nut (sometimes under a decorative bonnet cap — unscrew that first). Hold the faucet body steady and loosen the packing nut counterclockwise with your adjustable wrench. Once it’s off, unscrew the stem by turning it counterclockwise as if you were opening the faucet. Lift the whole stem assembly out and lay the parts on your towel in order.
Step 3: Inspect and replace the washer
At the bottom of the stem you’ll find the washer, held by a small brass screw. Remove the screw, swap in the new washer (same size and shape — beveled or flat must match), and tighten the screw. This single step fixes the large majority of compression-faucet drips.
Step 4: Replace the O-ring
Slide the old O-ring off the stem and roll the new one on — a dab of plumber’s grease or even petroleum jelly helps it seat. The O-ring is usually the culprit when water leaks from around the handle rather than the spout.
Step 5: Check the valve seat
Look down into the faucet body at the valve seat — the metal ring the washer presses against. If it’s rough, pitted, or crusted with mineral deposits, clean it with vinegar and the toothbrush. If it’s deeply corroded or grooved, it needs reseating or replacement: a valve-seat wrench (inexpensive) removes most seats, or a seat-dressing tool can smooth minor damage. A new washer on a ruined seat will just start dripping again.
Step 6: Reassemble
Put everything back in reverse order: stem in, packing nut snug (firm, not gorilla-tight — overtightening damages the new washer), bonnet, handle, screw, decorative cap. Wrap PTFE tape clockwise around any threaded connections you disturbed, two to three wraps.
Step 7: Turn the water back on and test
Open the under-sink shutoff valves slowly, then turn the faucet on and off a few times. Check for drips at the spout and leaks around the handle and base. Run both hot and cold. If it’s dry — congratulations, you just fixed your faucet.
Quick Notes for Other Faucet Types
Ball faucets: After removing the handle, you’ll find a cap, cam, ball, and seats with springs. A repair kit replaces all of these at once — follow the kit’s diagram, and note the alignment slot when reinstalling the ball. Family Handyman’s faucet repair guides have excellent photo walkthroughs for this type.
Cartridge faucets: Remove the handle and retaining clip or nut, then pull the old cartridge straight out (pliers help; note its orientation). Take it to the store to match exactly — cartridges are brand and model specific. Slide the new one in, reassemble, done.
Ceramic-disc faucets: Remove the handle and the escutcheon cap to access the disc cylinder. Lift out the cylinder, replace the rubber seals underneath, and clean any sediment from the ceramic discs. If the discs themselves are cracked or scored, replace the whole cylinder.
What If It Still Drips?
Don’t panic — run through this checklist:
- Drip continues from the spout: The washer may be the wrong size, the valve seat is still damaged, or the stem wasn’t seated properly. Disassemble and recheck.
- Leak around the handle: The O-ring or packing needs attention — try snugging the packing nut a quarter-turn first.
- Leak at the base: Worn seals where the spout meets the body, or a loose mounting nut underneath.
- Low flow after reassembly: Debris in the aerator — unscrew it and rinse out the sediment.
- Both hot and cold drip: Fix each side separately; washers wear independently.
When to Call a Plumber
DIY has limits. Call a professional if the shutoff valves are frozen or broken, pipes are corroded enough to crumble, the faucet body itself is cracked, you discover leaking supply lines or water damage under the sink, or the faucet is an unusual/very old model with unavailable parts. Also call one if you’ve replaced the washer and seat and it still drips — there may be a deeper issue like excessive water pressure, which a plumber can test and fix with a pressure-reducing valve.
There’s no shame in it: a plumber’s visit for a faucet repair is a quick, routine job, and it’s far cheaper than water damage from a botched repair. For related bathroom plumbing, our guide on how to fix a running toilet covers another classic DIY win, and if a slow drain is also on your list, see how to unclog a drain without chemicals.
Frequently Asked Questions
How do I know which washer size my faucet needs?
Take the old washer to the hardware store and match it — size and shape (flat vs. beveled) both matter. Assorted washer kits covering the common sizes are inexpensive and save a second trip. When in doubt, match by faucet brand.
Can I fix a leaky faucet without turning off the water?
No — don’t try it. You’ll get sprayed, you can’t properly seat parts under pressure, and you risk damaging the valve. Shutting off the under-sink valves takes seconds; if they’re stuck, use the main shutoff.
Why does my faucet drip only at night?
Often it’s water pressure: municipal pressure rises overnight when neighborhood demand drops, pushing past a worn seal that holds during the day. It can also be thermal expansion in the water heater. Either way, the fix is the same — replace the worn washer or cartridge — but mention the pattern to a plumber if it persists.
How long should a faucet washer last?
It varies widely with water quality, pressure, and use — anywhere from a couple of years to a decade. Hard water and high pressure wear washers faster. Ceramic-disc cartridges typically last much longer than compression washers, which is one reason many people upgrade the whole faucet eventually.
Is a dripping faucet really worth fixing right away?
Yes. Beyond the EPA’s estimate of 3,000+ gallons wasted per year from a one-drip-per-second leak, drips stain sinks, can damage fixtures, and the constant moisture encourages mold. The repair usually takes under an hour and costs very little in parts.
The Bottom Line
Knowing how to fix a leaky faucet is a rite of passage for homeowners and renters alike. Shut off the water, identify your faucet type, swap the worn washer, O-ring, or cartridge, and test your work. In most cases that’s the entire job — thirty minutes, a few dollars in parts, and silence where the dripping used to be. And if you open things up and find a bigger problem waiting, you’ll at least know exactly what to tell the plumber.




[…] fixing a leaky faucet, this is a job where prep beats heroics. Read your fan’s manual cover to cover before […]