
Nothing kills a dinner-party mood faster than a sink full of gray water that won’t drain. You flip the switch on the garbage disposal, it hums pitifully — or worse, goes completely silent — and the food scraps you just fed it sit there mocking you. The good news: learning how to unclog a garbage disposal is one of the easiest DIY plumbing fixes in your home. Most jams and clogs take under ten minutes to fix, require nothing more than a wrench you probably already own, and cost exactly zero dollars.
But before we touch anything, a serious word of caution. A garbage disposal is a grinding machine bolted under your sink. Even when it’s switched off, the grinding plate and impellers are sharp, and a faulty switch can send power to the unit unexpectedly. Never — under any circumstances — put your hand inside the disposal. Every step below is designed around that rule: eyes first, tools second, hands never.
First, Figure Out What You’re Dealing With
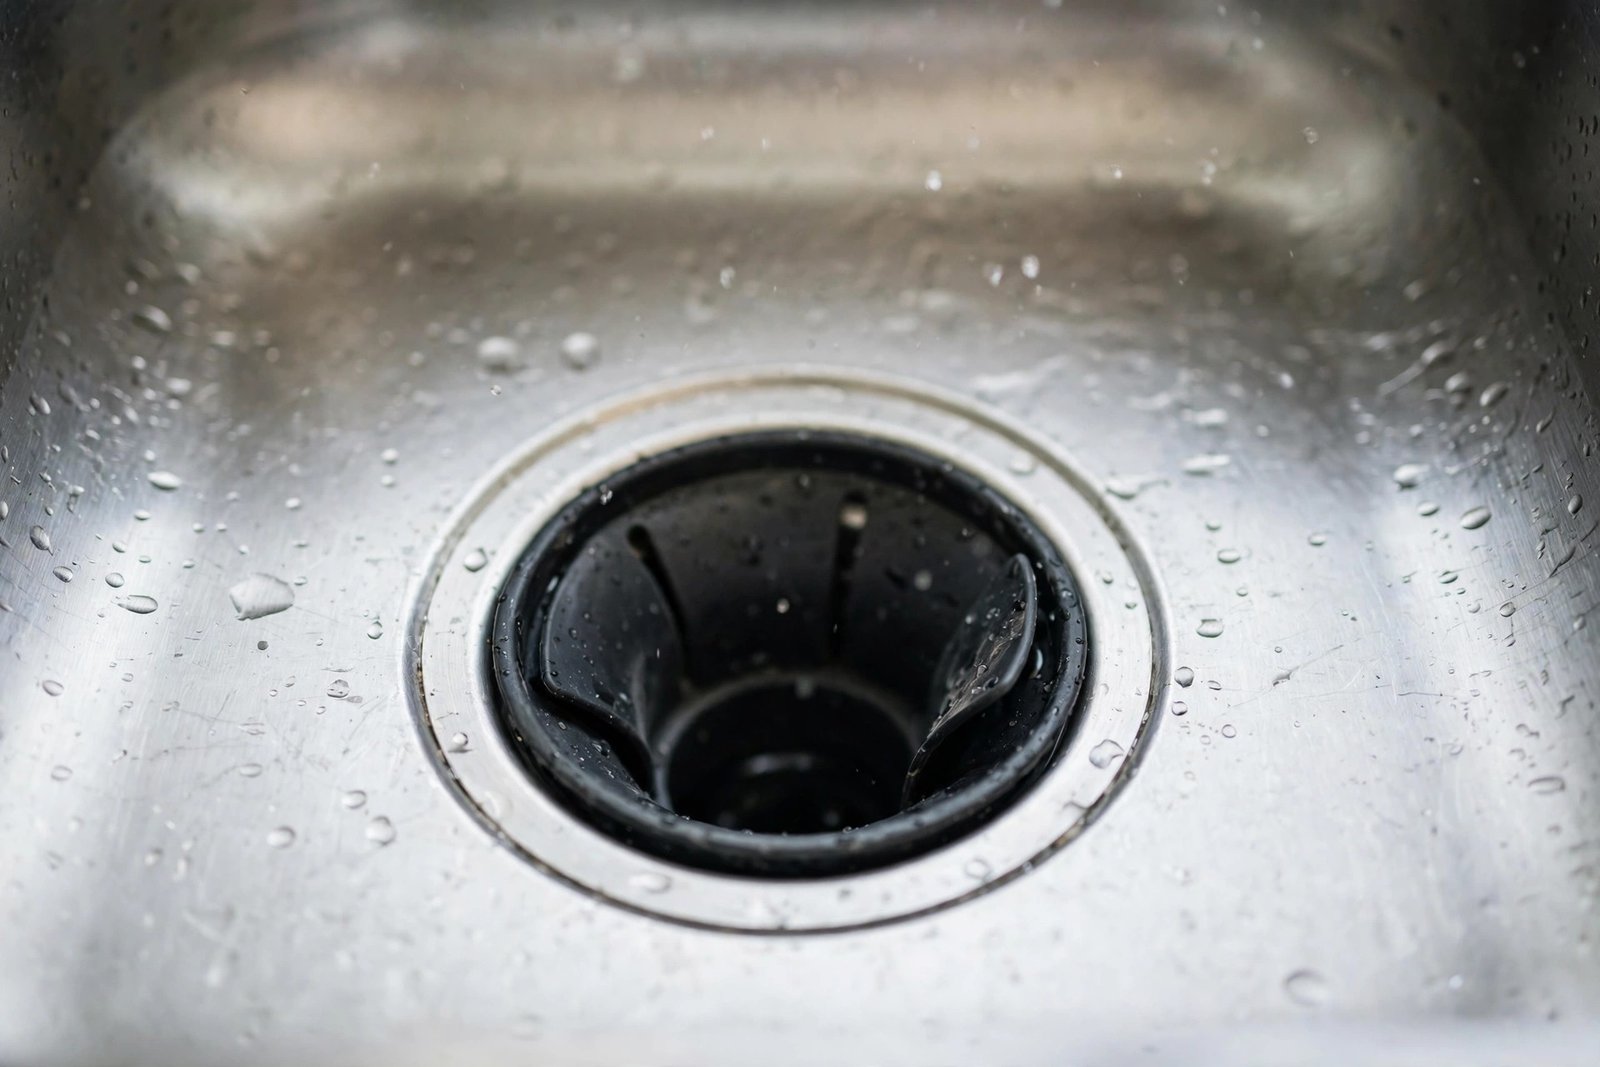
When people say “unclog a garbage disposal,” they’re usually describing one of two different problems, and the fix depends entirely on which one you have. Get this wrong and you’ll waste time on the wrong solution — or worse, keep hammering the switch while the motor cooks itself.
The jam: silence or a dull hum
Flip the switch and hear nothing at all? The unit has likely tripped its built-in thermal overload protector — a safety feature that cuts power when the motor detects resistance and starts to overheat. A low hum with no grinding is the same story at an earlier stage: something hard has locked the grinding plate in place. Fruit pits, small bones, a stray spoon, a bottle cap, even a piece of broken glass — any of these can jam the impellers. This is a mechanical problem inside the chamber, and it has a mechanical fix.
The clog: motor runs, water doesn’t drain
If the disposal runs normally but water backs up — or drains into the other basin of a double sink — the problem isn’t the disposal at all. The grinding plate is spinning freely, but the waste has nowhere to go because there’s a blockage downstream in the drain pipe. This is the plumbing equivalent of a traffic jam behind an open tollbooth. The fix here is in the pipes, not the unit. If you’ve been working through clogged drains elsewhere in the house, the principles from unclogging a drain without chemicals apply here too — mechanical clearing beats caustic chemicals every time.
Safety First: Power Off Before You Do Anything
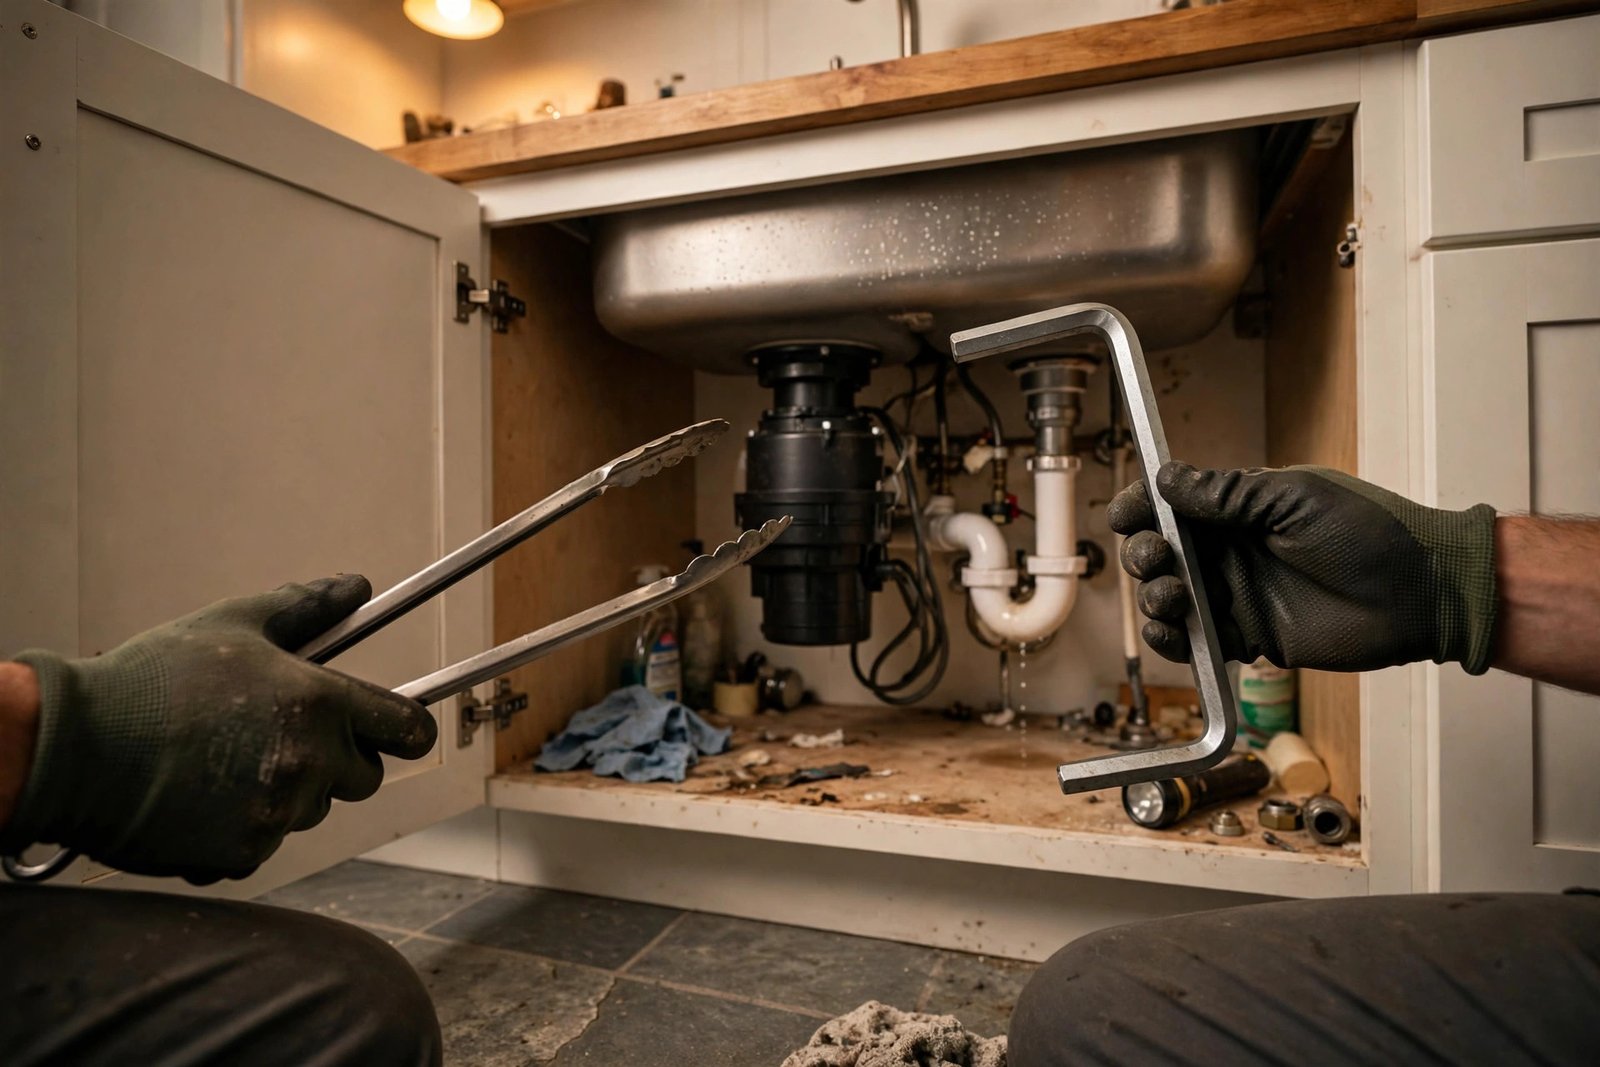
This step is not optional, and it doesn’t slow you down — it takes thirty seconds. The standard safety advice from this step-by-step unclogging procedure is unambiguous: shut off the electrical power switch for the disposal (usually under the cabinet or on a nearby wall), and if you’re at all unsure which circuit feeds it, turn off the breaker at the main panel. Remember that a defective switch can still pass current, so keep your hands out of the disposal even with the power off. That caution stands for the entire job: flashlights and pliers go in; fingers don’t.
How to Unclog a Garbage Disposal, Step by Step
Work through these in order. Each step is progressively more involved, and most problems are solved by step three or four.
Step 1: Remove visible obstructions with tongs
Shine a flashlight down the drain and look into the chamber. If you can see the culprit — a fork, a chunk of food, a lid — pull it out with long-handled tongs or needle-nose pliers. Never your fingers. You’d be amazed how often the whole drama ends here. If the chamber is clear but the unit won’t run, move on.
Step 2: Press the reset button
Sometimes the disposal just needs a fresh start. The overload protector pops out when the motor overheats or over-strains, cutting power entirely. Look under the sink for the small red button on the bottom of the disposal housing — where the reset button sits is consistent across most brands: dead center or just off-center on the underside.
There’s one catch: if the motor is still hot, the button won’t stay in. Give the unit 10–15 minutes to cool first, then press the button firmly until it clicks. Turn on the cold water, flip the switch, and test. If it trips again immediately, the jam is still in there — don’t keep resetting it and hoping. Move to step three.
Step 3: Unjam it with a hex wrench
This is the fix that solves the majority of jammed disposals, and it’s exactly what the little wrench that came in the box is for. If your unit didn’t ship with one (or it’s vanished into the junk drawer), any standard 1/4-inch Allen wrench from a hardware store fits almost every InSinkErator-style unit.
- Make sure the power is off — switch off, unplugged, or breaker off.
- Find the hexagonal socket in the exact center of the disposal’s bottom plate.
- Insert the 1/4-inch hex wrench and work it back and forth — clockwise, counterclockwise — until you feel the grinding plate break free.
- Keep turning until the wrench completes a full 360-degree rotation smoothly. That means the impellers are free.
Reach in with tongs or pliers (still not fingers) and pull out whatever the loosening freed up. Press the reset button, restore power, run cold water, and switch it on. That whirring sound means you just saved yourself a plumber’s visit.
Step 4: Break up grease and gunk with baking soda and vinegar
If the disposal runs but drains sluggishly — or you’re fighting a slow drain rather than a hard jam — the problem is usually grease and food film coating the chamber and the drain walls. Here’s the natural fix:
- Pour 1/2 cup of baking soda into the disposal.
- Follow with 1/2 cup of white vinegar. You’ll hear fizzing — that’s the reaction working.
- Let it sit for 10–15 minutes, then flush with hot water for a minute or two.
For ongoing maintenance, try the ice-and-salt trick: drop a tray of ice cubes and a cup of rock salt into the disposal, run cold water, and let it grind for about a minute. The ice acts as a mild scrubber that knocks buildup off the grinding components without chemicals.
Step 5: Plunge the drain (for downstream clogs)
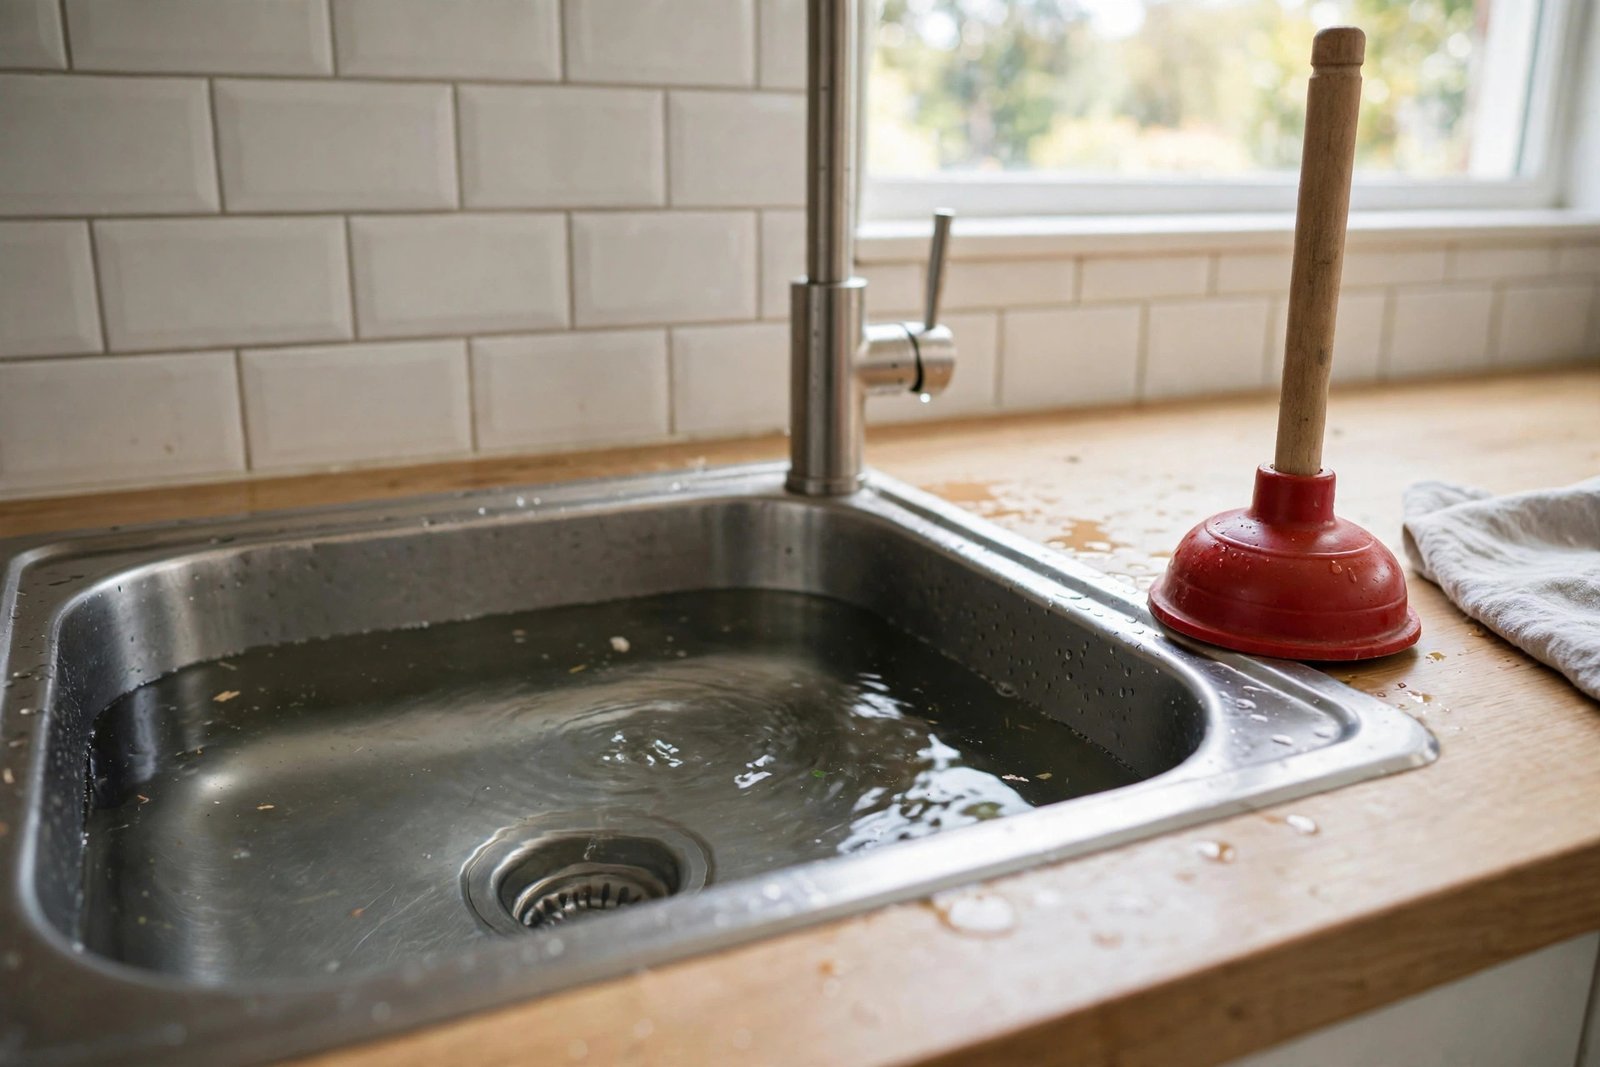
If the disposal spins fine but water won’t go down, the clog is in the drain line. Fill the sink with a few inches of water, place a plunger over the drain, and plunge vigorously. On a double sink, you’ll need to block the other drain with a wet rag or a stopper to keep pressure in the system — otherwise you’re just pushing air out the other side.
Step 6: Clean the P-trap
When plunging doesn’t clear a downstream clog, the blockage is often sitting in the P-trap — the curved pipe section under the sink. Put a bucket underneath (there will be water), unscrew the slip nuts by hand or with a wrench, pull the trap off, dump out the contents, clean it, and reattach. It’s a five-minute job once you’ve done it once, and it resolves a surprising number of “the disposal works but nothing drains” complaints.
What NOT to Do
A few well-intentioned moves make disposal problems worse. Keep these off your list:
- Don’t pour chemical drain cleaner into the disposal. It won’t turn a jammed impeller, and it leaves a chamber full of caustic liquid that will splash on you the moment the unit starts spinning. Mechanical problems get mechanical fixes.
- Don’t keep flipping the switch on a humming unit. A humming, stalled motor overheats fast. If it’s humming, kill the power and free the jam with the wrench — don’t let it sit there cooking.
- Don’t use hot water while grinding. This one is counterintuitive, but most plumbers recommend cold water during grinding: it keeps grease solid so it gets chopped and flushed instead of liquefying and re-solidifying further down the pipe. Save the hot water for the flush afterward.
- Don’t put your hand in. Ever. Yes, even with the power off. Yes, even “just to feel where it is.” The difference between a jammed versus clogged disposal matters less than this rule, which applies to both.
Common Clog Causes and the Right Fix for Each
| Symptom / Cause | Safe Fix | What NOT to Do |
|---|---|---|
| Silence — overload tripped | Let motor cool 10–15 min, press the red reset button | Don’t keep mashing the button while it’s hot |
| Hum with no grinding — hard object jammed | Power off, 1/4-inch hex wrench in the bottom socket, work back and forth until free | Never reach in with your hand; don’t let it hum and overheat |
| Slow drain — grease/food buildup | Baking soda + vinegar, sit 10–15 min, flush with hot water | Don’t pour more grease down; don’t use chemical drain cleaner |
| Disposal runs, water backs up — downstream clog | Plunger (seal the other drain), then remove and clean the P-trap | Don’t disassemble the disposal — the problem is in the pipes |
| Repeat trips with nothing in it | Check what to do when the reset button won’t stay in, then call a pro | Don’t hold the button down or bypass it — it’s protecting a failing motor |
Keeping It Clear: Prevention Habits
Fixing a disposal is easy; never needing to is easier. A few habits will keep yours running for years:
- Run cold water before, during, and after grinding. Keep the water running for 10–15 seconds after the grinding sound stops to flush everything through.
- Feed it gradually. Dumping a whole pot of leftovers in at once is the most common cause of jams. Small batches, letting each one grind clear before adding more.
- Know the banned list. Fibrous foods (celery, corn husks, onion skins), starchy foods (potato peels, rice, pasta), grease and oil, coffee grounds, and large bones are the usual suspects behind most clogs. The trash can exists for a reason.
- Grind ice monthly. A tray of ice cubes knocked through the disposal scours the chamber walls and keeps the grinding components clean.
If you’re tackling multiple plumbing quirks around the house, the same measured DIY approach that works here applies elsewhere — like fixing a running toilet, another ten-minute fix that stops a slow drain on your wallet.
When to Call a Plumber
DIY has limits, and this is one place where knowing them matters. Call a professional if:
- The reset button keeps tripping with an empty, unjammed chamber — the motor is likely failing.
- There’s a leak coming from the bottom of the disposal housing itself (not the pipe connections) — that’s a failed internal seal, and it means replacement, not repair.
- You smell burnt electrical odor from the unit.
- The disposal is more than 10–12 years old and keeps acting up — a new mid-range unit plus installation often costs less than chasing a dying motor.
FAQ
Can I unclog a garbage disposal without a wrench?
Partially. You can remove visible debris with tongs, press the reset button, and try baking soda and vinegar. But a truly jammed impeller usually needs the hex-wrench maneuver from underneath. A 1/4-inch Allen wrench costs a couple of dollars at any hardware store and works on most brands.
Why does my garbage disposal hum but not grind?
A hum with no grinding means the motor has power but the impellers are jammed — a hard object is locking the grinding plate. Turn the switch off, cut power, and free it with the hex wrench in the bottom socket. Don’t let it hum for long; a stalled motor overheats and burns out.
Is it safe to put my hand in a garbage disposal if it’s off?
No. Even with the power off, the grinding components are sharp, and a defective switch can still pass current. Always use tongs, pliers, or a flashlight — never your fingers. This is the single most important safety rule of disposal repair.
Can I use Drano or other drain cleaners in a garbage disposal?
You shouldn’t. Chemical drain cleaners won’t fix a mechanical jam, and they leave caustic liquid in the chamber that can splash on you when the unit starts. If there’s a downstream clog, plunge it or clean the P-trap instead.
How long should a garbage disposal last?
Most units last 8–12 years with normal use, though cheaper models wear out sooner and stainless steel grinding chambers tend to last longer. If yours is over a decade old and keeps jamming or tripping the reset, replacement is usually smarter than repeated repairs.
Should I run hot or cold water in the garbage disposal?
Cold water while grinding. It keeps grease solid so it gets chopped up and flushed out, rather than liquefying and re-solidifying deeper in your pipes. A hot-water flush afterward is fine for cleaning.
Conclusion
An unclogged garbage disposal is almost always a ten-minute job, not a service call. Cut the power, figure out whether you’re fighting a jam or a clog, work the reset button and the hex wrench in order, and keep your hands out of the chamber at every step. Build the prevention habits — cold water, gradual feeding, the banned-foods list — and you’ll rarely need the wrench at all. And if the unit is old, leaking from the housing, or tripping the reset on an empty chamber, take that as the machine’s way of telling you it’s time for a replacement rather than another repair.