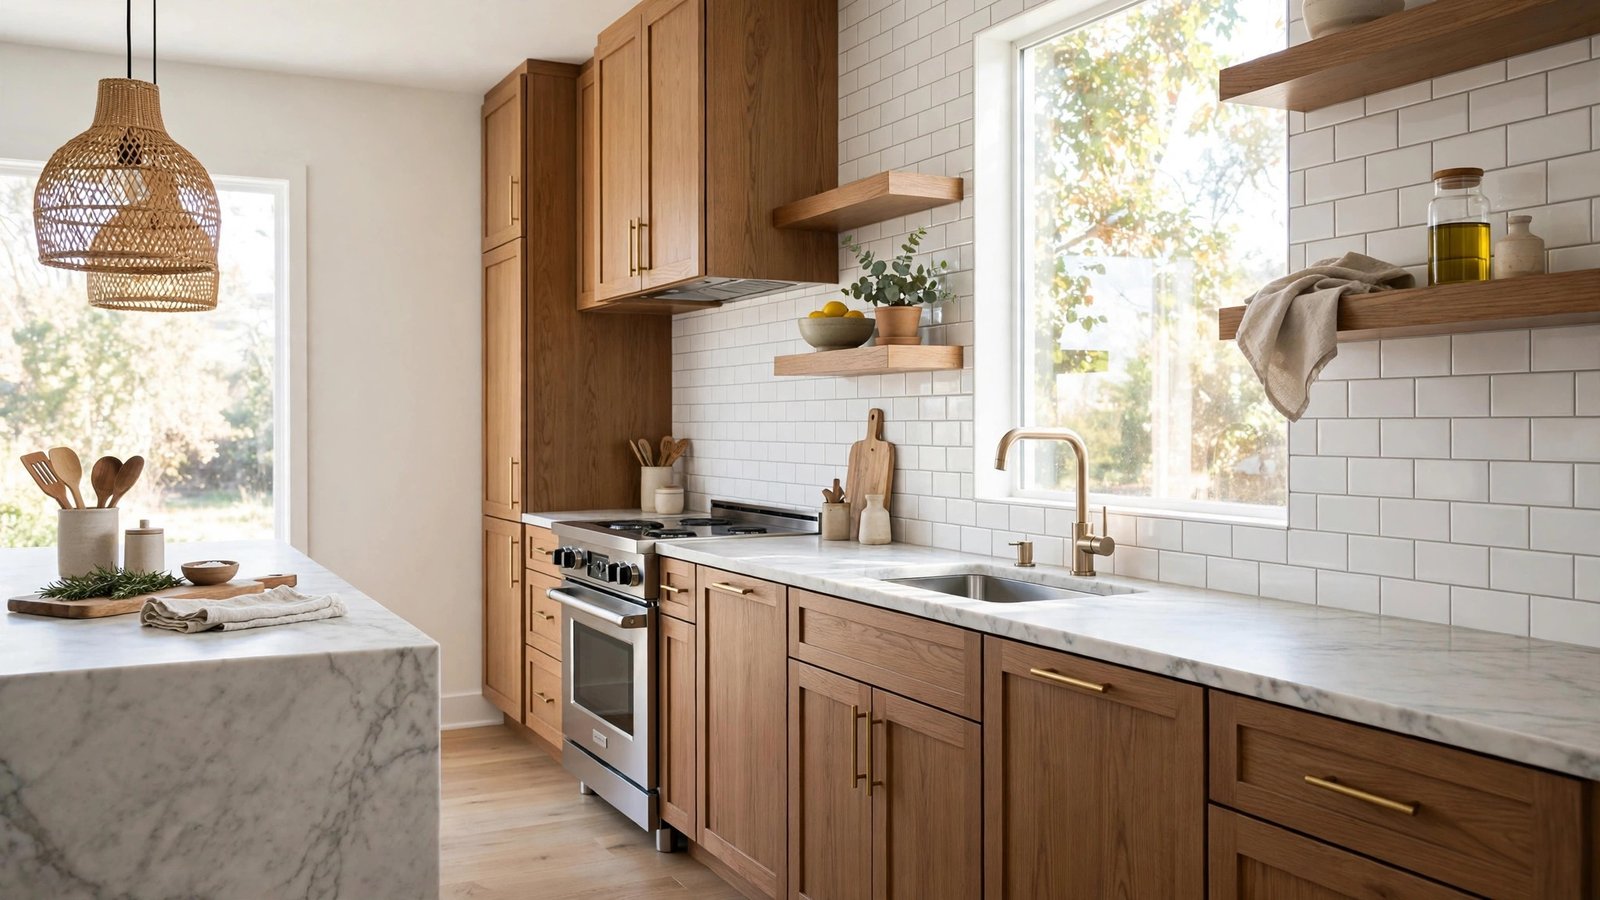

A backsplash is the rare kitchen upgrade that behaves like a full renovation for the price of a nice dinner out. It covers the wall where every splash, splatter, and coffee mishap lands, and because it sits right at eye level between your counters and cabinets, it quietly sets the tone of the whole room. The good news? Some of the smartest kitchen backsplash ideas on a budget cost less than $2 per square foot and install in a single afternoon with tools you probably already own.
This guide walks through nine genuinely affordable options — peel-and-stick tiles, classic subway ceramic, beadboard, paint, brick veneer, pressed tin, removable wallpaper, vinyl decals, and refreshed existing tile — with real cost ranges, honest notes on durability and cleaning, and a step-by-step for the cheapest pick. No contractor required.
What a Budget Backsplash Actually Costs
Before picking a material, it helps to know where the money goes. According to Angi’s 2026 backsplash cost data, a professionally installed backsplash averages about $1,000 (ranging from $480 to $1,500 for roughly 35 square feet), or $15 to $40 per square foot installed. Most of that is labor and material markup — which is exactly why DIY is the budget play here.
Material-only prices are a different world. HomeGuide’s backsplash material costs per square foot put ceramic tile at $1–$8, peel-and-stick tiles at $4–$30, beadboard at $0.50–$3.00, and wallpaper at just $0.35–$1.65 per square foot. The chart below compares the most budget-friendly materials at a glance.

How to Measure Your Backsplash (So You Buy the Right Amount)
A standard kitchen backsplash runs 18 inches high — the gap between countertop and upper cabinets — and covers the wall behind the sink, stove, and main counter runs. A typical layout is 30 to 50 square feet total. Pacific Remodeling’s 2026 project data, for example, pegs the usual backsplash area at 40 to 55 square feet.
Measuring is simple:
- Divide the wall into rectangles. Measure the width and height of each section separately, especially around windows and doorways.
- Multiply width by height for each section and add them up.
- Subtract the stove/range area only if you’re leaving it uncovered.
- Add 10% extra for cuts, breakage, and future repairs — a rule Home Depot’s step-by-step tile backsplash installation guide recommends for exactly this reason.
A 30-square-foot backsplash at $3 per square foot is $90 in materials — knowing your number keeps small projects small. It also helps to plan the whole space at once; if your cabinets and counters are in the mix too, read our guide to organizing a small kitchen on a budget before you start buying.
9 Kitchen Backsplash Ideas on a Budget That Look Expensive
Every option below is renter-considerate where noted, wipeable, and proven in real kitchens — including a few ideas from budget backsplash ideas designers actually reuse.
1. Peel-and-stick tiles
Modern peel-and-stick backsplash tiles — usually vinyl, PVC composite, or real metal laminated onto adhesive — mimic subway tile, stone, and geometric patterns convincingly from a few feet away. Prices on Home Depot run roughly $3 to $11 per square foot depending on the finish.
Installation is genuinely a one-afternoon job: clean the wall, peel, stick, and trim with a utility knife. No grout, no mortar, no wet saw. They’re ideal for renters since many versions remove cleanly with a hair dryer. The trade-off is lifespan and heat resistance — most last 3 to 5 years in a busy kitchen, and you should keep them a few inches away from direct range heat. Behind the sink and along calm counter runs, they shine.
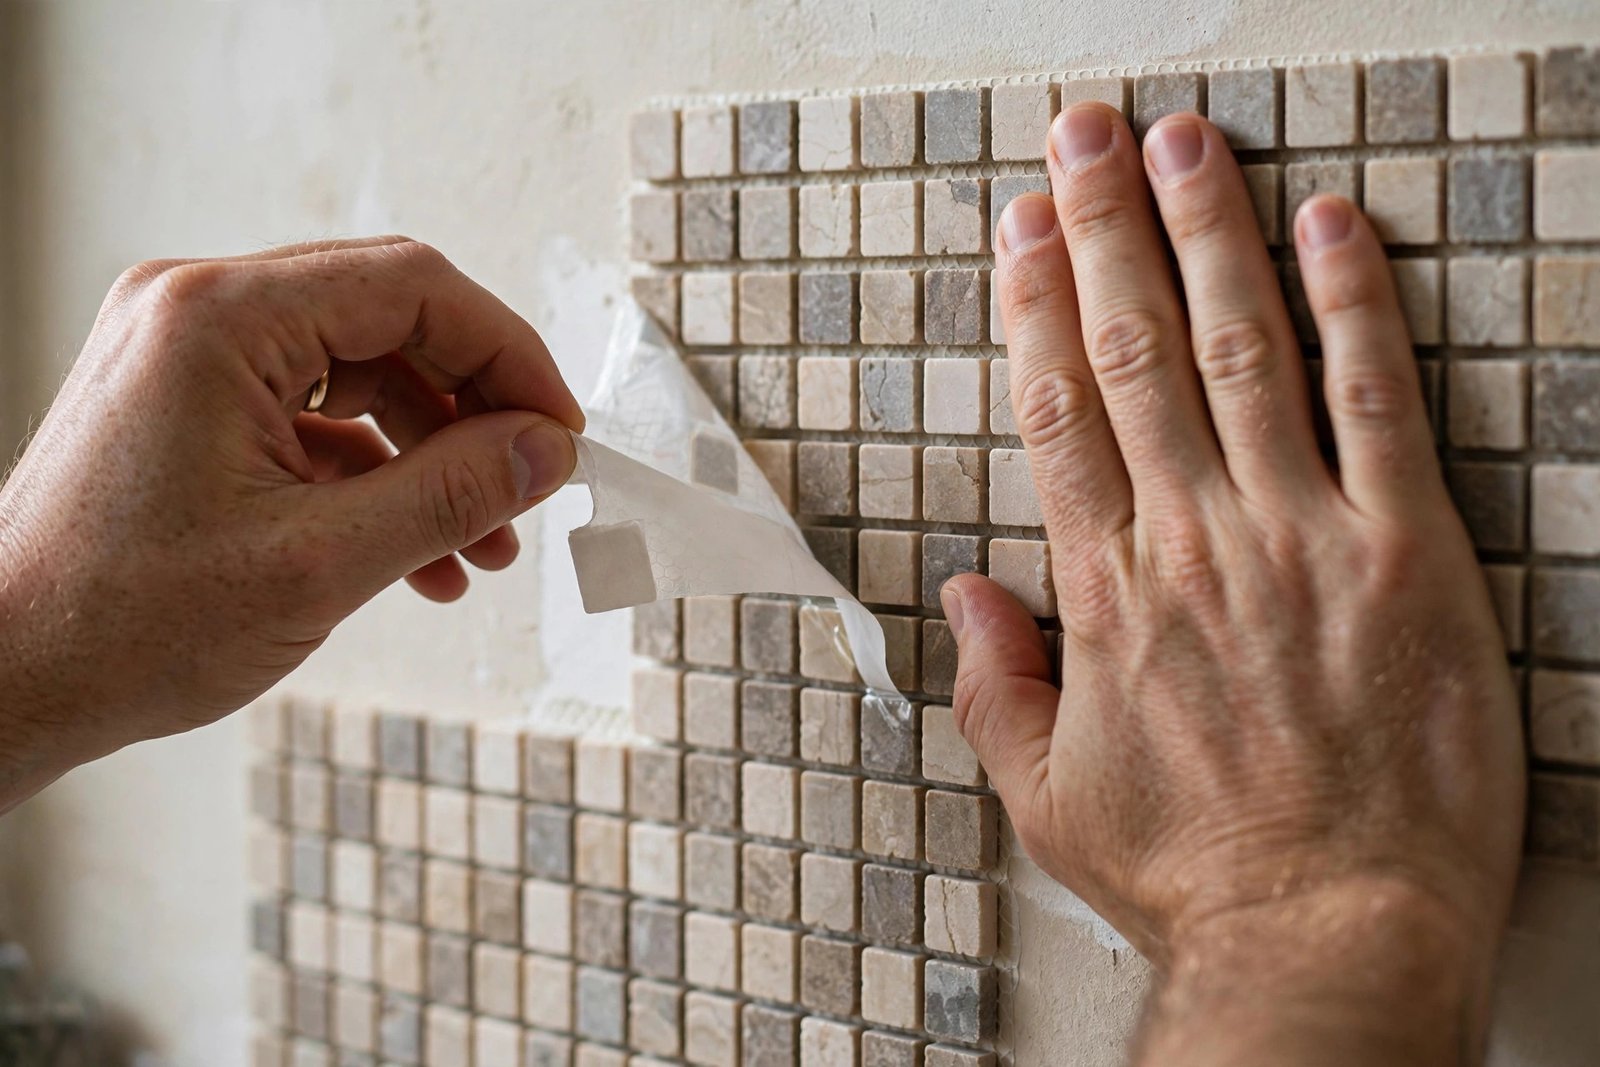
Cost: about $4–$30/sq ft (materials, HomeGuide). Difficulty: easy. Best for: renters, weekend projects, modern and minimalist kitchens.
2. Classic ceramic subway tile
The budget king of “real” tile. White 3×6 ceramic subway tiles sell for as little as $2 per square foot (Better Homes & Gardens), and HomeGuide puts the general ceramic range at $1–$8 per square foot. Laid in a running bond pattern with light grout, they read timeless; stacked vertically or in a herringbone layout, the same cheap tile looks like a design choice.
You will need thinset or mastic, grout, spacers, and a way to cut tile — but for 30 square feet, a snap cutter or a rented wet saw is plenty. Angi notes that a basic DIY tool kit runs about $300 if you’re starting from nothing, and most of those tools serve every future project too. Grout lines need a scrub every so often, but glazed ceramic wipes clean in seconds and shrugs off heat behind the stove.
Cost: about $1–$8/sq ft (materials, HomeGuide). Difficulty: medium. Best for: farmhouse, classic, and transitional kitchens — the look everyone trusts.
3. A painted backsplash
The absolute cheapest option: a gallon of good washable paint and a free Saturday. Scuff the existing wall or tile, prime, and roll on a scrubbable semi-gloss or high-gloss finish — gloss matters, because it resists grease and wipes clean. Want more personality? Use painter’s tape to block out stripes, an arch, or a faux-tile grid.
Paint works over drywall, old laminate, and even existing tile with the right bonding primer. If your whole kitchen needs a refresh, our walkthrough on painting a room covers the prep and technique in detail. Just keep paint out of the splash zone directly behind the range unless you top it with a clear heat-safe sealer.
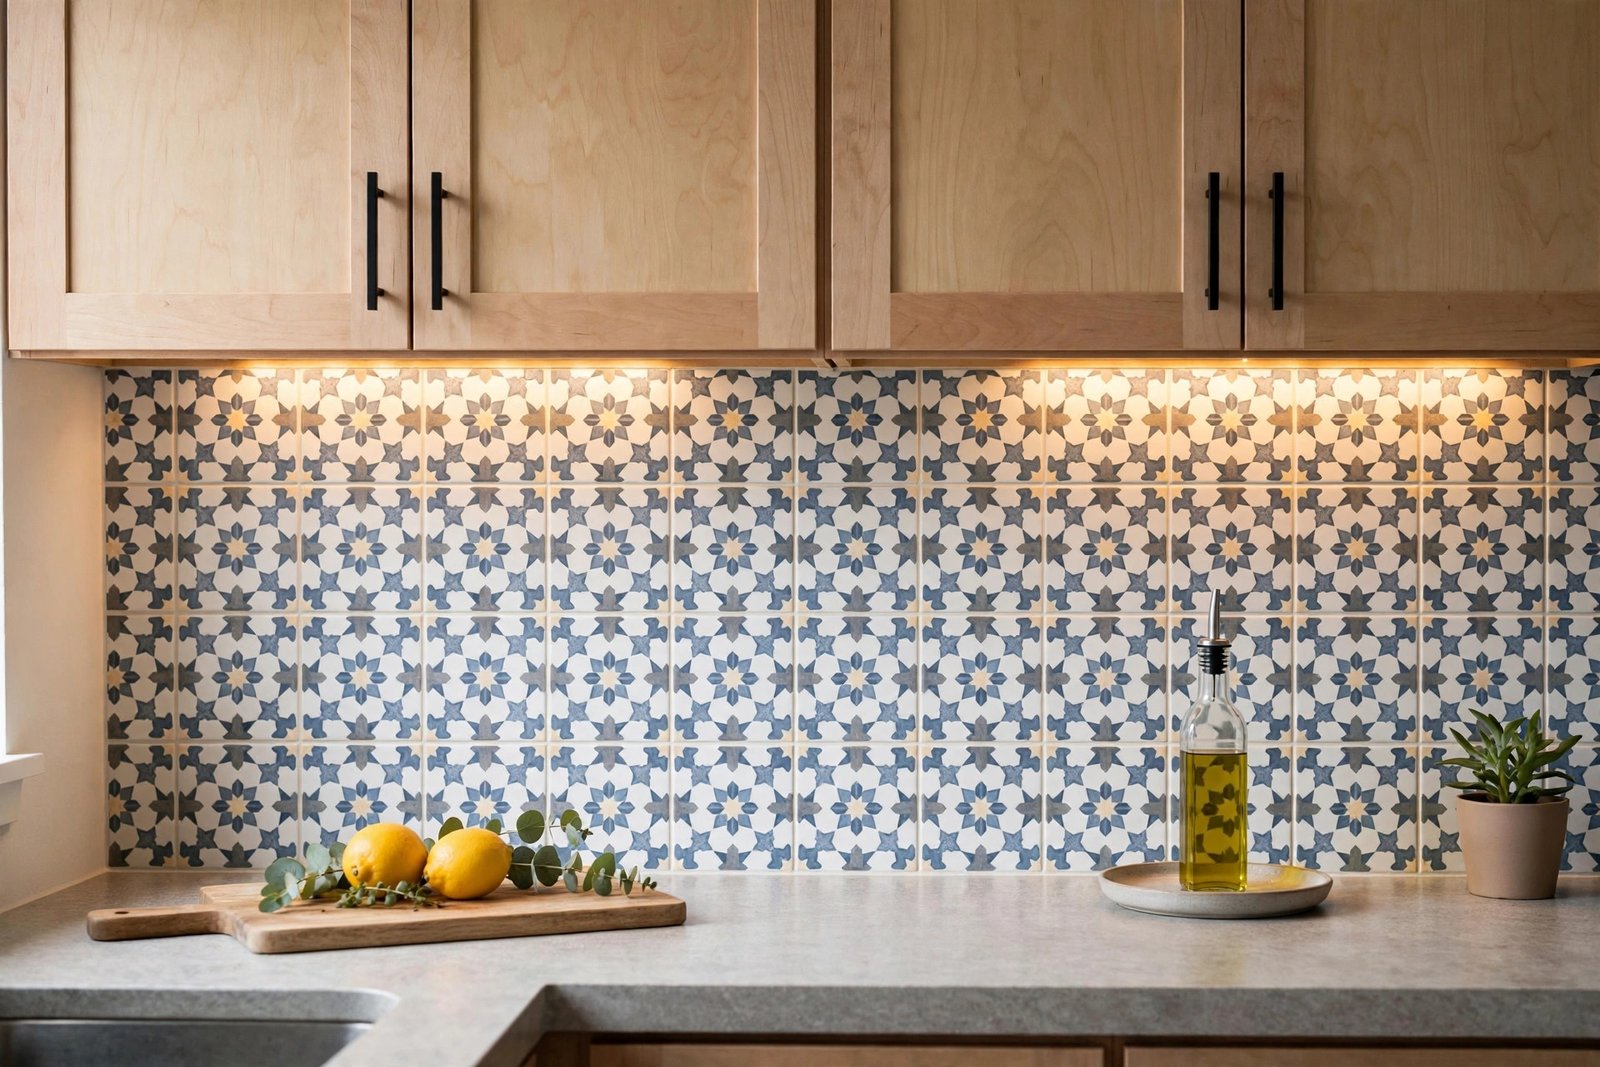
Cost: under $1/sq ft in paint. Difficulty: easy. Best for: ultra-tight budgets, bold color statements, minimalist kitchens.
4. Beadboard panels
Beadboard brings cottage charm for roughly a dollar a square foot. Tasting Table reports a 32-square-foot beadboard panel going for under $30 at major retailers, while HomeGuide pegs the material range at $0.50–$3.00 per square foot — a fraction of what real tile costs for the same coverage. Cut panels to size, glue or nail them up, caulk the seams, and paint with a satin or semi-gloss finish for wipeability. Designers like Erin Napier have used beadboard as a budget backsplash alternative for exactly this reason: it adds texture and character for pocket change.
Choose PVC or moisture-resistant MDF for the wall behind the sink. In dry zones it lasts for years; in constant-splash zones, make sure every seam is caulked and painted.
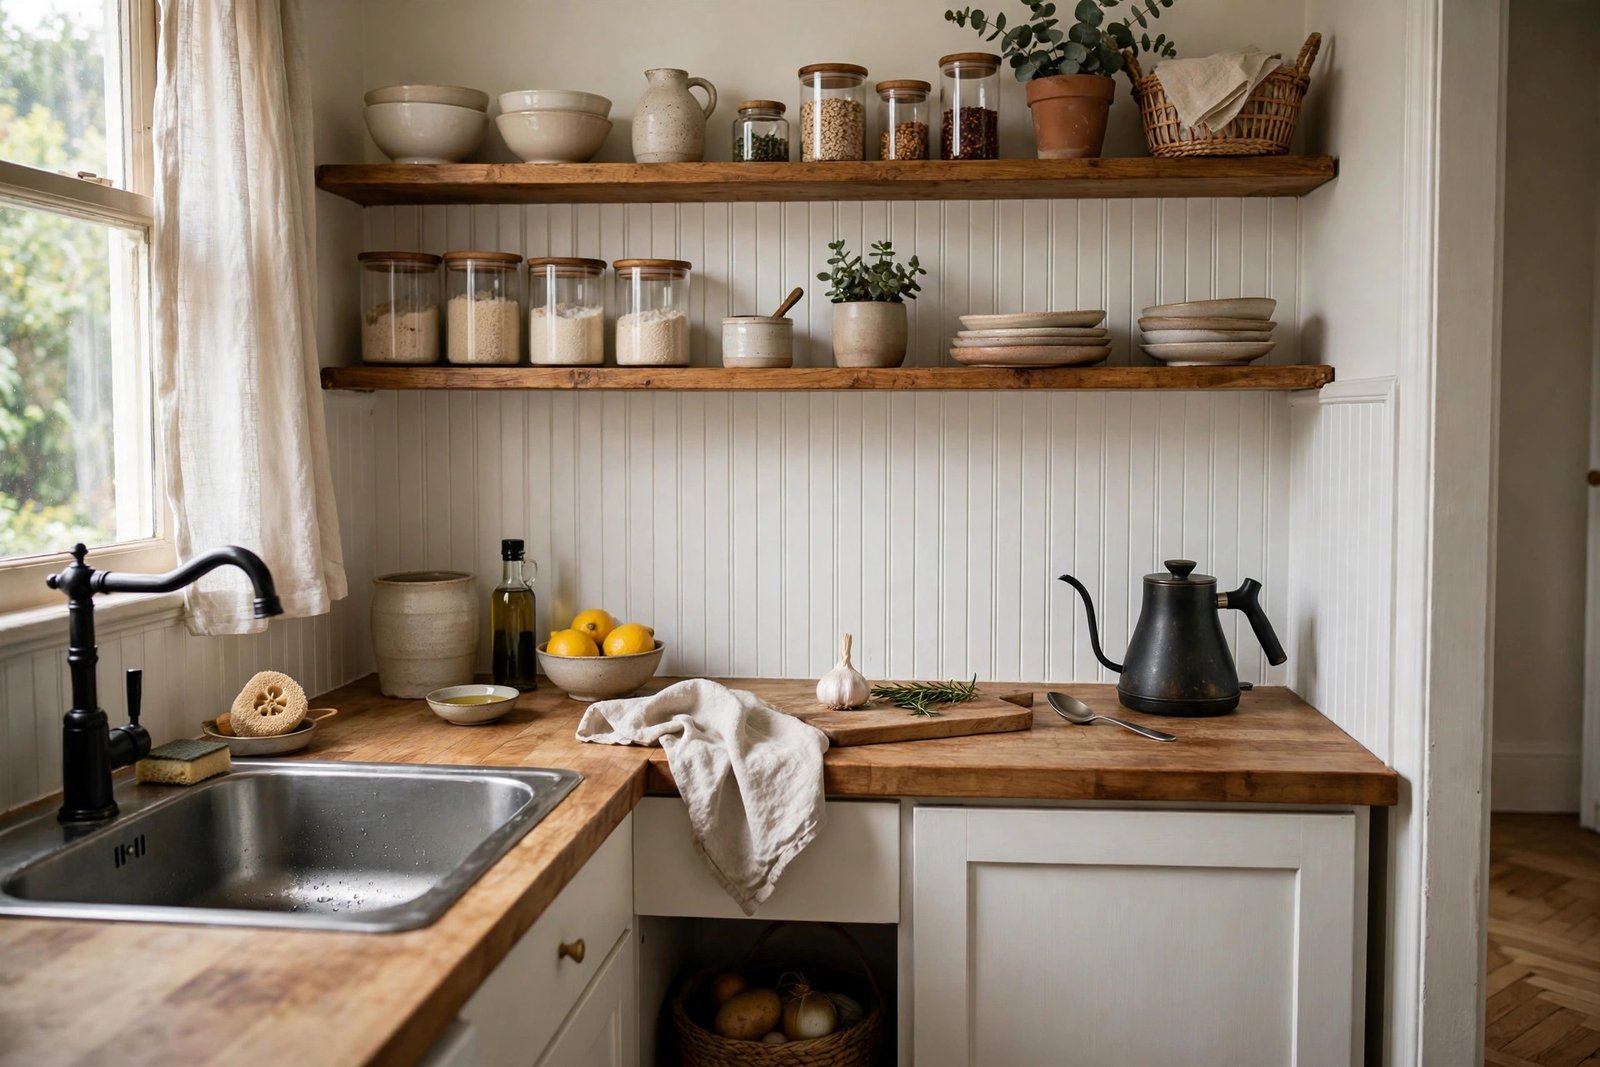
Cost: about $0.50–$3/sq ft (materials, HomeGuide). Difficulty: easy. Best for: farmhouse, cottage, and coastal kitchens.
5. Brick veneer
They install like ceramic tile with mortar or mastic, and a limewash treatment tones down the red for a softer, modern-farmhouse feel. Angi’s cost data notes that brick is among the most affordable pro-installed materials, with budget projects landing near $300 total — and DIY cuts that further.
Brick is porous, so seal it well, especially behind the stove. Unsealed brick near a gas range will absorb grease and never quite forgive you.
Cost: among the cheapest installed materials (Angi). Difficulty: medium. Best for: industrial, rustic, and modern farmhouse kitchens.
6. Pressed tin and ceiling tiles
Those ornate Victorian ceiling panels? They make spectacular backsplashes. Tin-look PVC or real metal tiles come in 12×12 sheets that nail or glue up in minutes, and the deep patterns bounce light beautifully in small kitchens. HomeGuide prices metal/tin at $10–$30 per square foot, so this one sits at the upper end of “budget” — but it punches far above its price visually.
Pick a wipeable finish and keep real (uncoated) tin away from the heaviest splash zones unless sealed. Pair with simple countertops; let the texture be the star.
Cost: about $10–$30/sq ft (materials, HomeGuide). Difficulty: easy–medium. Best for: vintage, eclectic, and maximalist kitchens.
7. Removable wallpaper
The pattern playground. Washable, vinyl-coated removable wallpaper gives you terrazzo, botanical prints, or bold geometrics for $0.35–$1.65 per square foot (HomeGuide) — and you can swap it in an hour when your taste changes. For extra armor behind the sink, mount a clear acrylic panel over it.
This is the only option here that lets you test-drive a dramatic pattern with zero commitment. If you hate it Sunday, it’s gone Monday.
Cost: about $0.35–$1.65/sq ft (materials, HomeGuide). Difficulty: easy. Best for: renters, maximalists, anyone who redecorates often.
8. Vinyl decals and mosaic stickers
Think of these as the middle ground between wallpaper and tile: individual tile-shaped stickers (often metallic, marble-look, or Moroccan-patterned) that you press directly over existing tile or flat wall. They cost less than full peel-and-stick sheets, go up in under an hour, and are perfect for camouflaging dated tile you can’t remove — a classic renter workaround.
Treat them as a stylish temporary fix rather than a forever solution: they’re less heat- and moisture-proof than grouted tile, so favor the sink wall over the range wall.
Cost: usually $1–$5/sq ft retail. Difficulty: very easy. Best for: covering ugly existing tile, dorms and rentals, quick flips.
9. Refresh the tile you already have
Don’t overlook the backsplash hiding under your nose. Existing ceramic tile can be deep-cleaned, re-grouted, and painted with a tile-specific epoxy paint for a like-new finish — Angi lists epoxy repainting among its top budget strategies. Re-grouting alone can take a dingy 1990s backsplash from sad to sharp for the price of a bag of grout.
If your grout is crumbling or tiles are cracked, the cost of tile-specific epoxy plus a weekend still lands far below retiling. This pairs nicely with small-space fixes elsewhere — just as small bathroom remodel costs stay low when you keep the footprint and reuse what works.
Cost: $20–$60 total for a small area. Difficulty: easy–medium. Best for: homeowners who like their layout but hate the color.
Backsplash Materials Compared
Quick side-by-side of the main budget materials. Costs are material-only, from HomeGuide’s 2026 backsplash cost data.
| Material | Typical cost / sq ft | DIY difficulty | Durability | Best style match |
|---|---|---|---|---|
| Paint | Under $1 | Easy | Good if scrubbable | Minimalist, modern |
| Wallpaper / decals | $0.35–$1.65 | Easy | Fair; keep from heat | Eclectic, renter |
| Beadboard | $0.50–$3.00 | Easy | Good when sealed | Farmhouse, cottage |
| Ceramic subway tile | $1–$8 | Medium | Excellent, decades | Classic, transitional |
| Peel-and-stick tile | $4–$30 | Easy | 3–5 years typical | Modern, renter |
| Glass tile | $5–$25 | Medium | Excellent | Modern, luxe |
| Metal / tin tile | $10–$30 | Easy–Medium | Very good | Vintage, eclectic |
Match the Backsplash to Your Kitchen Style
Modern kitchens love contrast: glossy white subway tile against dark cabinets, or peel-and-stick concrete-look sheets in an all-white space. Keep grout lines tight and grout color close to the tile for a seamless, calm wall.
Farmhouse kitchens are beadboard and brick territory. White-painted beadboard under open shelving, or limewashed brick veneer behind the range, reads cozy without trying. Warm wood tones and oil-rubbed bronze fixtures complete the picture.
Minimalist kitchens want the backsplash to nearly disappear: a single sheet of painted drywall in a soft neutral, back-painted glass, or oversized matte ceramic with matching grout. Fewer lines, fewer materials, more calm.
One design rule works everywhere: let one surface be the star. A busy granite or veined countertop wants a quiet backsplash; a plain laminate counter can handle patterned tile or bold wallpaper. Choose your countertop and cabinets first, then let the backsplash play a supporting role.
Step-by-Step: Install Peel-and-Stick Tile in an Afternoon
This is the cheapest route that still looks like “real” tile, and the one we’d hand a first-timer. Total time: 3 to 5 hours for a standard wall.
- Clear and clean. Remove outlet covers, take small appliances off the counter, and wipe the wall with a degreasing cleaner. Let it dry completely — adhesion is everything.
- Measure and buy. Measure each section, add 10% extra, and buy all your sheets from the same batch so the color matches.
- Plan the layout. Find the center of the wall and dry-lay a row of tiles on the counter to see where cuts will fall. You want cut edges at the corners and under cabinets, not in the middle.
- Start at the center-bottom. Peel the backing from the first tile, align its bottom edge with the counter (leave a hairline gap for caulk), and press firmly from the center outward to push out air bubbles.
- Work outward and up. Butt each tile tight against the last. Overlap patterns according to the sheet’s design so grout lines or motifs line up.
- Cut around outlets. Mark outlet positions on the tile back, cut with a utility knife and straightedge, then reinstall the outlet covers over the tile.
- Finish the edges. Run a thin bead of paintable caulk along the counter line and any open edges for a finished look and a moisture barrier.
Stand back and admire. If a tile goes down crooked, peel it off within the first few minutes and reposition — most adhesives forgive one or two tries.
Frequently Asked Questions
What is the cheapest backsplash option?
Paint. A gallon of scrubbable semi-gloss paint covers roughly 350 square feet, so a typical 30- to 50-square-foot backsplash costs well under $1 per square foot in materials. Removable wallpaper ($0.35–$1.65/sq ft per HomeGuide) is the cheapest option that adds real pattern.
Is peel-and-stick backsplash worth it?
It’s the fastest install, requires no special tools, and looks convincing from a few feet away — ideal for renters, quick refreshes before selling, and anyone testing a look. Just don’t expect the decades-long lifespan of grouted ceramic, and keep it away from direct range heat.
Can you put a backsplash over existing tile?
Yes — this is one of the best budget moves. Peel-and-stick sheets and vinyl decals adhere directly to smooth, clean existing tile, and beadboard panels can mount right over it. For real tile over tile, the old surface must be sound, degreased, and roughed up so the new mortar bonds; many tilers also recommend a bonding primer.
How long does a DIY backsplash take?
Peel-and-stick, paint, or wallpaper: one afternoon (3–5 hours). Beadboard or tin panels: a weekend day. Real ceramic tile: a weekend, plus a day of drying before grouting. Add a day if you’re removing an old backsplash first — installers charge $2–$5 per square foot for removal (HomeGuide), so DIY demo saves real money.
Do I need to seal a budget backsplash?
It depends on the material. Glazed ceramic, glass, and vinyl peel-and-stick need no sealing. Natural stone, brick veneer, and unsealed grout absolutely do — penetrating sealers are cheap insurance against grease stains. Painted and beadboard backsplashes should get a scrubbable topcoat or semi-gloss finish so they wipe clean.
The Bottom Line
A great backsplash isn’t about spending more — it’s about spending smart. Kitchen backsplash ideas on a budget work because the wall area is small: even premium-looking materials stay affordable when you’re only covering 30 to 50 square feet. Start with your measurement, pick the material that matches your skill level and style, and remember the 10% extra rule. By this time next weekend, you could be cooking in front of a wall that looks like it cost ten times what you paid.