
How to Remove Wallpaper Without Ruining Your Walls (2026 Guide)
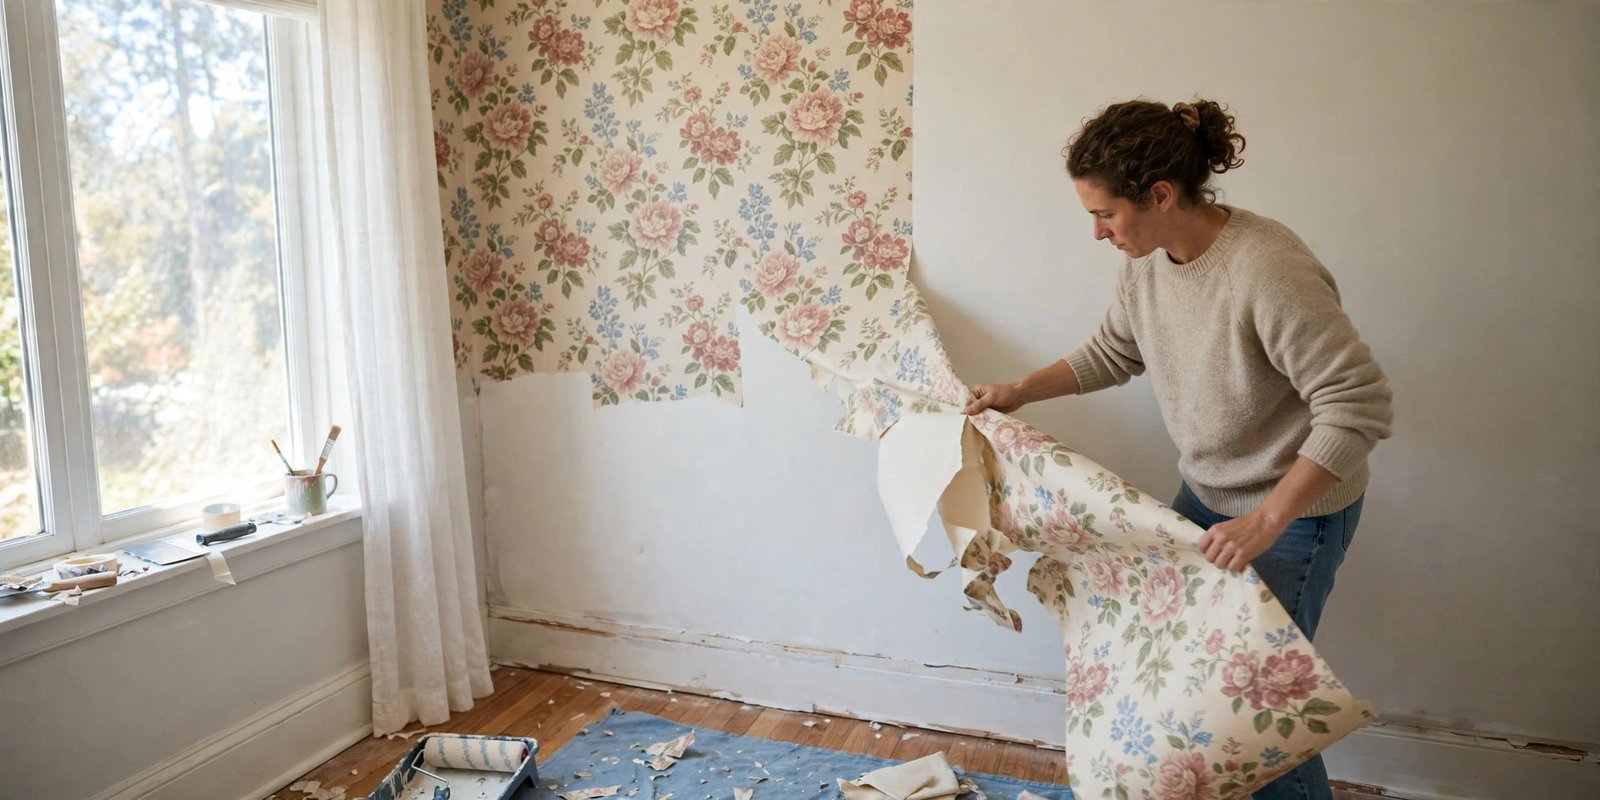
You bought the house, or maybe you’re just tired of the floral explosion in the hallway, and now you’re Googling how to remove wallpaper while staring at a wall that has clearly been there since the 1980s. The internet will greet you with horror stories: shredded drywall, weeks of scraping, adhesive that laughs at your efforts. Here is the truth most of those stories leave out: wallpaper removal is a technique problem, not a strength problem. Once you match the method to the paper type on your wall — peel-and-stick, strippable, traditional pasted, or vinyl — the paper mostly lets go on its own. In this guide you’ll get all four proven methods, a tools list with real-world costs, a step-by-step process that works every time, and the cleanup routine that leaves your walls ready for paint or new paper.
Before You Start: Test Your Paper and Protect Your Walls
The single biggest time-saver in this whole project takes thirty seconds. Go to an inconspicuous corner or an edge behind a door, slide a putty knife under the paper, and peel back a small section. What you see determines everything that follows:
- It comes off clean in full sheets, leaving a smooth wall behind. You have strippable or peel-and-stick wallpaper. Congratulations — this is a one- or two-hour job.
- The face peels off but a paper backing stays stuck. That’s classic vinyl wallpaper. You’ll need to deal with the two layers separately.
- Nothing budges, or the paper shreds into tiny pieces. You have traditional pasted wallpaper (or several layers of it). This is the scenario that calls for scoring, soaking, and patience.
If your home was built before 1978, take one extra precaution before you start disturbing anything: test for lead-based paint under the wallpaper. The EPA’s lead paint safety rules require care with renovations in older homes, and a cheap hardware-store test kit takes minutes. This matters because scraping and steaming can release dust from old painted surfaces hiding under the paper.
Now prep the room like a pro. Shut off power to the room at the circuit breaker, remove all outlet and switch plates, and cover the openings with painter’s tape. Tape a plastic sheet along the baseboards to protect the trim and floor — the approach recommended in the step-by-step guide from This Old House, which also puts the total cost of tools and materials for this project at around $75 and estimates that a steady hand can strip 35 to 50 square feet per hour. That pace means a single bedroom wall can genuinely be done in an evening.
What You’ll Need: Tools and Materials
You don’t need a workshop full of equipment. Here is everything, with typical US retail prices so you can budget before you start:
| Item | What it does | Typical cost |
|---|---|---|
| Wallpaper scoring tool | Punches tiny perforations so soaking solution can reach the paste | $10–$15 |
| Enzyme-based wallpaper remover | Dissolves old paste faster than water alone | $12–$20 per concentrate |
| 3-inch plastic putty knife or scraper | Peels loosened paper without gouging the wall | $5–$12 |
| Garden pump sprayer or spray bottle | Applies soaking solution evenly over large areas | $15–$30 |
| Wallpaper steamer (rent) | Blasts steam through stubborn or multi-layer paper; see this wallpaper steamer rental guide for how the process works | ~$40–$75 per day |
| Wallpaper steamer (buy) | Worth it if you’re stripping more than two rooms | $50–$100 |
| Canvas drop cloth + plastic sheeting | Protects floors and baseboards from soaking-wet paste | $10–$20 |
| Bucket, sponges, painter’s tape | Washing, masking, general cleanup | $10–$15 |
Prices are typical retail — check your local hardware store for current pricing. If you’re only doing one room, skip buying the steamer and rent it; buying starts paying off once you’re past two rooms.
how to remove wallpaper: the four proven methods
Here’s where the corner test pays off. Each paper type has its own removal logic, and using the right one is the difference between a relaxing afternoon and a weekend of frustration.
1. Peel-and-Stick Wallpaper (the easy one)
Peel-and-stick is the renter’s favorite for a reason: it comes off the way it went on. Start at a corner, pull the sheet back on itself at a low angle, and keep a slow, steady pace — yanking fast is what tears the face and leaves adhesive behind. If a section resists, warm it for 30 seconds with a hair dryer on low; heat softens the adhesive and the sheet will usually release. Any sticky residue left behind wipes off with warm water and a drop of dish soap.
2. Strippable Wallpaper (the one that was designed for this)
Strippable paper looks like traditional pasted paper but was manufactured with a special backing that releases from the wall. Grab a corner at the top of the strip and pull downward and slightly outward at about a 30-degree angle. When it works — and it usually does — each strip comes off in one clean piece with no residue at all. If you bought an older home, don’t assume: plenty of people discover their “impossible” paper was strippable all along once they actually try the corner test.
3. Traditional Pasted Wallpaper (the classic battle)
This is the scenario most people picture, and it’s where the real technique lives. Old-school pasted paper — and its paper backing — won’t dissolve on its own, so you have to get moisture behind it:
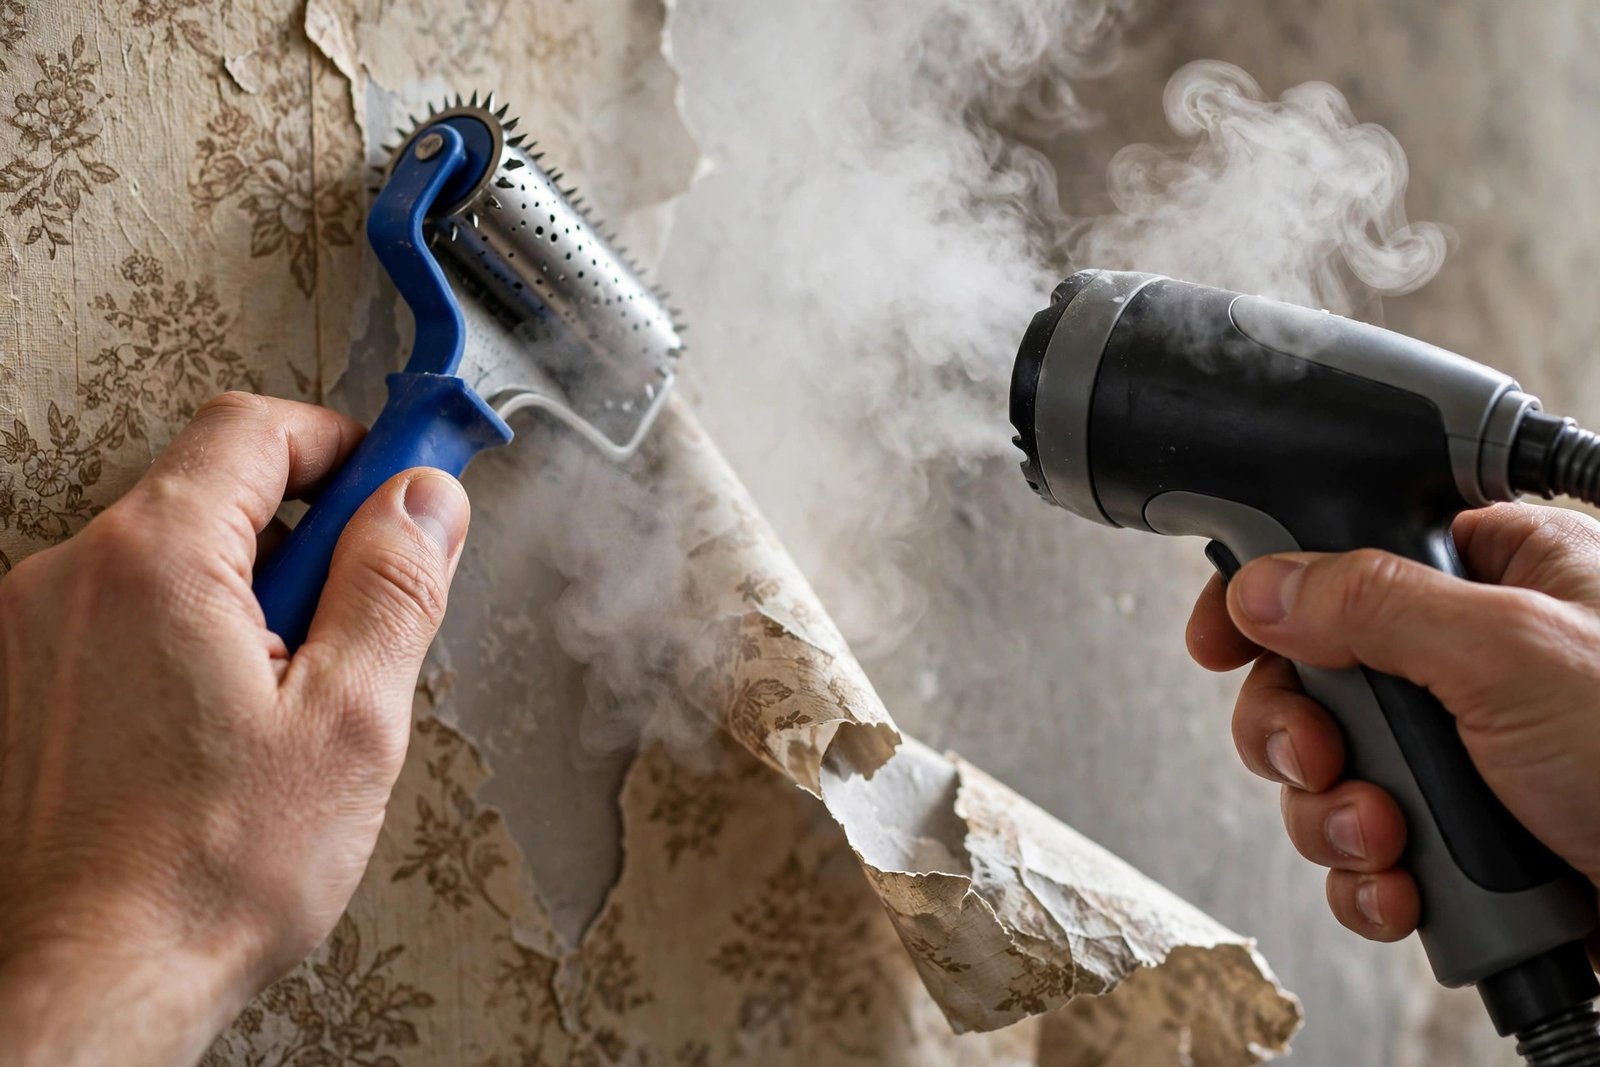
- Score lightly. Roll a scoring tool over the paper in overlapping circles to punch tiny perforations — This Old House suggests roughly 10 perforations per square inch — just enough for liquid to reach the paste. Press lightly on drywall: you want to nick the paper, not the wall surface beneath it.
- Soak a section. Spray the scored area generously with an enzyme-based wallpaper remover mixed per the label, or with a 50-50 mix of white vinegar and hot water in a spray bottle — the vinegar-and-water solution approach This Old House recommends for stubborn backing. Work one wall at a time so nothing dries out before you get to it.
- Wait 15–20 minutes. Let the solution do the work. You’ll know it’s ready when the paper bubbles or darkens with moisture.
- Scrape from the top down. Slide a plastic putty knife under the paper at the top of the wall and peel downward. For stubborn patches, re-soak and wait again rather than forcing it — forcing it is how drywall gets gouged.
Another classic trick for how to remove wallpaper in older homes: work in small sections and re-wet anything that starts drying. Oversaturation is the enemy on unprimed drywall, which can turn to mush if it sits wet for too long, so apply plenty of solution but don’t let puddles linger.
4. Vinyl Wallpaper (the two-step process)
Vinyl is waterproof by design, which means soaking solution bounces right off its face. The fix is a two-step: first, peel off the vinyl face layer — it usually separates from its paper backing with a little coaxing — then treat the exposed backing exactly like traditional pasted paper: score, soak, wait, scrape. If you’re dealing with multiple layers of paper, consider renting a steamer. Steam penetrates layered paper better than any liquid, and as This Old House notes, it can turn a multi-layer nightmare into a manageable one-afternoon job.
The Step-by-Step Process That Works Every Time
Whatever paper type you have, the rhythm of the job is the same:
- Prep and protect. Furniture to the center of the room, drop cloths down, plastic taped to the baseboards, power off, plates removed and taped over.
- Do the corner test. Thirty seconds now saves hours later — it tells you which of the four methods you’re actually dealing with.
- Score (unless it’s peel-and-stick). Light, overlapping passes. Remember: you’re perforating paper, not engraving the wall.
- Soak in sections. Start at the top of one wall and work down. Give the solution 15–20 minutes to penetrate the paste before you touch the paper.
- Peel or scrape top to bottom. Keep your scraper nearly flat against the wall and push forward rather than digging in.
- Hit the stubborn spots. Re-soak anything that resists, and for paper that still won’t budge after two soaks, bring out the steamer: hold the steam plate against the wall for 10–15 seconds, then peel while the paste is hot and soft.
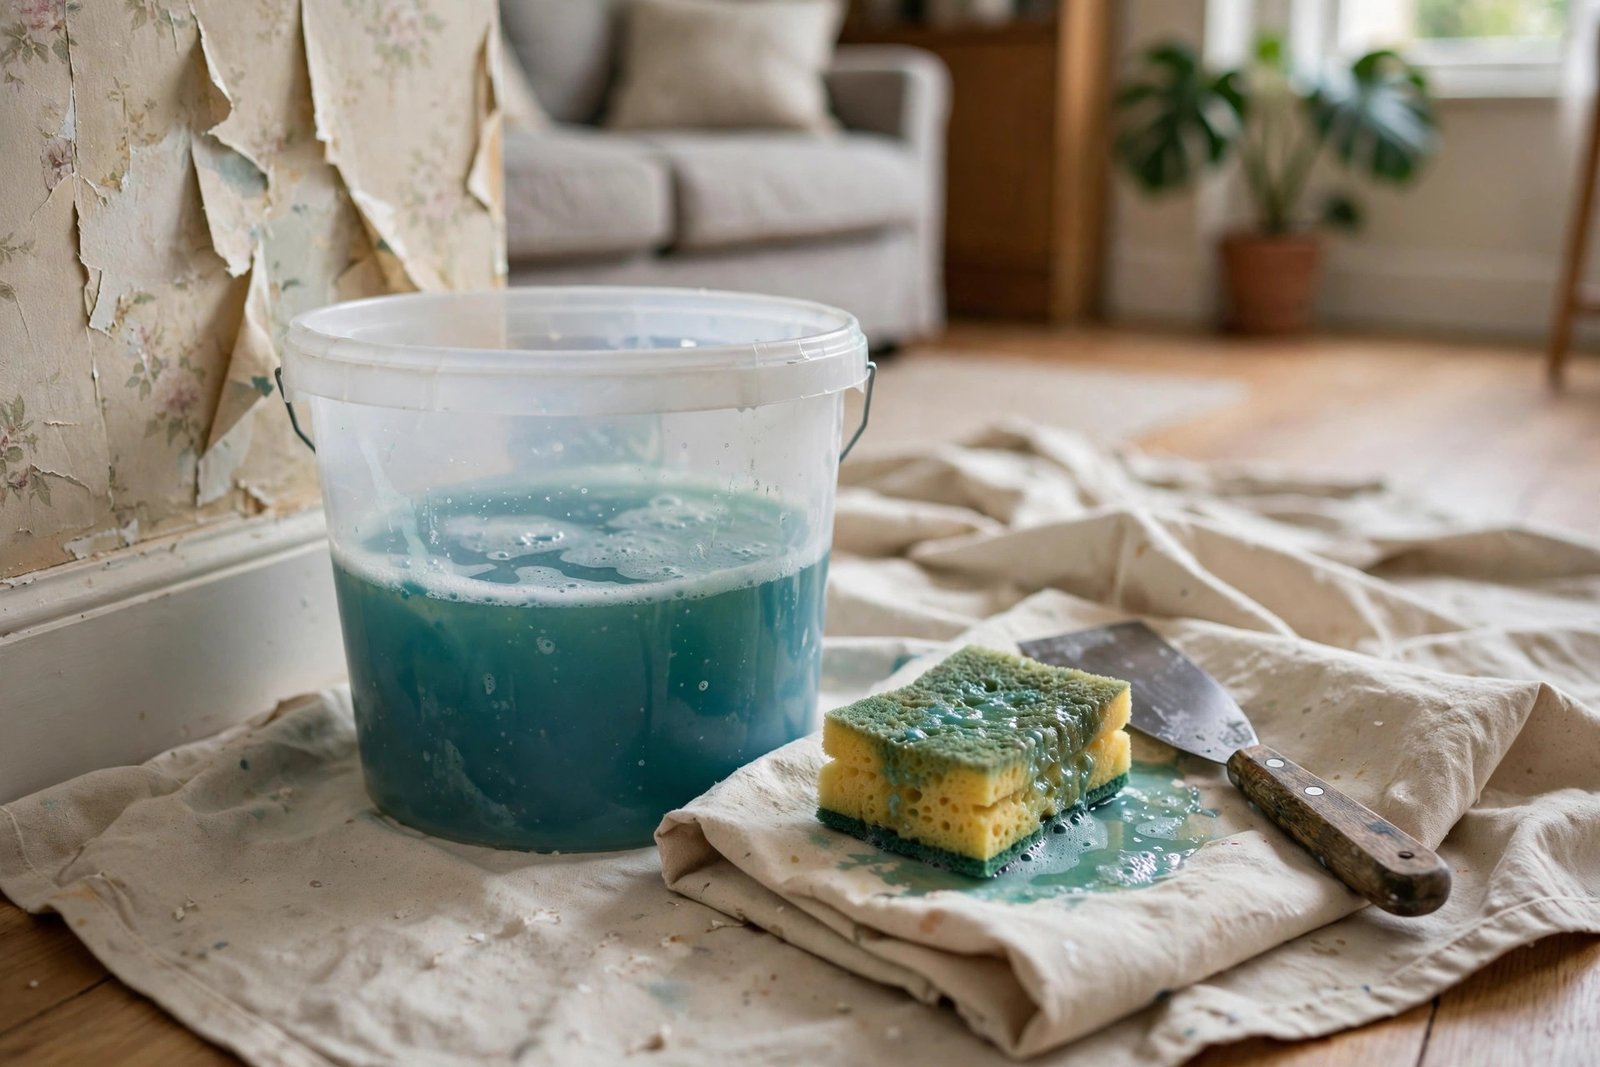
- Wash the walls. Once every scrap is off, scrub the bare wall with a sponge and warm, soapy water, then rinse with clean water. This step is non-negotiable — leftover paste will keep new paint or new wallpaper from adhering properly.
- Let everything dry. Give the walls a full 24–48 hours to dry completely before painting or repapering. Residual moisture under fresh paint causes blistering you’ll regret for years.
Cleanup and Prep for What’s Next
Bag the paper strips as you go — wet wallpaper is heavy and it will stain flooring if left lying around. Inspect the bare walls in good light: small nicks from the scraper are normal, and you can patch small holes in drywall with spackle and a sanding sponge in minutes. Once dry, sand any rough spots lightly and apply a primer before painting — new paint on raw drywall without primer looks uneven and may peel.
If this project is part of a bigger room refresh, now is the perfect moment to follow our guide to painting a room like a pro. And if you’re stripping a bathroom, take an hour to deal with the limescale on your showerhead too — a room makeover feels a lot more finished when the fixtures look new as well.

5 Mistakes That Ruin Walls (and How to Avoid Them)
- Skipping the corner test. People soak and scrape strippable paper for hours before discovering it would have peeled off by hand. Test first, always.
- Scoring too aggressively on drywall. The scoring tool’s little wheels can cut through drywall’s paper face if you lean on it. Light pressure — let the wheels do the work.
- Oversaturating the wall. Water is your solvent, but drywall is basically a sponge wrapped in paper. Soak the paper, not the wall, and don’t let sections sit dripping wet for an hour.
- Forcing dry paper. When people ask how to remove wallpaper that’s been painted over, the answer is almost always the same: the paint sealed the surface, so the soaking solution can’t reach the paste. The fix is more aggressive scoring plus a stronger remover or steam — not more muscle. Forcing it tears off drywall face paper, which is a much bigger repair.
- Skipping the wash-down. Invisible paste residue is the number-one cause of new paint bubbling or peeling within months. Wash and rinse every wall, even the ones that look clean.
Frequently Asked Questions
Can I learn how to remove wallpaper without renting a steamer?
Yes. Most traditional pasted paper comes off with the score-and-soak method using an enzyme remover or a vinegar-and-water mix. A steamer is a speed upgrade for stubborn, multi-layered, or painted-over paper — rent one if you’re facing more than one difficult wall.
How long does it take to strip a room?
A pro can clear 35–50 square feet per hour once in a rhythm, per This Old House — so a single accent wall might take an hour while a whole bedroom can take a full day. Strippable or peel-and-stick paper is dramatically faster than old pasted paper.
Can I just paint over the wallpaper?
You can, but painting contractors generally advise against it: seams will still show through, and the paint can loosen the paper and cause bubbling. Stripping first is the only way to get a truly smooth, long-lasting finish.
Will removing wallpaper damage plaster walls?
Plaster is actually more forgiving than drywall when it comes to moisture — it doesn’t turn to mush. But old plaster can crumble at the surface, so scrape gently and keep the putty knife nearly flat. Minor crumbling patches can be skim-coated with joint compound.
What do I do about wallpaper that was painted over?
Score it aggressively — the paint layer blocks soaking solution, so you need more perforations for the liquid to reach the paste underneath. Then soak with an enzyme remover, and if that fails after a couple of tries, bring in a steamer. Expect this scenario to take roughly twice as long as unpainted paper.
Conclusion
Learning how to remove wallpaper without damaging your walls comes down to three habits: test the paper before you commit to a method, let moisture and steam do the heavy lifting instead of your scraper, and always wash the walls afterward. Do that, and a project with a scary reputation becomes a satisfying one-afternoon transformation. Whether you’re prepping for fresh paint or just reclaiming a room from someone else’s taste, the clean wall underneath is worth the effort.