Peeling a sticker off should be the easy part. Instead, you are left with a cloudy, tacky patch that attracts dust, refuses to wipe away, and somehow looks worse than the sticker did. Learning how to remove sticker residue properly is less about scrubbing harder and more about matching the method to the surface — because the trick that cleans glass in seconds can ruin wood, strip paint, or cloud a phone screen.
This guide gives you a complete by-surface system: the right method for glass, plastic, wood, fabric, electronics, and painted walls, the household items that actually work, and — just as importantly — what ruins each surface. No single miracle product works everywhere, but the right approach for each material does.
Why Sticker Residue Is So Stubborn
Most stickers use pressure-sensitive adhesives: soft, sticky polymers designed to grip on contact and stay put. When you peel the sticker away, a thin layer of that adhesive stays bonded to the surface, and it is engineered to resist water, which is why a damp cloth alone rarely works. Heat softens it, oils dissolve it, and solvents break it down — but each of those approaches carries a risk depending on what is underneath.
That is the central rule of this guide: the adhesive is the same problem everywhere, but the surface underneath decides the solution — and that is why how to remove sticker residue has no single answer.
How to Remove Sticker Residue: The Golden Rules
Before you touch a specific surface, follow these rules on every job:
Start gentle, escalate slowly. Always try warm soapy water first. If that fails, move to oil, then to a commercial adhesive remover, and only then to solvents — and only on surfaces that can take them.
Test in a hidden spot. Dab your chosen method on an inconspicuous corner and wait a minute. If the finish clouds, softens, or discolours, stop and switch methods.
Let the product do the work. Adhesive removers need dwell time. Apply, wait two to five minutes, then wipe or peel. Scrubbing a dry patch just grinds adhesive deeper into the surface.
Work from the edges inward. Lifting an edge and rolling the residue toward the centre keeps you from spreading sticky adhesive across a clean area.
Finish with a clean wipe. Oils and solvents leave their own film. Always finish with warm soapy water (or a screen-safe wipe on electronics) so the surface is genuinely clean, not just less sticky.
The By-Surface Matrix at a Glance
| Surface | Best method | Also works | Never use |
|---|---|---|---|
| Glass | Hot soapy water + razor scraper | Cooking oil, white vinegar, rubbing alcohol | Abrasive pads on coated glass |
| Plastic | Cooking oil or peanut butter | Warm soapy water, eraser, hair dryer | Acetone, nail polish remover |
| Wood (finished) | Cooking oil, buffed off gently | Hair dryer + plastic scraper | Solvents, steel wool, excess water |
| Fabric | Rubbing alcohol or hand sanitiser | Iron + paper towel (heat transfer) | Bleach, acetone on synthetics |
| Electronics / screens | Screen-safe wipe, gentle rolling | Damp microfibre cloth | Alcohol on coated screens, solvents |
| Painted walls | Hair dryer + gentle peeling | Eraser, tiny amount of oil | Solvents, steam, aggressive scraping |
Glass: The Easiest Win
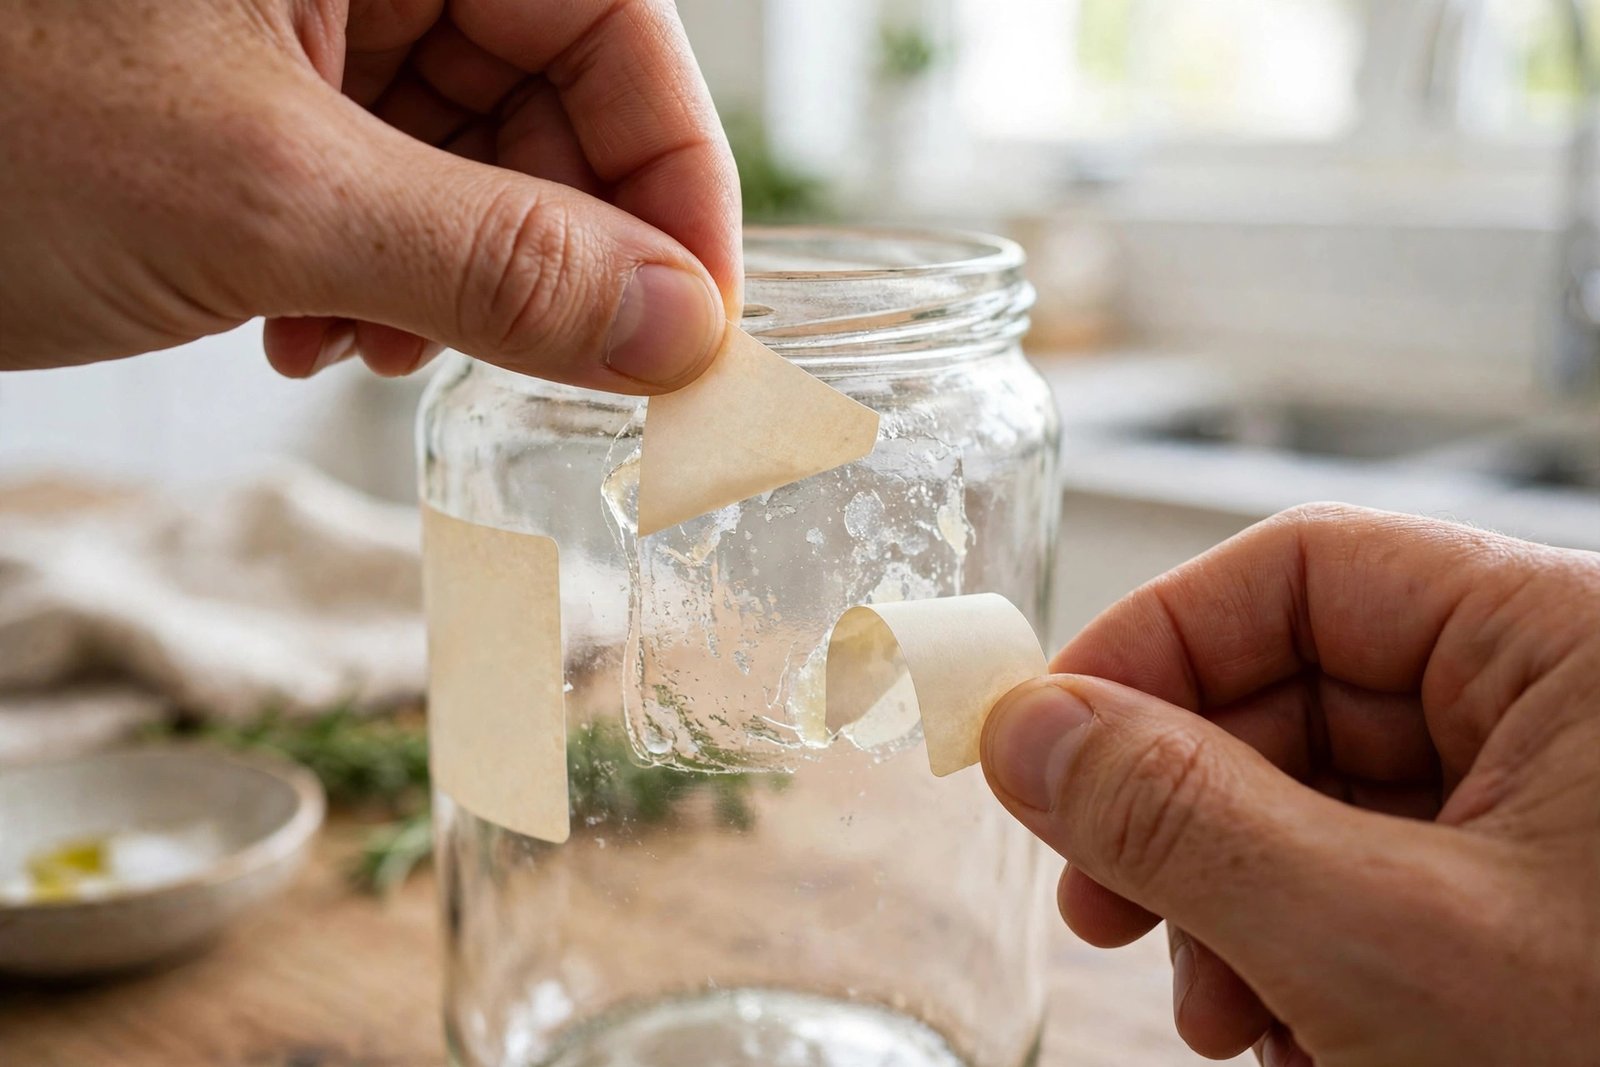
Glass is the most forgiving surface in the house, which makes it the best place to start if you are learning how to remove sticker residue. Soak the item in hot, soapy water for ten to fifteen minutes and most paper labels will slide off, residue included. For stubborn patches, apply a little cooking oil or white vinegar, wait five minutes, and wipe.
For flat glass — windows, mirrors, jars you cannot soak — a razor scraper held at a low angle takes residue off in seconds. Keep the blade flat and the glass wet to avoid scratches, and never use a razor on coated, tinted, or tempered glass with a film, where the blade can damage the coating. A plastic scraper or old credit card is the safe substitute there. For a detailed walkthrough with photos, this step-by-step sticker residue guide covers glass and several other surfaces.
What ruins glass: very little, but abrasive scouring pads can scratch coated or antique glass, and a dry razor blade on a dry surface can leave fine scratches. Keep it wet, keep it flat.
Plastic: Gentle Chemistry Only
Plastic is where most people cause damage, because the solvents that work beautifully on glass dissolve plastic too. Acetone and nail polish remover can melt, cloud, or craze plastic in seconds — keep them far away from plastic containers, toys, and electronics housings.
The safe workhorse for plastic is oil. Rub a small amount of cooking oil (or peanut butter, which is just oil with grit) over the residue, wait five to ten minutes, then wipe away with warm soapy water. The oil dissolves the adhesive without touching the plastic. For hard plastic like storage bins, a hair dryer on a medium setting softens the adhesive so you can roll it off with your thumb, and a rubber eraser will pick up the last traces.
What ruins plastic: acetone, nail polish remover, and aggressive solvents; also, very hot water can warp thin plastic containers, so keep soaks warm, not boiling.
Wood: Patience Over Power
Finished wood — a table, a shelf, a wooden toy — needs the gentlest approach of any hard surface, because the finish is the surface. Cooking oil works well here: apply a small amount, let it sit for a few minutes, then wipe with the grain using a soft cloth. Follow with a damp cloth to remove the oil film, then dry immediately.
A hair dryer on low heat is the other safe option: warm the residue for thirty seconds, lift an edge with a plastic scraper or your fingernail, and peel slowly. If you are dealing with a wooden surface you recently refinished, the same care applies to keeping it pristine — it is the same mindset as when you paint a room, where preparation and patience matter more than force.
What ruins wood: solvents that strip varnish and lacquer, steel wool and abrasive pads that cut through the finish, and standing water that raises the grain or leaves dark marks — especially on unfinished wood, where oil can also stain. On unfinished wood, use heat and gentle scraping only.
Fabric: Dissolve, Don’t Spread
Sticker residue on clothing, upholstery, or a fabric bag is annoying because you cannot scrape it. The trick is to dissolve the adhesive without driving it deeper into the fibres. Rubbing alcohol (or hand sanitiser, which is mostly alcohol) is the best tool: dab it onto the residue with a cloth, let it sit for a minute, then blot and lift. Work from the outside of the stain inward so you do not spread it.
For heat-transfer vinyl or iron-on label residue, the iron method works well: place a paper towel over the residue, press with a warm iron for a few seconds, and the adhesive transfers onto the paper. Repeat with a clean section of towel until nothing transfers. Always wash the item afterwards according to its care label.
What ruins fabric: bleach on coloured fabric, acetone on synthetic fibres (it can melt them), and hot water on heat-sensitive fabrics. And never put a stained item in the dryer until the residue is gone — heat sets adhesive permanently.

Electronics and Screens: The High-Stakes Surface
Residue on a laptop lid, phone, or tablet is the job where caution matters most, because the wrong product can damage coatings that cost more than the device’s sticker ever did. Modern screens have oleophobic and anti-reflective coatings that alcohol and solvents can degrade, leaving a permanent cloudy patch.
The safe method is boring but effective: a slightly damp microfibre cloth and gentle rolling with your thumb will remove most residue from a hard plastic or metal laptop lid. For screens themselves, use only a screen-safe wipe or a barely damp microfibre cloth, with no product at all. If residue persists on a screen, a tiny amount of screen cleaner applied to the cloth — never sprayed directly on the screen — is the limit. Never use alcohol-based cleaners, window cleaner, or adhesive removers on a screen unless the manufacturer explicitly says they are safe.
For advice on which products are genuinely safe, commercial adhesive removers vary widely in strength — the Goo Gone product range is a useful reference for what is designed for household use, but even household products should stay away from screens. When in doubt on electronics, the damp-cloth-and-patience method is always the right call.
What ruins electronics: alcohol and ammonia-based cleaners on coated screens, solvents near vents and ports, and any liquid sprayed directly onto a device. Liquid in a port or under a screen edge is a repair bill, not a cleaning job.
Painted Walls: The Surface That Punishes Mistakes
Painted walls are the surface most likely to turn a sticker cleanup into a repaint, because the adhesive bond is often stronger than the paint bond. If you have ever pulled a poster off a wall and taken a coin-sized disc of paint with it, you know the problem. This is the same family of problem as removing old wall coverings — the care you need when you remove wallpaper applies here too: heat first, force never.
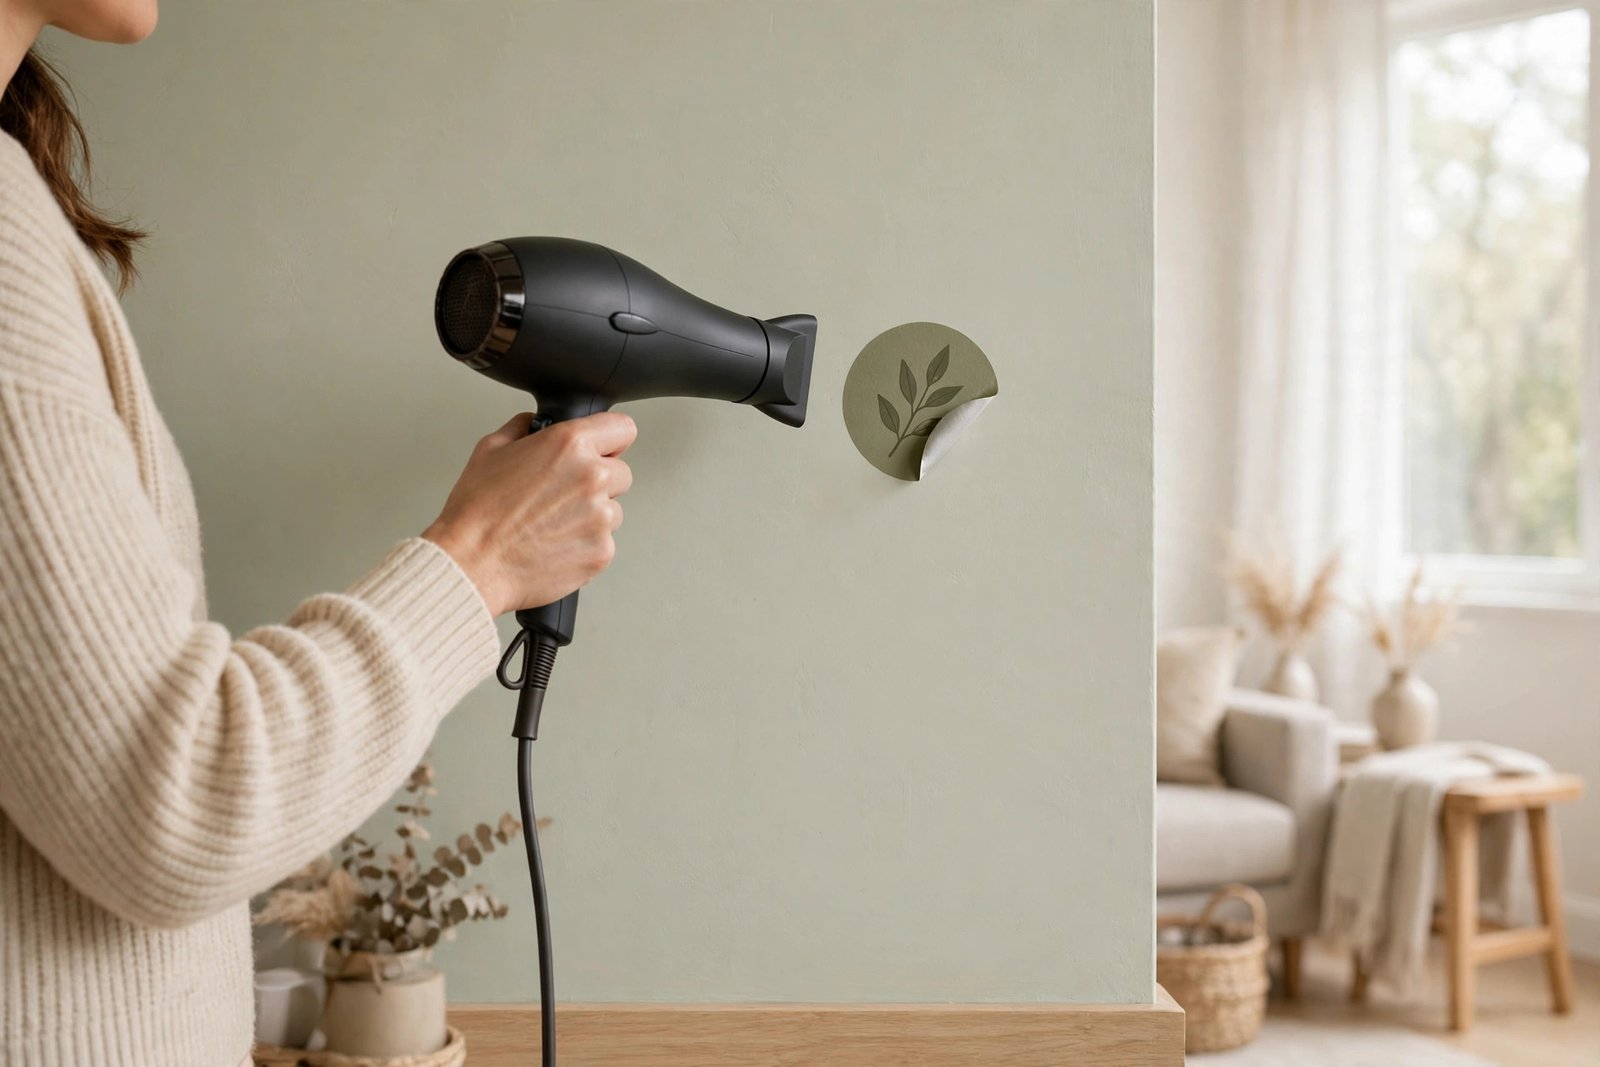
The safe method is a hair dryer on a low-to-medium setting. Warm the sticker and residue for thirty to sixty seconds, then peel slowly at a shallow angle, keeping the heat ahead of the peel line. For leftover residue, a rubber eraser or a barely damp cloth with a drop of washing-up liquid usually finishes the job. If a small amount of oil is needed, use the tiniest dab and wipe the wall afterwards — oil can stain matte paint.
What ruins painted walls: solvents that dissolve latex paint, steam cleaners that soften it, aggressive scraping that gouges the plaster beneath, and ripping stickers off cold. If the paint does come away, the repair is straightforward — patching and repainting a small area is exactly what guides on how to fix a hole in drywall cover, but it is a job you would rather avoid.
One more wall warning: never use a magic eraser aggressively on painted walls. It is a micro-abrasive, and enthusiastic scrubbing will polish the paint to a shine or wear it through to the plaster.
What About Commercial Adhesive Removers?
Commercial removers are convenient and genuinely effective on glass, metal, and hard plastic — they are formulated to dissolve adhesive without the wait that oil requires. They are worth keeping under the sink for jars, bottles, and metal surfaces. But they are not universal: read the label for surface warnings, never use them on screens or unsealed wood, and always finish with a soapy wipe, because the citrus oils they contain can stain porous surfaces if left to sit.
For a broader survey of household approaches, the Good Housekeeping cleaning guides and Family Handyman cleaning advice both cover sticker residue among their household cleaning topics, and they are good cross-checks when you are unsure whether a method suits your surface.
Frequently Asked Questions
Does vinegar remove sticker residue?
Yes, white vinegar works well on glass, ceramic, and metal. Soak a cloth in undiluted vinegar, lay it on the residue for five to ten minutes, then wipe. It is less effective on plastic and should be avoided on natural stone and waxed wood, where acid can damage the finish.
Can I use nail polish remover on sticker residue?
Only on glass, ceramic, or metal — never on plastic, painted surfaces, or fabric. Acetone-based removers dissolve many plastics and strip paint, so check the label: if it says acetone, keep it away from anything but glass and metal.
How do I remove sticker residue from a car?
Use the glass method for windows and the oil method for painted bodywork: warm the residue with a hair dryer, apply a small amount of cooking oil, wait, and wipe with soapy water. Avoid solvents on car paint, and never use a razor blade on a painted panel.
Will sticker residue come off in the washing machine?
Sometimes, but do not count on it — and never dry the item first, because dryer heat sets adhesive into fabric. Treat the residue with rubbing alcohol or the iron-and-paper-towel method before washing, and check that it is gone before the item goes in the dryer.
What is the fastest way to remove a price sticker from a new item?
A hair dryer for thirty seconds, then a slow peel. Most retail stickers lift cleanly when warm, and any small residue left behind comes off with a dab of cooking oil and a soapy wipe. It beats picking at a cold sticker for five minutes.
Is it safe to use cooking oil on every surface?
No. Oil is safe on glass, metal, sealed wood, and most hard plastics, but it can stain unfinished wood, porous stone, matte paint, and some fabrics. On those surfaces, use heat and gentle peeling instead, and always test in a hidden spot first.
Conclusion: Match the Method, Not the Muscle
Removing sticker residue is a matching problem, not an effort problem. Glass takes almost anything; plastic needs oil, not solvents; wood needs patience, not abrasives; fabric needs dissolving, not scrubbing; screens need almost nothing at all; and painted walls need heat and a slow hand. Keep this guide’s matrix in mind, test before you commit, and the next sticker you peel will leave nothing behind but a clean surface.
And if you do make a mistake — a cloudy screen, a paint chip, a stained patch of wood — stop immediately rather than scrubbing harder. Most sticker damage is small, and a small repair done calmly beats a big repair done in frustration every time.