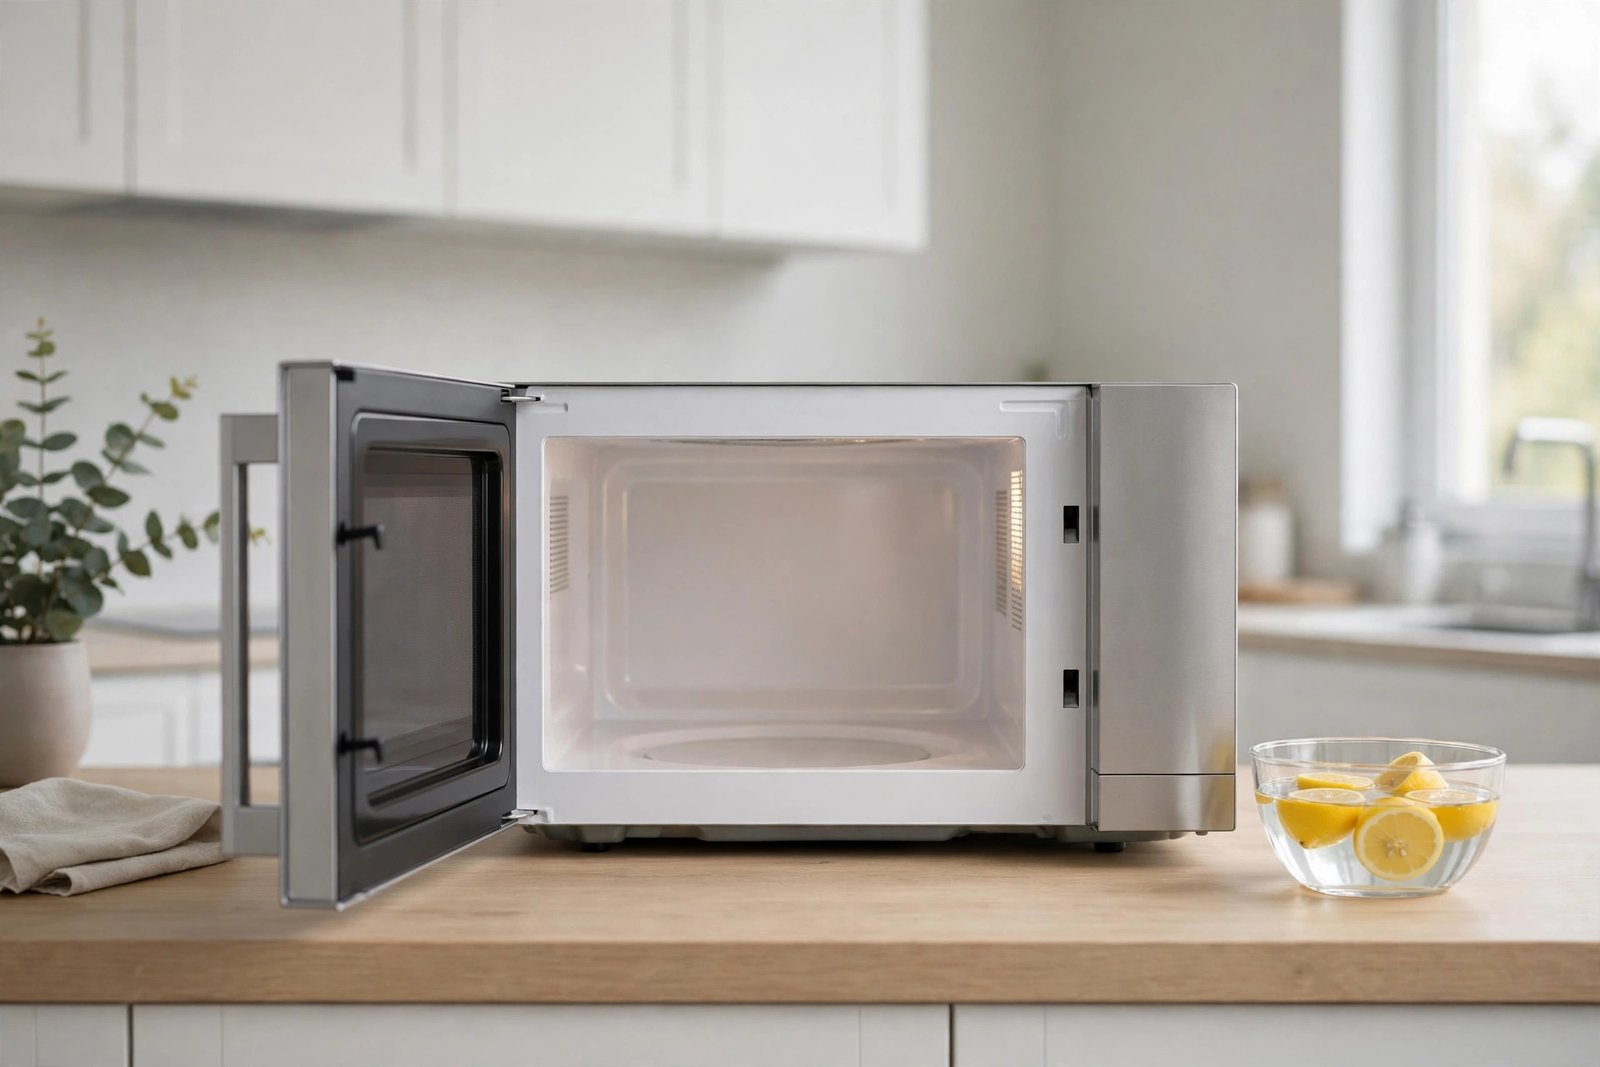

Open the door of your microwave and take an honest look. If the walls are freckled with old pasta sauce, the ceiling wears a yellowish film, and there’s a smell you can’t quite place, you’re not alone — and you’re about five minutes away from fixing it. Learning how to clean a microwave properly isn’t about scrubbing harder; it’s about letting steam do the hard work for you. The method below loosens even stubborn, baked-on splatter so it wipes away with a cloth, no harsh chemicals and no sore arm required.
Most people put this job off because they imagine it will take half an hour of scraping. It won’t. The steam method takes about five minutes of active effort, plus a few minutes of waiting while the microwave does the work. By the end of this guide, you’ll know the lemon method, the vinegar method, how to handle burnt spots, and exactly which products to keep far away from your appliance.
Before You Start: What You Need
You probably already own everything this job requires, which is part of its charm. Gather a microwave-safe bowl or large measuring jug, a lemon or a bottle of white vinegar, a couple of soft cloths or a sponge, a little dish soap, and some baking soda for the stubborn spots. That’s the whole kit. There’s no need for a special microwave cleaner, and as you’ll see below, some of those sprays can actually do more harm than good.
One safety note before you begin: never put anything metal in the microwave, and never run it empty. The bowl of water in this method protects the appliance as well as cleaning it, because the microwave energy has something to work on. Also, the bowl will be hot when it comes out, so have an oven mitt or a dry towel ready.
How to Clean a Microwave with the Lemon Steam Method
This is the method I recommend to most people, because it cleans and deodorises in one go. Lemon is a mild natural acid, and when its juice steams inside the cavity, it softens grease and lifts smells rather than covering them up with fragrance.
Step 1: Prepare the lemon water
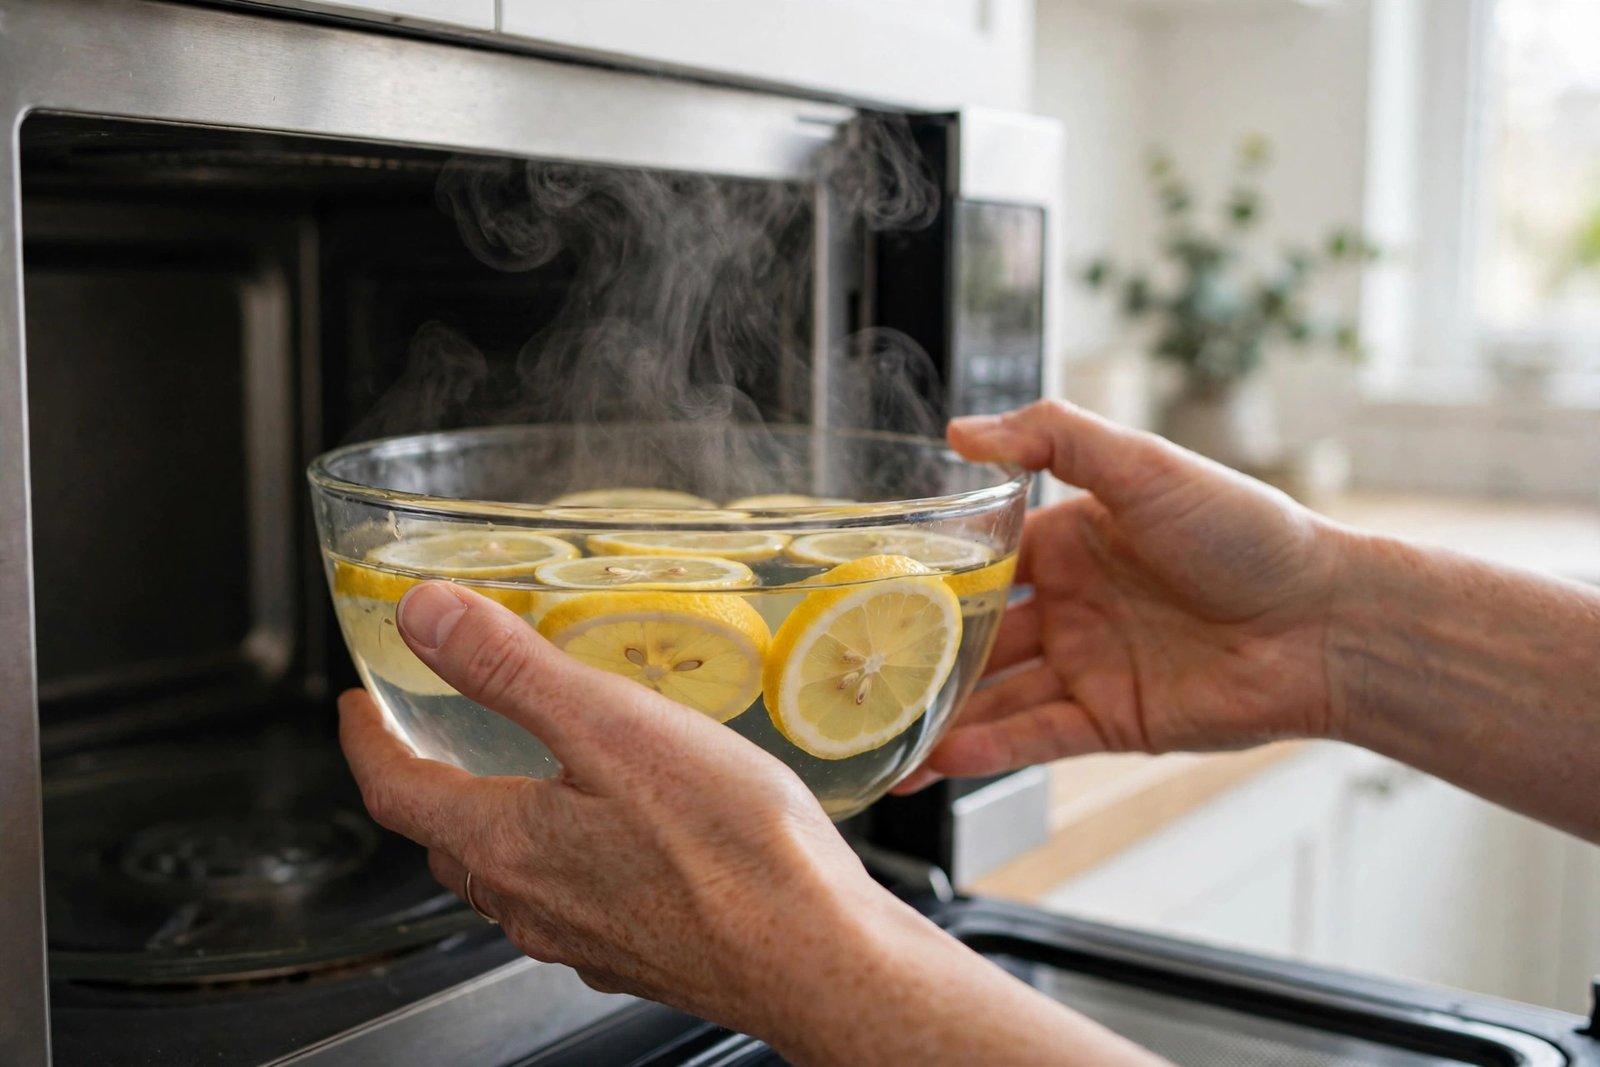
Fill a microwave-safe bowl or jug with about a cup of water. Squeeze in the juice of half a lemon, then drop the squeezed halves into the water too. If you don’t have a fresh lemon, two tablespoons of bottled lemon juice work fine. Place the bowl in the centre of the microwave.
Step 2: Heat until it steams
Run the microwave on high for three to five minutes, until the water is properly boiling and the inside of the door is fogged with steam. Don’t open the door straight away. Let the bowl sit inside for another two to three minutes with the door closed, so the steam can keep working on the grime. This waiting step is the secret of the whole method — skipping it is why so many people end up scrubbing.
Step 3: Wipe everything down
Carefully remove the bowl, then wipe the ceiling, walls, floor and inside of the door with a soft cloth or sponge. Most splatter should come away with almost no pressure. For any spot that resists, dip the cloth in the warm lemon water and give it a second pass. Finish by wiping with a cloth dampened in clean water, then dry with a lint-free cloth so you don’t leave streaks or lint behind.
Whirlpool’s own microwave cleaning guide recommends the same steam-first approach, noting that heating a cup of water with a splash of vinegar or lemon juice loosens grime before you wipe.
The Vinegar Steam Method: For Heavier Grease
If your microwave has a serious grease problem — say, months of reheated curries and exploded soups — vinegar is the stronger option when you’re figuring out how to clean a microwave that’s been neglected. The method is identical to the lemon version, but instead of lemon juice, add two tablespoons of white vinegar to a cup of water. Vinegar’s sharper acidity cuts through grease particularly well, which is why it’s the classic choice for this job.
The trade-off is the smell. Vinegar steam smells, frankly, like a chip shop for a few minutes. The odour fades quickly once you wipe down and leave the door open for a bit, and you can add a squeeze of lemon to the vinegar water to soften it. Some people prefer to run the vinegar method first for cleaning power, then follow with a quick lemon steam purely for freshness. That’s a perfectly good two-step routine if your microwave has been neglected for a while.
One caution: don’t use undiluted vinegar, and don’t use apple cider vinegar for this. Plain white vinegar diluted in water is the right tool. Undiluted vinegar is unnecessarily harsh on the interior coating, and the coloured vinegars can leave their own tint behind.
Burnt-On Spots and Stubborn Stains: The Baking Soda Paste
Every so often, steam alone won’t shift a spot — usually a patch of something sugary or starchy that has been reheated and re-baked onto the wall several times. Knowing how to clean a microwave with burnt-on stains means having a second tool ready: a baking soda paste. Make a paste of three parts baking soda to one part water, spread it over the stain, and leave it for ten to fifteen minutes. Then wipe it away with a damp cloth. Baking soda is mildly abrasive, just enough to lift the stain without scratching the interior, which is exactly the balance you want.
What you should not do is reach for a scouring pad or a knife to chip the spot off. Scratches in the interior coating aren’t just cosmetic: damaged surfaces trap more grime next time, and deep scratches can eventually expose the metal underneath. The paste-and-wait approach is slower but far kinder to the appliance, and it works on nearly everything if you give it time.
For lingering smells that survive the steam clean — burnt popcorn is the classic offender — leave a small open bowl of baking soda in the microwave overnight with the door closed. Baking soda absorbs odours rather than masking them, and by morning the smell is usually gone. If it isn’t, repeat the lemon steam once more; the combination of the two almost always finishes the job.
Turntable, Door and Exterior: The Parts People Forget
A clean interior with a filthy turntable still looks dirty, so don’t skip the removable parts. Lift out the glass turntable and its roller ring, and wash them in warm, soapy water just as you would any dish. Most glass turntables are dishwasher-safe, but check your manual if you’re unsure — and never plunge a hot glass turntable straight into cold water, because the thermal shock can crack it. Let it cool first.
The door deserves attention too, especially the seal — the strip where the door meets the frame when it closes. Food residue builds up there, and keeping that area clean matters for the door closing properly. Wipe it with a soft cloth and mild soapy water, rinse, and dry. The same goes for the control panel: wipe it with a barely damp cloth only, and dry it straight away. Never spray cleaner directly onto the panel, because liquid can seep behind the buttons.
For the exterior, a cloth with a little dish soap handles most fingerprints and splashes. On stainless steel models, wipe in the direction of the metal’s grain to avoid streaks, and dry with a soft cloth. GE’s microwave care instructions warn against cleaners containing ammonia or alcohol on the outside of the appliance, since they can damage the finish — a good reason to stick with soapy water for the case. For a deeper dive into keeping the whole kitchen in shape, our guide on how to deep-clean a washing machine follows the same gentle-first philosophy.

What Never to Use on a Microwave
Some cleaning products that work fine elsewhere will damage a microwave, so this list is worth memorising:
- Bleach. It can damage the interior coating and leave fumes that linger in a food-preparation appliance. There is no stain in a microwave that justifies bleach.
- Commercial oven cleaner. Oven cleaners are formulated for the heavy enamel of a conventional oven, not a microwave cavity. GE’s manuals state this plainly: never use a commercial oven cleaner on any part of a microwave.
- Abrasive pads and steel wool. These scratch the interior and the door window. Once scratched, the surface holds grime more stubbornly and looks worse after every clean.
- Undiluted vinegar or neat lemon juice applied directly. Diluted in steam, both are excellent. Poured neat onto surfaces and left, they are unnecessarily harsh.
- Spray cleaners on the control panel. Liquid forced behind buttons can damage the electronics. Always apply cleaner to the cloth, never to the panel.
If you’re ever tempted by a “miracle” microwave cleaner you saw online, check your own manual first. Whirlpool’s microwave care guidance is clear that mild, non-abrasive soaps and a soft cloth are the recommended tools, and that abrasive cleaners and steel-wool pads should be avoided entirely. The boring answer is the right one here.
How Often Should You Clean Your Microwave?
The honest answer depends on how hard your microwave works, and it’s part of understanding how to clean a microwave properly rather than just once in a panic. For a household that reheats food daily, a quick wipe of the interior once a week keeps things from ever getting bad, and a full steam clean once a month handles the rest. If you mostly use it for the occasional mug of tea, a steam clean every month or two is plenty.
The real trick is wiping up splatters the day they happen. A thirty-second wipe with a damp cloth after an explosion of tomato soup saves you a fifteen-minute job later, because fresh splatter hasn’t yet been baked on by repeated heating. Covering food with a microwave cover or an upturned plate while reheating is the other habit that changes everything — it stops most mess at the source, and it also stops your food drying out. Small habits, consistently applied, are what keep a microwave looking new for years.
And if you’re building a routine for the whole kitchen, it helps to think of appliances as a set: the same weekly rhythm that keeps your microwave clean works for the coffee maker too, as our guide on how to clean a coffee maker explains. A clean kitchen isn’t one heroic deep clean; it’s a handful of small jobs done regularly.
Frequently Asked Questions
Can I clean a microwave with just water and no lemon or vinegar?
Yes, plain water steam will soften most everyday splatter, and it’s a fine option if you have neither lemon nor vinegar to hand. The acid in lemon or vinegar just adds grease-cutting power and deodorising, so the clean is a little easier and smells better. If you’re dealing with heavy grease, though, the vinegar version is noticeably more effective.
Is it safe to put a bowl of water in the microwave for cleaning?
Yes — in fact, it’s safer than running the microwave empty, because the water absorbs the microwave energy. Use a microwave-safe bowl, don’t overfill it, and handle it with care when it comes out, because it will be very hot. Never use a metal bowl or a container with metallic trim.
How do I get rid of a burnt popcorn smell?
Start with the lemon steam method, then leave an open bowl of baking soda inside the microwave overnight with the door closed. If the smell is still there in the morning, repeat the lemon steam. Burnt popcorn odour is famously stubborn, but this two-step approach clears it in almost every case. If the smell has soaked into the plastic interior over months, repeated steam cleans over a few days will gradually fade it.
Can I put the microwave turntable in the dishwasher?
Most glass turntables are dishwasher-safe, but you should check your model’s manual first, because some manufacturers advise hand-washing only. Either way, let the turntable cool completely before washing it — hot glass and cold water are a recipe for cracks.
Why does my microwave smell even after cleaning?
Usually because the smell is coming from somewhere the wipe didn’t reach: the roller ring underneath the turntable, the door seal, or the grease filter on an over-the-range model. Clean those parts too, and leave the door ajar for a few hours after cleaning so the cavity airs out. If the smell persists after all that, it’s worth checking whether food has spilled behind or underneath the appliance.
Conclusion
A clean microwave isn’t a luxury or a chore to dread — once you know how to clean a microwave with steam, it’s a five-minute job. Heat a bowl of lemon or vinegar water, let the steam work, wipe, and you’re done. Keep the turntable, door seal and exterior in the same routine, avoid the harsh products on the never-use list, and wipe up splatters while they’re fresh. Do that, and the next time you open the door, you’ll find a microwave that looks — and smells — like it did the day you bought it.
While you’re in a kitchen-cleaning mood, it’s worth tackling the appliance you use first thing every morning: our guide to cold brew coffee starts with clean equipment too, and the difference it makes to flavour is real. Small jobs, done well, add up to a kitchen that works better and feels better to cook in.