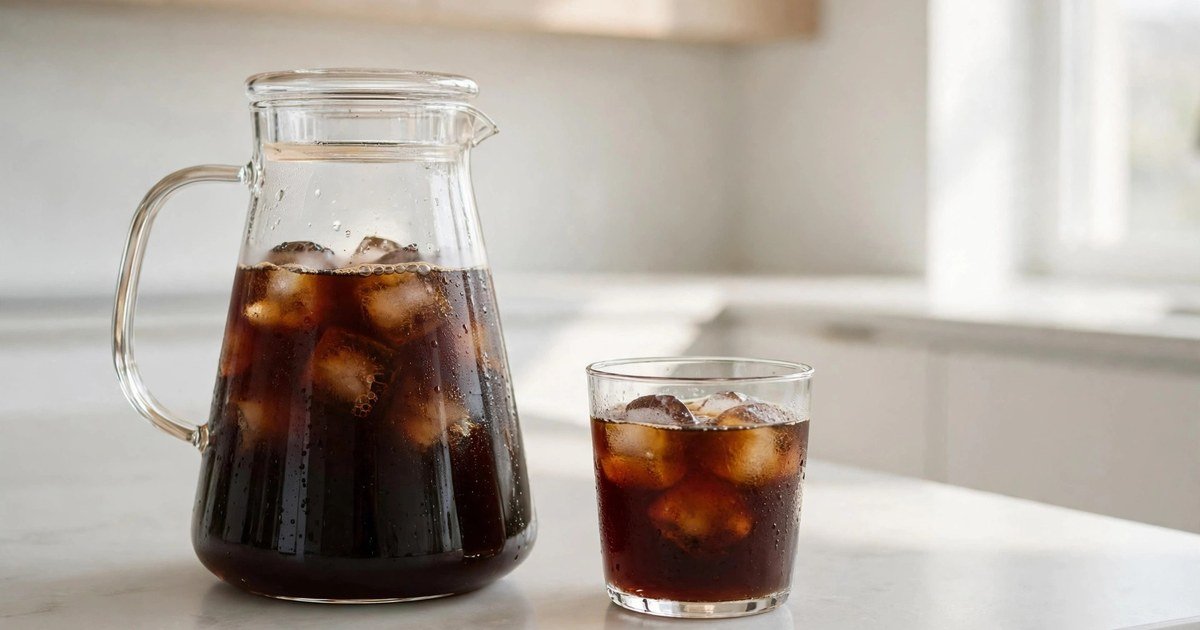

A large cold brew from a café chain can cost $5 or more, and the homemade version takes about ten minutes of actual work: you measure, you stir, you wait overnight, and you wake up to a pitcher of smooth, chocolatey coffee that costs a fraction of the café price. There’s no espresso machine to master and no way to burn anything — if you can make a sandwich, you can make cold brew.
What makes this method worth learning isn’t just the savings, though. Cold brew tastes fundamentally different from hot-brewed coffee that’s been chilled. Because the grounds steep in cold water instead of hot, the brew extracts fewer of the bitter, acidic compounds that make hot coffee sharp — and pulls out more of the sweet, chocolatey, nutty flavors. The result is naturally sweeter, silkier, and gentler on sensitive stomachs, all without adding a single calorie of sugar or creamer. This guide walks you through the foolproof five-step method, the exact ratios, and the troubleshooting fixes that roasters and serious home brewers actually use.
Why Cold Brew Tastes So Different From Regular Iced Coffee
Before we brew, it helps to understand what you’re making — because cold brew and iced coffee are two completely different drinks. Iced coffee is simply hot coffee brewed the normal way, then poured over ice. It tastes like hot coffee, only colder and slightly diluted. Cold brew never touches hot water. Coarse grounds steep in room-temperature or refrigerated water for 12 to 24 hours, and that slow, gentle extraction changes the flavor chemistry.
Hot water is an aggressive extractor. It pulls everything out of the grounds quickly — the good flavors and the harsh ones. Cold water is patient. It extracts the sweet, round, caramel-like compounds while leaving most of the bitter acids behind. That’s why cold brew tastes naturally sweeter and smoother than any iced coffee, even before you add milk or sweetener. If you’ve ever found regular coffee too acidic or bitter, cold brew might be the version you’ve been waiting for.
What You Need to Make Cold Brew at Home
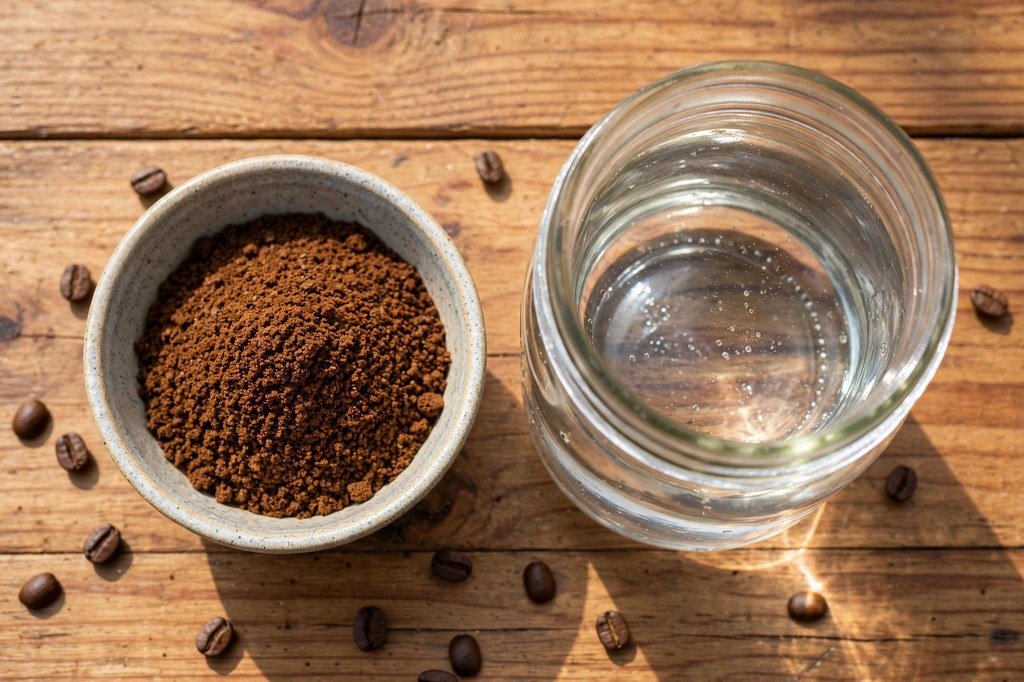
The equipment list is refreshingly short. You probably own most of it already.
The gear
- A large jar or pitcher. A 1-quart (32 oz) mason jar works perfectly for a concentrate batch, and a 2-quart pitcher handles ready-to-drink batches. Glass is ideal because it doesn’t hold onto flavors.
- Something to strain with. A fine-mesh sieve plus a paper coffee filter, a nut-milk bag, or a doubled layer of cheesecloth. The finer you strain, the cleaner your cold brew tastes.
- A kitchen scale (strongly recommended). Cold brew ratios are measured by weight, and scoops are unreliable — a cup of coarse grounds can weigh anywhere from 80 to 90 grams depending on the bean. A cheap scale is the single best investment for repeatable results.
The beans
Here’s where you get to save real money. Cold brew doesn’t need expensive single-origin beans. Because cold water extraction mutes brightness and floral notes anyway, those pricey light-roast beans prized for pour-over will taste flat in cold brew. Medium to dark roasts are the sweet spot — they bring the chocolate, caramel, hazelnut, and brown-sugar notes that thrive in cold extraction. And use fresh beans: stale coffee tastes woody and cardboard-like no matter how you brew it.
Step 1: Grind Your Coffee Coarse
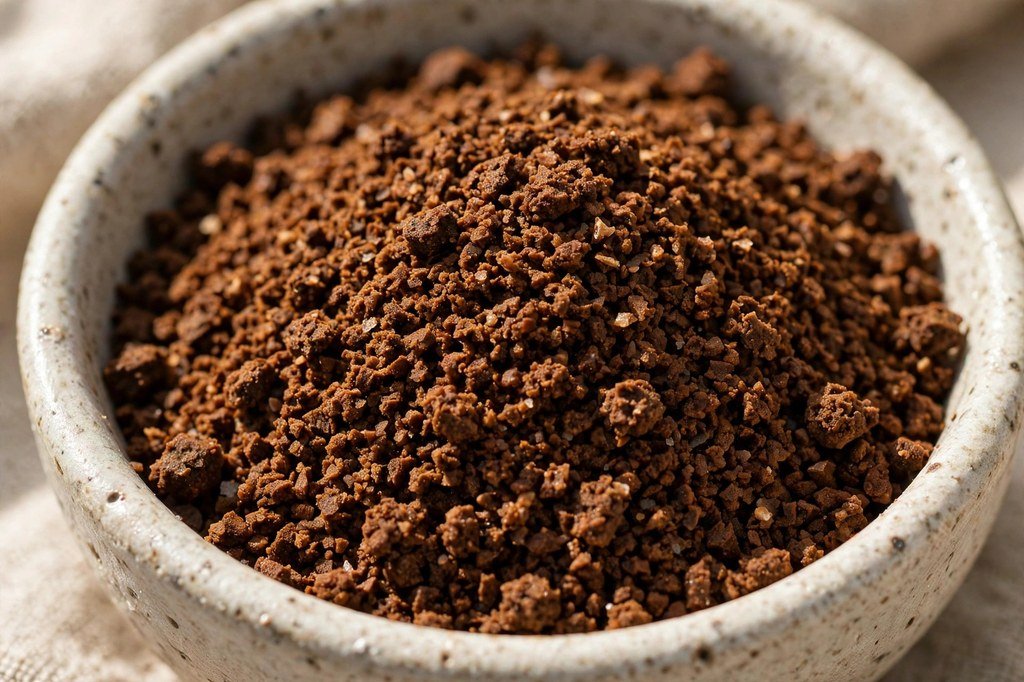
Grind size is the one variable that ruins more cold brew batches than anything else. You want a coarse grind — roughly the texture of raw sugar or coarse breadcrumbs. Fine grounds over-extract in a long steep and turn the brew bitter and muddy, plus they’re nearly impossible to strain cleanly.
If you have a burr grinder, use its coarsest setting and go a touch coarser than you would for a French press. No grinder? Ask your local roaster or café to grind them “coarse, for cold brew” — most will do it for free. Whatever you do, don’t use regular drip-grind coffee from a can. It will extract too fast and taste harsh.
Step 2: How to Make Cold Brew Coffee — Getting the Ratio Right
The ratio is the heart of cold brew, and it’s where beginners most often go wrong by guessing. Cold brew is always described as a coffee-to-water ratio by weight, written as 1:4 or 1:8 — meaning one part coffee to four or eight parts water. There are two main styles:
- Concentrate (1:4). One part coffee to four parts water by weight. This brews a strong concentrate you dilute 1:1 with water or milk when serving. It takes up less fridge space and lets you adjust strength per cup. Most roasters start here — see this cold brew ratio guide for the full breakdown with exact gram weights.
- Ready-to-drink (1:8 to 1:10). A milder brew you pour straight over ice. Simpler to serve, but it uses more fridge space per cup of coffee.
In between sits 1:6, a popular middle ground that coffee educator Jessica Easto recommends as the most forgiving starting ratio for beginners — 96 grams of coffee to 600 grams of water in a French press, steeped 12 hours, then diluted 1:1, producing a final drinking strength close to standard brewed coffee, as detailed in this specialty roaster’s cold brew guide. For exact per-batch numbers, see the ratio chart below.
The golden rule once you pick a ratio: don’t touch it for a week. Change only one variable at a time — grind, ratio, or steep time — until your brew is repeatable.
Step 3: Combine and Steep (The Waiting Game)
Add your coarse grounds to the jar, pour in cold, filtered water, and stir gently until every dry pocket is gone. Dry clumps never extract — they’ll just sit there, wasting coffee. Then seal the jar and walk away.
How long should cold brew steep? The honest answer is: it depends on temperature. Steeping at cool room temperature (below about 24°C / 75°F) extracts faster — 8 to 12 hours is the usual range, per this coffee-to-water ratio guide from a working roaster. Steeping in the fridge is slower and more forgiving — 12 to 18 hours, with some roasters like H.R. Higgins recommending up to 24 hours for maximum strength in their cold brew concentrate recipe. A 16-hour fridge steep is the sweet spot most beginners love: strong enough for concentrate, smooth enough to drink straight.
Longer isn’t always better. Past about 24 hours, extraction starts pulling woody, bitter flavors even from coarse grounds. Set a phone timer so you don’t forget the jar for two days. And keep the jar sealed — cold brew absorbs fridge odors fast.
Step 4: Strain It Twice for a Clean Cup
Straining is the difference between silky cold brew and a gritty cup. Do it in two passes:
- First pass: Pour the steeped mixture through a fine-mesh sieve to catch the big grounds.
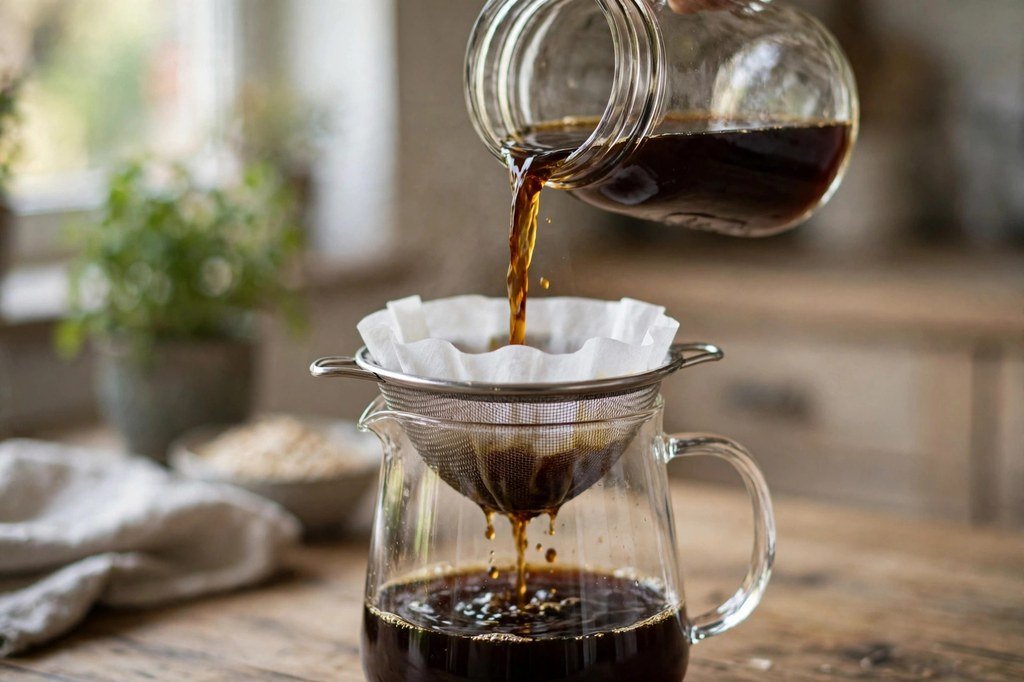
- Second pass: Line the sieve with a paper coffee filter (or a nut-milk bag, or doubled cheesecloth) and pour slowly, letting it drain on its own. This catches the fine silt that makes cold brew muddy. It takes a few minutes — don’t squeeze the grounds, because squeezing pushes bitterness and sediment through.
Rinse out your jar, pour the strained cold brew back in, and refrigerate. Undiluted concentrate keeps for up to two weeks sealed in the fridge; ready-to-drink batches are best within a week. If you use a nut-milk bag, there’s a shortcut: put the grounds in the bag before steeping, then just lift the bag out when time’s up — almost nothing to strain. This cold brew brewing guide walks through the same double-strain method with scaling math for bigger batches.
Step 5: Dilute and Serve Like a Barista
This is the fun part. If you brewed concentrate (1:4), dilute it roughly 1:1 with cold water or milk over ice — equal parts concentrate and water. Start there and adjust to taste: more water for a lighter cup, more concentrate for a stronger one. If you brewed ready-to-drink (1:8 or 1:10), just pour it straight over ice.
A few serving ideas that cost nothing: add a pinch of cinnamon or a strip of orange peel to the jar while it steeps for a spiced cold brew. Make coffee ice cubes from a previous batch so your drink never dilutes. Top with oat milk for a creamy cold brew latte without any added sugar — the brew is sweet enough on its own. Batch brewing is essentially meal prepping for your mornings: one Sunday batch covers your entire work week.
Cold Brew Ratios and Steep Times: The Data
Here’s what the standard ratios mean in grams of coffee per liter of water, drawn from published roaster guides. Measure your water first, then divide by your ratio — 1,000 grams of water at 1:4 needs 250 grams of coffee.
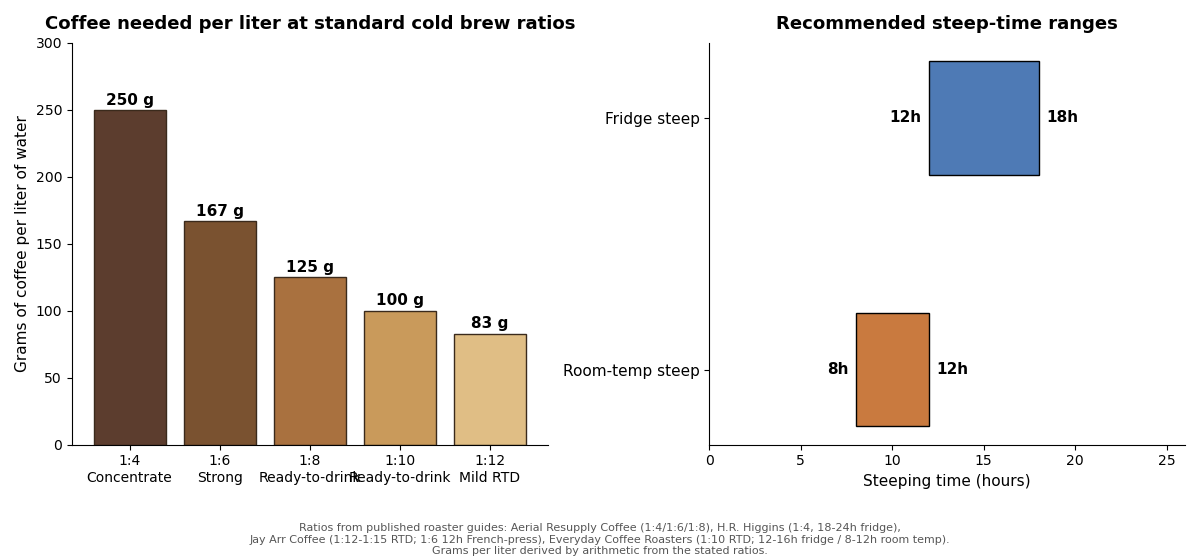
Concentrate ratios use dramatically more coffee per liter — that’s the price of brewing strong, and why concentrate is popular: you brew one dense batch, then stretch it with water or milk at serving time. Steep-time guidance from working roasters: fridge steeps run 12 to 18 hours (some go to 24), while room-temperature steeps finish in 8 to 12 hours.
Cold Brew vs Iced Coffee vs Espresso Over Ice
Still deciding which chilled coffee is yours? Here’s the honest breakdown:
| Factor | Cold Brew | Iced Coffee | Espresso Over Ice |
|---|---|---|---|
| Brew method | Coarse grounds steeped in cold water 12–24 hours | Hot-brewed coffee chilled and poured over ice | Hot espresso shots pulled directly over ice |
| Taste | Smooth, sweet, chocolatey, low acidity | Bright and familiar — tastes like hot coffee, cold | Intense, bold, slightly bitter |
| Acidity | Lowest of the three | Same as hot coffee | High — concentrated espresso |
| Effort | 10 min active, 12–24 hrs waiting | 5 minutes, no waiting | Needs an espresso machine |
| Cost per cup | Very low — pennies per serving at home | Very low | Higher — espresso equipment or café prices |
| Caffeine | High in concentrate; adjustable by dilution | Moderate | High per ounce, small serving |
| Best for | Smooth-drink lovers, sensitive stomachs, batch brewing | Quick fix when you already brewed hot coffee | Espresso flavor fans with the right gear |
If you want speed, iced coffee wins. If you want the smoothest possible cup and don’t mind planning ahead, cold brew is unbeatable. And if you’re watching your spending, brewing either one at home instead of buying café drinks is one of the fastest ways of cutting your grocery bill without giving up anything you enjoy.
Troubleshooting: Fixing Bitter, Weak, or Sour Cold Brew
It tastes bitter or harsh
Almost always one of three things: the grind was too fine, it steeped too long, or the beans were stale. Coarsen the grind first — that’s the fix 80% of the time. If it’s still harsh, cut the steep by a few hours. And never let it go past 24 hours at room temperature.
It tastes weak or watery
You under-dosed or over-diluted. Weigh your coffee next batch instead of scooping, and check your dilution ratio — concentrate diluted more than 1:2 starts tasting thin. Also make sure you stirred out all dry pockets; unwet grounds contribute nothing.
It tastes sour or flat
Sour usually means under-extraction — too short a steep for the grind. Give it a few more hours. Flat, papery flavor usually means stale beans; buy fresher coffee.
It’s gritty
You skipped the second strain. Run it through a paper filter slowly and the silt disappears.
Storing Cold Brew and Keeping Your Kitchen Tidy
Sealed concentrate keeps up to two weeks in the fridge; once diluted, drink it within a few days. Always store it in a sealed container — an open jar picks up the taste of last night’s leftovers fast. Glass jars with tight lids are best, and labeling the jar with the brew date takes five seconds and saves you from mystery jars. A small, organized brewing corner also helps; if your counters are chaos, a little organizing your kitchen goes a long way toward making batch brewing a habit instead of a chore. And once your mornings run on autopilot with a pitcher of ready cold brew waiting, you might be surprised how much easier a better morning routine becomes — even if your “morning” starts at odd hours.
Frequently Asked Questions
What is the best coffee-to-water ratio for cold brew?
The two standard ratios are 1:4 for concentrate (one part coffee to four parts water by weight, diluted 1:1 at serving) and 1:8 to 1:10 for ready-to-drink cold brew. A 1:6 ratio is the most forgiving starting point for beginners. Always measure by weight with a kitchen scale — scoops vary too much to be reliable.
How long should cold brew steep?
Steep 12 to 18 hours in the fridge, or 8 to 12 hours at cool room temperature (below about 24°C / 75°F). Room-temperature steeps extract faster, so they finish sooner. Don’t go past about 24 hours — over-steeped cold brew turns woody and bitter.
Cold brew vs iced coffee — what’s the difference?
Iced coffee is hot-brewed coffee poured over ice; it tastes like regular coffee, just cold. Cold brew is made by steeping coarse grounds in cold water for 12–24 hours without any heat, which produces a smoother, naturally sweeter, less acidic drink. Cold brew takes planning but tastes completely different — and gentler on sensitive stomachs.
Do I need special equipment to make cold brew?
No. A mason jar, coarse coffee grounds, cold filtered water, and a fine-mesh sieve with a paper filter are all you need. A kitchen scale helps enormously with ratios, and a nut-milk bag makes straining nearly effortless — but neither is required to start.
How much caffeine is in cold brew?
It varies with your ratio and dilution, but cold brew concentrate is generally more caffeinated per ounce than regular drip coffee because so much more coffee is used per cup of water. That’s exactly why you dilute concentrate 1:1 — the finished drink lands in a normal, enjoyable range. Dilute more if you’re caffeine-sensitive.
Can I heat up cold brew?
Yes — cold brew concentrate diluted with hot water makes an excellent smooth, low-acid hot coffee. Many people with acid reflux or sensitive stomachs prefer it to regular hot coffee for exactly this reason. Just don’t boil it; hot (not boiling) water preserves the smooth flavor.
Conclusion
That’s the whole method: coarse grind, the right ratio, cold filtered water, a long patient steep, a careful double strain, and dilution to taste. Five steps, about ten minutes of active work, and a pitcher of café-quality cold brew waiting in your fridge all week. Start with a 1:6 ratio and a 16-hour fridge steep, change one variable at a time, and within a couple of batches you’ll have a house recipe dialed in to your taste.