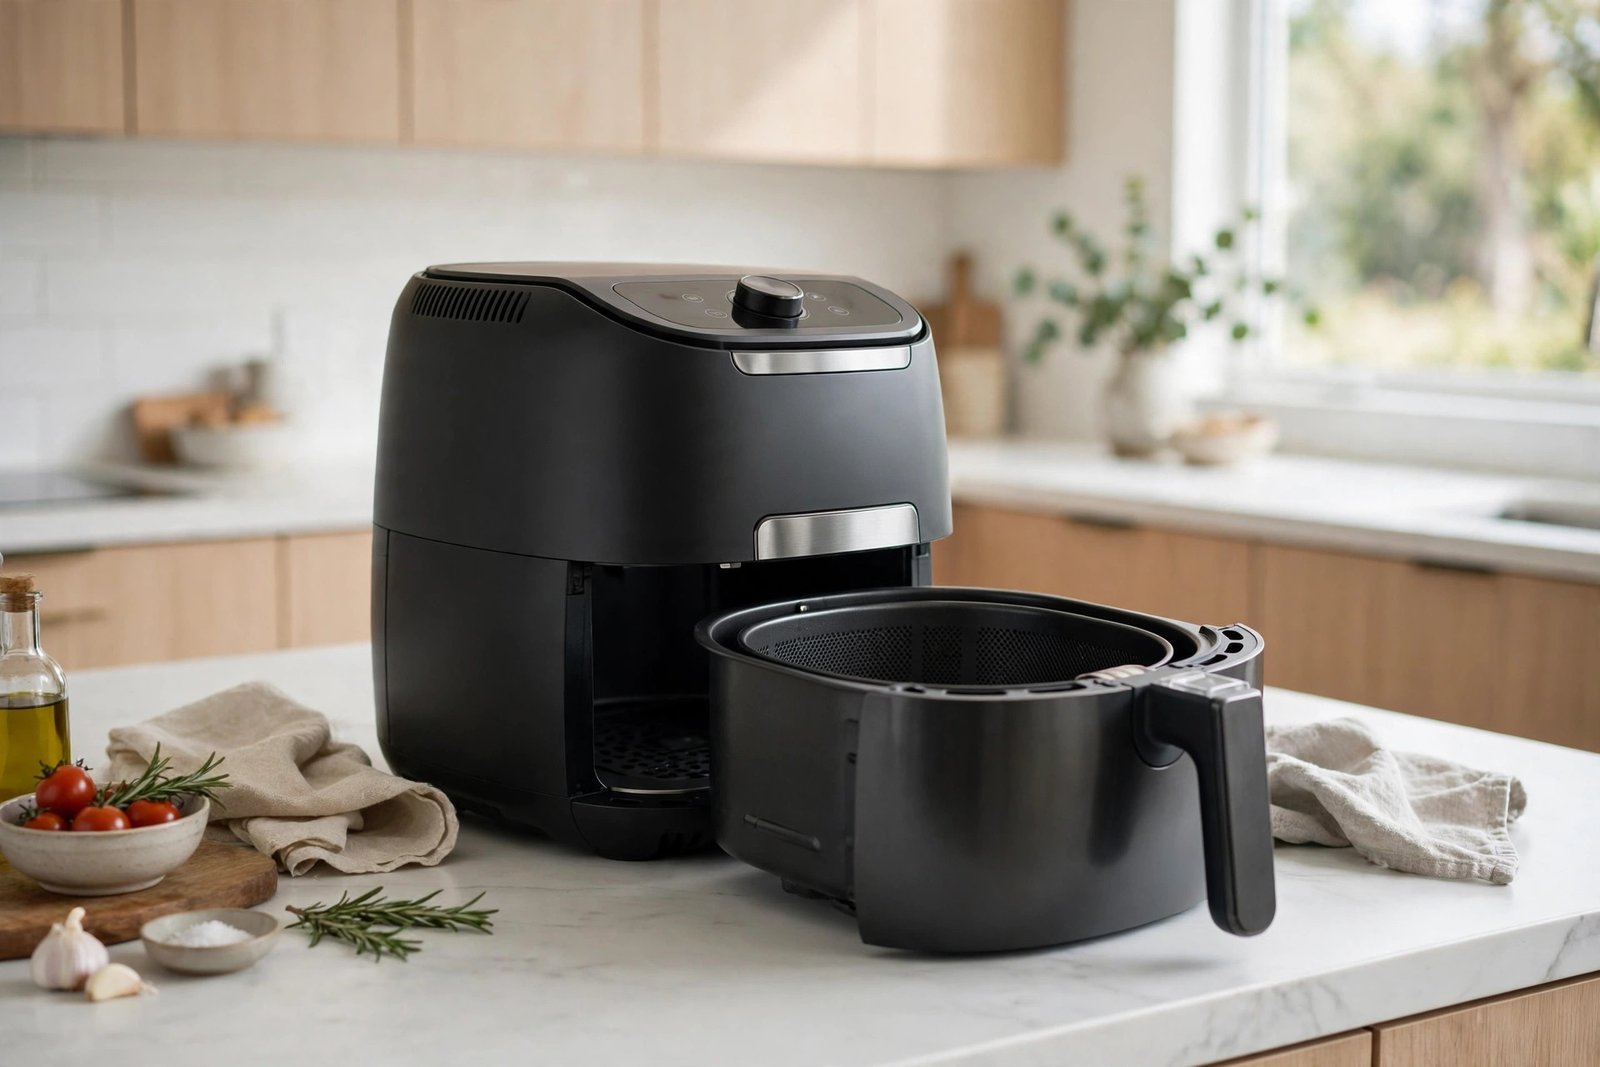

That golden, crispy coating on your fries did not come free. Every time you cook, a thin film of oil, crumbs, and seasoning stays behind in the basket, and if you leave it there, it hardens into a stubborn layer that makes food taste stale, smokes on the next cook, and slowly wears down the nonstick coating. Learning how to clean an air fryer properly is not about perfectionism. It is about keeping a kitchen workhorse working well, protecting the surface you cook on, and making sure dinner tastes like dinner instead of last week’s chicken wings.
The good news is that a regular clean takes about ten minutes, and most of that time is just waiting for a warm soak to do the work for you. You do not need special cleaners, harsh chemicals, or a single-use gadget. Warm water, dish soap, baking soda, a soft sponge, and a little patience will handle almost everything, from a light post-dinner wipe to a deep clean after a particularly enthusiastic batch of sticky barbecue wings.
This guide walks through both routines: the quick clean you should do after every use, and the deeper clean for baked-on grease. It also covers the heating element, the parts most people forget, and the mistakes that quietly ruin nonstick coatings. Follow it once and it becomes habit, the kind of habit that keeps your air fryer smelling fresh and cooking evenly for years.
Why a Dirty Air Fryer Cooks Worse
An air fryer works by blasting hot air around food at high speed. That circulation is the whole point. When grease builds up on the basket, the tray, and the walls, it does three unhelpful things at once. First, it insulates the surface, so heat reaches food less evenly and crisping becomes patchy. Second, old grease smokes at cooking temperature, which is why a neglected fryer can set off the smoke alarm over a batch of plain potatoes. Third, crumbs trapped in the mesh or under the tray can burn, giving everything a bitter edge no amount of seasoning will hide.
What You Need Before You Start
Gather everything before you unplug the machine, so you are not hunting for a sponge with wet hands. You will need dish soap, baking soda, a soft sponge or non-scratch scrub pad, an old soft toothbrush or bottle brush for the mesh, a microfibre cloth, and a towel for drying. A bowl or basin large enough to hold the basket helps for soaking, though the kitchen sink works just as well.
What you should not reach for matters just as much. Keep steel wool, metal scouring pads, and sharp scrapers in the drawer. They will scratch a nonstick surface in seconds, and once that surface is scratched, food sticks more, which leads to more scrubbing, which leads to more scratches. It is a cycle worth avoiding from day one. Likewise, oven cleaner and other caustic sprays are far too aggressive for an air fryer and can damage both the coating and the heating element.
Always unplug the air fryer and let it cool until it is warm rather than hot, usually about fifteen to twenty minutes after cooking. Working on a hot appliance risks burns and can warp a basket plunged into cold water. Warm is your friend: warm grease lifts more easily, warm water dissolves soap better, and a warm soak loosens residue without thermal shock.
How to Clean an Air Fryer After Every Use
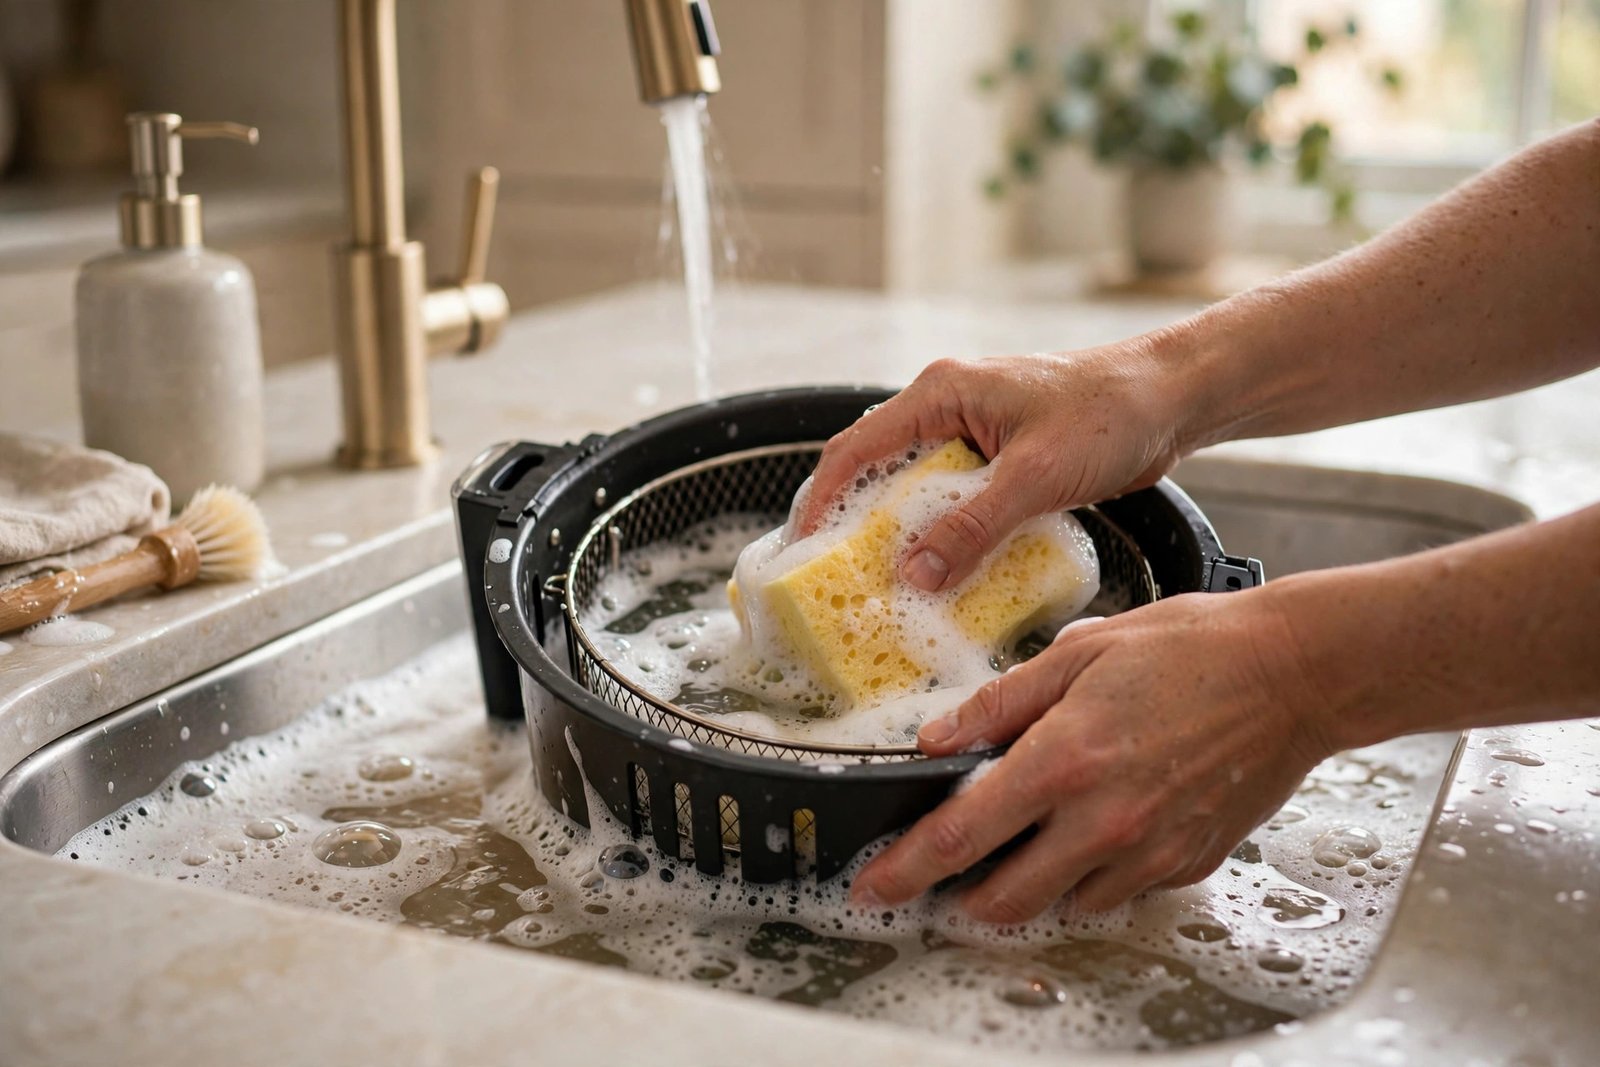
This is the ten-minute routine, and it is the one that does most of the work over the life of your machine. Start by unplugging the fryer and removing the basket and tray or drawer. Tip out any loose crumbs over the bin, then wash the basket and tray in warm, soapy water with a soft sponge. Most everyday residue, a little oil and seasoning, comes off in under a minute of gentle washing.
For the mesh tray, use the soft brush to work soap through the holes from both sides, then rinse well. Grease loves to hide in mesh, and a quick brush now saves a long soak later. If a spot resists, let that piece sit in warm soapy water while you wipe the rest of the machine, then come back to it. Soaking is almost always more effective than scrubbing harder.
Next, wipe the inside of the fryer body with a damp cloth or sponge. You are not trying to flood the interior, just to lift splatters from the walls and around the drawer opening. If you see a drip tray or crumb tray at the bottom, pull it out and wash it too. Then dry everything thoroughly before reassembling. Putting a damp basket back into a closed drawer invites musty smells, so give parts a few minutes on a towel or a quick wipe with a dry cloth.
That is the whole routine. A machine cleaned after every use rarely needs anything dramatic, and the deep clean below becomes a rare event rather than a rescue mission. If you cook greasy food, such as skin-on chicken or sausages, you may want to wipe the interior walls a little more carefully, but the steps stay the same.
The Deep Clean for Baked-On Grease
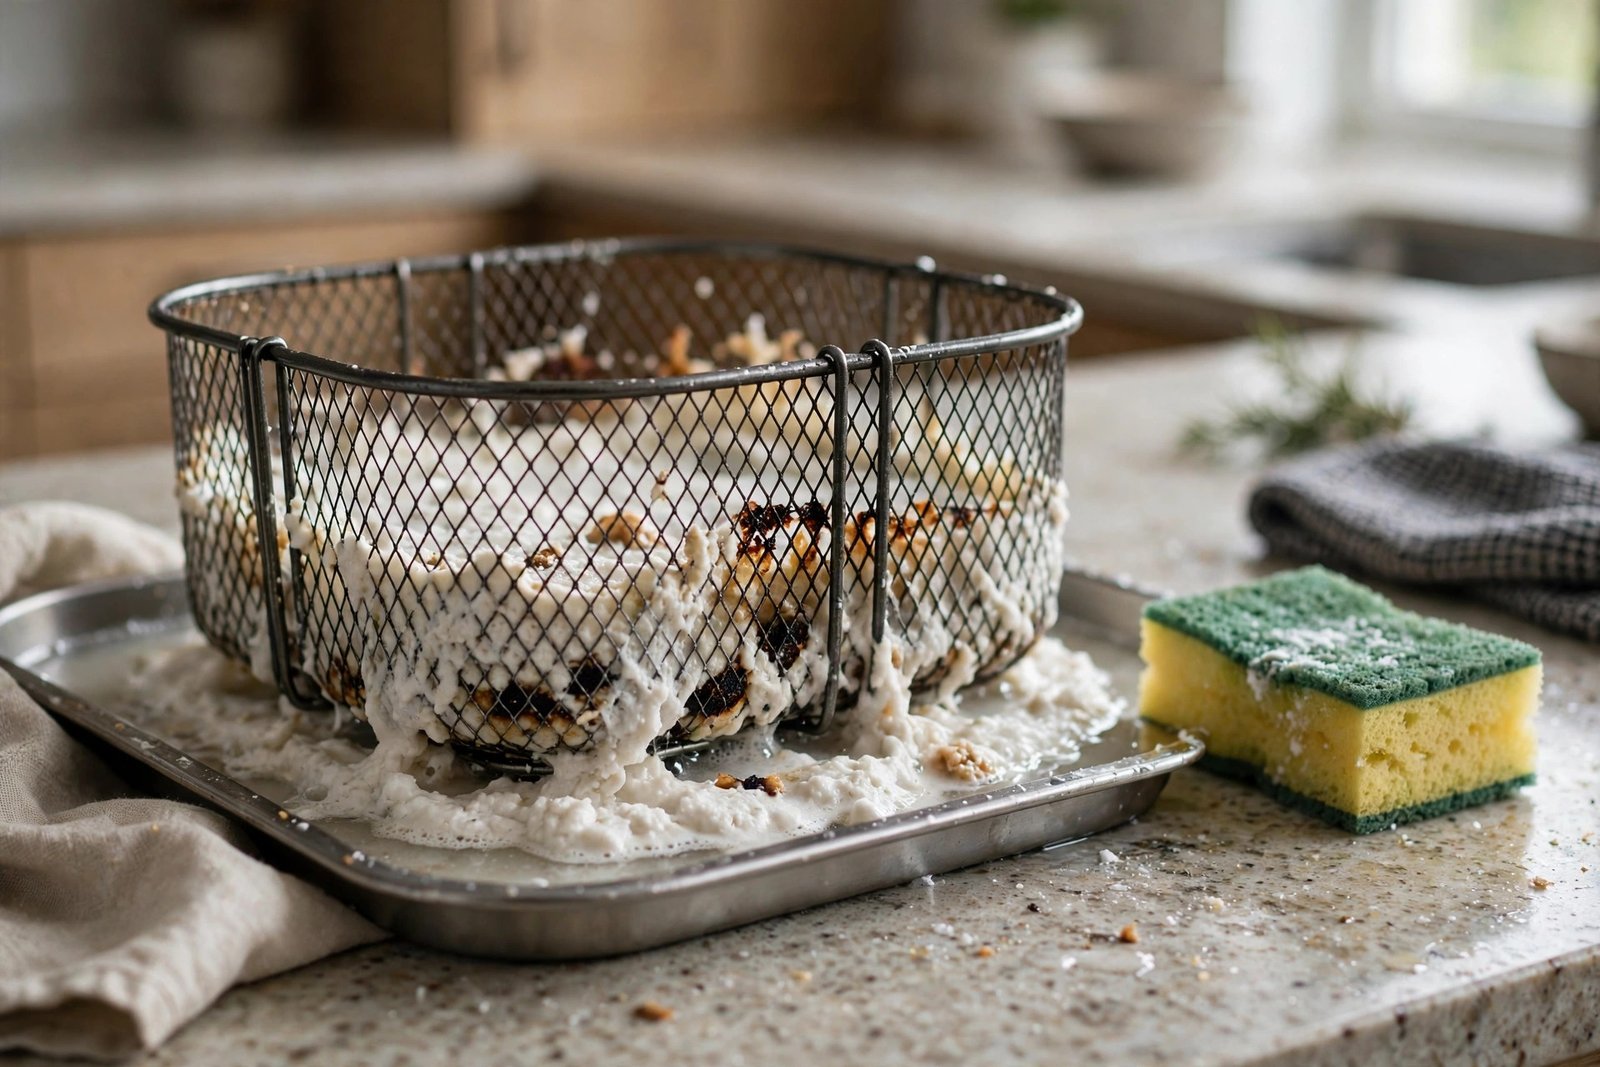
Sooner or later, everyone faces a basket with a brown, lacquered layer that laughs at dish soap. When you are learning how to clean an air fryer after a sticky cook, this usually comes from sugary marinades, cheese that melted and re-set, or several cooks in a row without a wash. Do not panic, and do not reach for a metal scraper. A warm soak and a baking soda paste will do the job with far less damage.
Start by filling the basket, or a basin holding it, with warm water and a good squirt of dish soap, and let it soak for twenty to thirty minutes. For really stubborn grease, add a couple of tablespoons of baking soda to the water. The soak softens the carbonised layer from underneath, so when you come back, much of it will wipe away with a sponge. Repeat the soak if the first round only gets halfway there; two gentle soaks beat one aggressive scrub every time.
For spots that remain, make a paste of three parts baking soda to one part water, spread it over the stain, and leave it for fifteen to twenty minutes. Then rub gently with a soft sponge or cloth in small circles. Baking soda is mildly abrasive, enough to lift residue without gouging a coating, but it still deserves a light hand. Rinse thoroughly afterwards, because dried baking soda leaves a chalky film and can dull the finish if left on.
If your basket is dishwasher-safe, the dishwasher can help with a deep clean, but check the manual first. Many manufacturers say their baskets are dishwasher-safe yet still recommend hand washing to extend the coating’s life. As a practical rule, hand wash most of the time and save the dishwasher for the occasional heavy rescue, and never put the main base unit, with its electrics, in water or in the dishwasher.
Cleaning the Heating Element and Interior
The heating element sits at the top of most basket air fryers, and it collects splatters that cook onto it over time. Knowing how to clean an air fryer heating element is simpler than people fear, provided the machine is unplugged and fully cool. Turn the fryer upside down or tilt it so you can see the element, then wipe it gently with a damp cloth or soft sponge. For cooked-on spots, a soft brush, such as an old toothbrush, can work the surface without scratching.
Do not pour water over the element or spray cleaner directly into the top of the machine. A damp cloth, wrung out well, is enough, and any baking soda paste used on the element should be wiped off completely with a clean damp cloth afterwards. If a spot will not budge, leave it rather than forcing it. A faint discolouration on an element is cosmetic and harmless, while a damaged element is a repair or replacement job.
While you are in there, wipe the interior walls and the fan area you can reach with a damp cloth. Do not poke tools into the fan or try to dismantle the top housing unless the manual tells you how. Most manufacturers design the interior to be wiped, not disassembled, and a careful wipe reaches everything that affects cooking and smell. Finish by leaving the drawer open for a few minutes so the interior air-dries before you store the machine.
What Never to Do to Your Air Fryer
A short list of never-dos will save more coatings than any cleaning product. Never submerge the base unit in water. It contains the heating element, the fan, and the electrics, and water damage there is not a cleaning problem but a safety problem. The base gets wiped, never dunked. The same rule applies to the power cord: wipe the outside if needed, but never soak it.
Never use metal utensils, steel wool, or abrasive scouring pads on the basket or tray. Even one enthusiastic scrub can leave fine scratches that become the first place food sticks next time. Stick to soft sponges, silicone tools, and wooden or plastic utensils while cooking, and your coating will last far longer. If a utensil has already scratched the surface, be extra gentle from then on and consider a parchment liner for sticky foods.
Never use oven cleaner, bleach, or undiluted harsh degreasers inside the fryer. These chemicals are formulated for enamel oven walls, not thin nonstick coatings, and residue can linger and transfer to food. Dish soap and baking soda handle household grease perfectly well. If a product label does not say it is safe for nonstick cookware, do not use it in the air fryer.
Never put a very hot basket straight into cold water. The sudden temperature change can warp metal and stress the coating, and it can crack ceramic-style coatings outright. Let parts cool to warm first, and use warm water for washing. Similarly, never reassemble and store the fryer while parts are still wet, and never block the air vents while cooking or cleaning, since airflow is how the machine regulates its own temperature.

How Often Should You Clean It?
The honest answer depends on what you cook, but a simple schedule covers most households. After every use, do the quick wash described above: basket, tray, and a wipe of the interior. It takes minutes and prevents almost all deep-clean problems. Once a month, or after a particularly greasy or sugary cook, do the deeper routine: soak, baking soda paste if needed, and a wipe of the heating element and interior walls.
If you cook daily, that monthly deep clean might become fortnightly, especially if you often cook marinated meats or cheesy dishes. If you use the fryer only at weekends, a monthly deep clean is plenty. The sign that a deep clean is due is not the calendar but the evidence: visible brown build-up, a stale smell when the fryer preheats, or smoke during a cook that used to be smoke-free. Any of those means it is time.
Between cleans, a few habits reduce the work. Lining the basket with a perforated parchment liner for sticky foods catches much of the mess, provided the liner is weighted down by food and never used during preheating empty, when it could blow into the element. Shaking the basket halfway through cooking also helps food crisp evenly and stops one side from burning onto the surface. Neither habit replaces cleaning, but both make cleaning faster.
For more detailed guidance, the KitchenAid guide to cleaning an air fryer walks through its own models step by step, and the professional cleaning tips for air fryers from Pro Housekeepers are a useful second opinion on stubborn grease. If you are new to the appliance altogether, the air fryer basics from South Dakota State University Extension explain how the machine works, which makes the cleaning logic easier to follow.
It is also worth remembering that the same gentle-cleaning logic applies across the kitchen. The approach here pairs well with our guide to how to clean a microwave without harsh chemicals, and if you cook with heavy pans as well, our comparison of cast iron versus stainless steel pans explains which surfaces tolerate scrubbing and which do not. For another appliance that suffers from scale and residue, see how to clean a coffee maker properly.
Frequently Asked Questions
Can I put my air fryer basket in the dishwasher?
Many baskets are labelled dishwasher-safe, but hand washing usually extends the coating’s life. Check your manual first, hand wash most of the time, and save the dishwasher for occasional heavy soiling.
How do I get rid of a smell in my air fryer?
Wash the basket and tray thoroughly, wipe the interior, and leave the drawer open to air out. A rinse with a little white vinegar in water can help with lingering odour, followed by a plain-water rinse and a full dry.
Is baking soda safe for a nonstick air fryer basket?
Yes, when used as a paste and rubbed gently with a soft sponge. It is mildly abrasive, so use a light hand, leave it for fifteen to twenty minutes rather than scrubbing hard, and rinse it off completely.
How often should I deep clean my air fryer?
For most households, once a month is enough, plus a quick wash after every use. Cook greasy or sugary food often, and a fortnightly deep clean may suit you better. Visible build-up, stale smells, or smoke are signs it is due.
Can I use vinegar to clean an air fryer?
A diluted vinegar rinse can cut grease and odour, but do not let undiluted vinegar sit on the coating for long. Rinse well with plain water afterwards and dry the parts fully before storing.
Why is my air fryer smoking?
Smoking usually means old grease or crumbs are burning. Clean the basket, tray, and interior, check for trapped crumbs under the tray, and make sure fatty foods are not overfilled. If smoking continues after a thorough clean, check the manual or contact the manufacturer.
Conclusion
Knowing how to clean an air fryer well is less about effort and more about timing. Wash it while the residue is fresh, soak it when the residue is stubborn, and never attack it with tools or chemicals that damage the coating you are trying to protect. Ten minutes after dinner, a monthly deeper pass, and a gentle wipe of the heating element will keep the machine cooking crisply, smelling fresh, and lasting far longer than a neglected one.
Your future self, and your future fries, will be grateful.