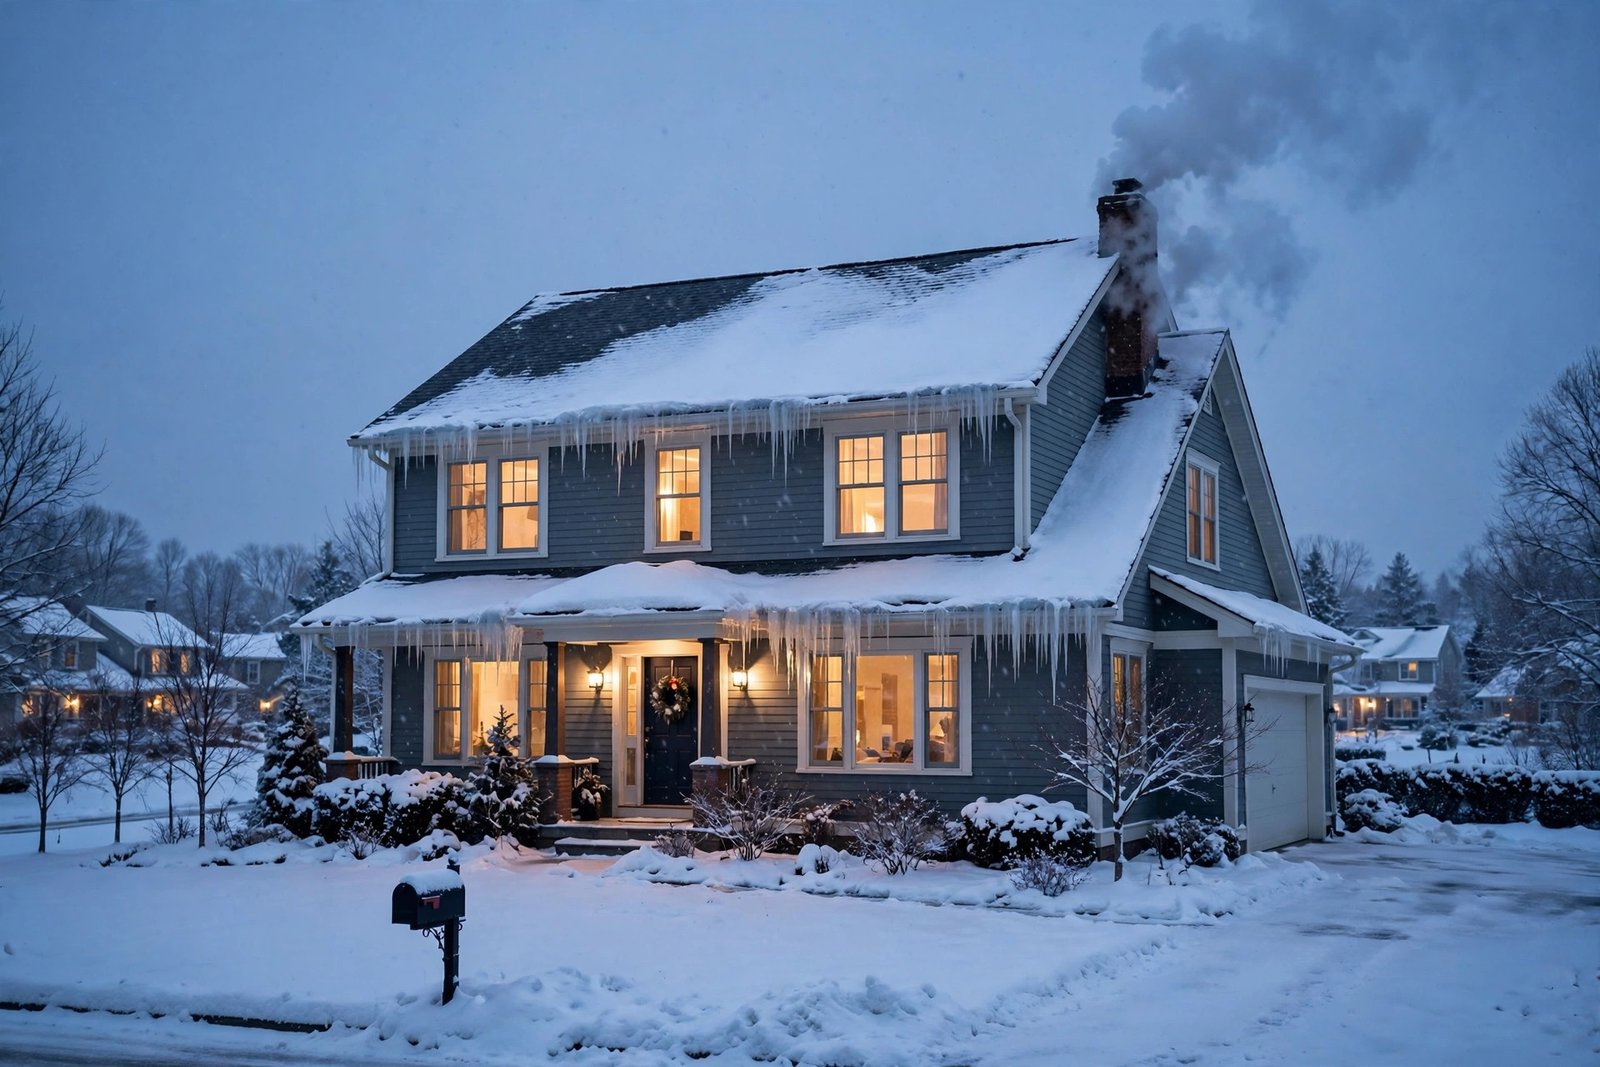

How to Winterize Your Home: A Complete 2026 Checklist
The first hard freeze of the year always arrives like a surprise guest, no matter how long the forecast warned you. One October night it’s fifty degrees; the next morning your pipes are groaning, the furnace is straining, and there’s a draft in the living room that wasn’t there in September. Knowing how to winterize your home before that moment hits is the difference between a cozy, efficient house and three months of high heating bills and emergency repairs.
Winterizing isn’t about one big project. It’s a sequence of small, mostly cheap jobs — sealing gaps, insulating pipes, servicing the furnace — that add up to a warmer house and lower energy use. Below is the full checklist, in priority order, so you can work through it over a couple of October weekends.
Why Winterizing Your Home Actually Pays Off
Most homeowners winterize for comfort, but the savings are real and measurable. ENERGY STAR estimates that homeowners can save an average of 15% on heating and cooling costs — or an average of 11% on total energy costs — by air sealing their homes and adding insulation in attics, floors over crawl spaces, and basements. And the starting point is worse than most people think: ENERGY STAR reports that 9 out of 10 homes in the U.S. are under-insulated.
There’s also the avoidance math. A burst pipe can flood a basement in minutes; a cracked chimney liner can turn a cozy fire into a hazard. Winter prep is one of the cheapest insurance policies a homeowner can buy. It’s also part of the real costs of owning a home that too many buyers overlook.
Step 1: Give Your Heating System a Pre-Season Tune-Up
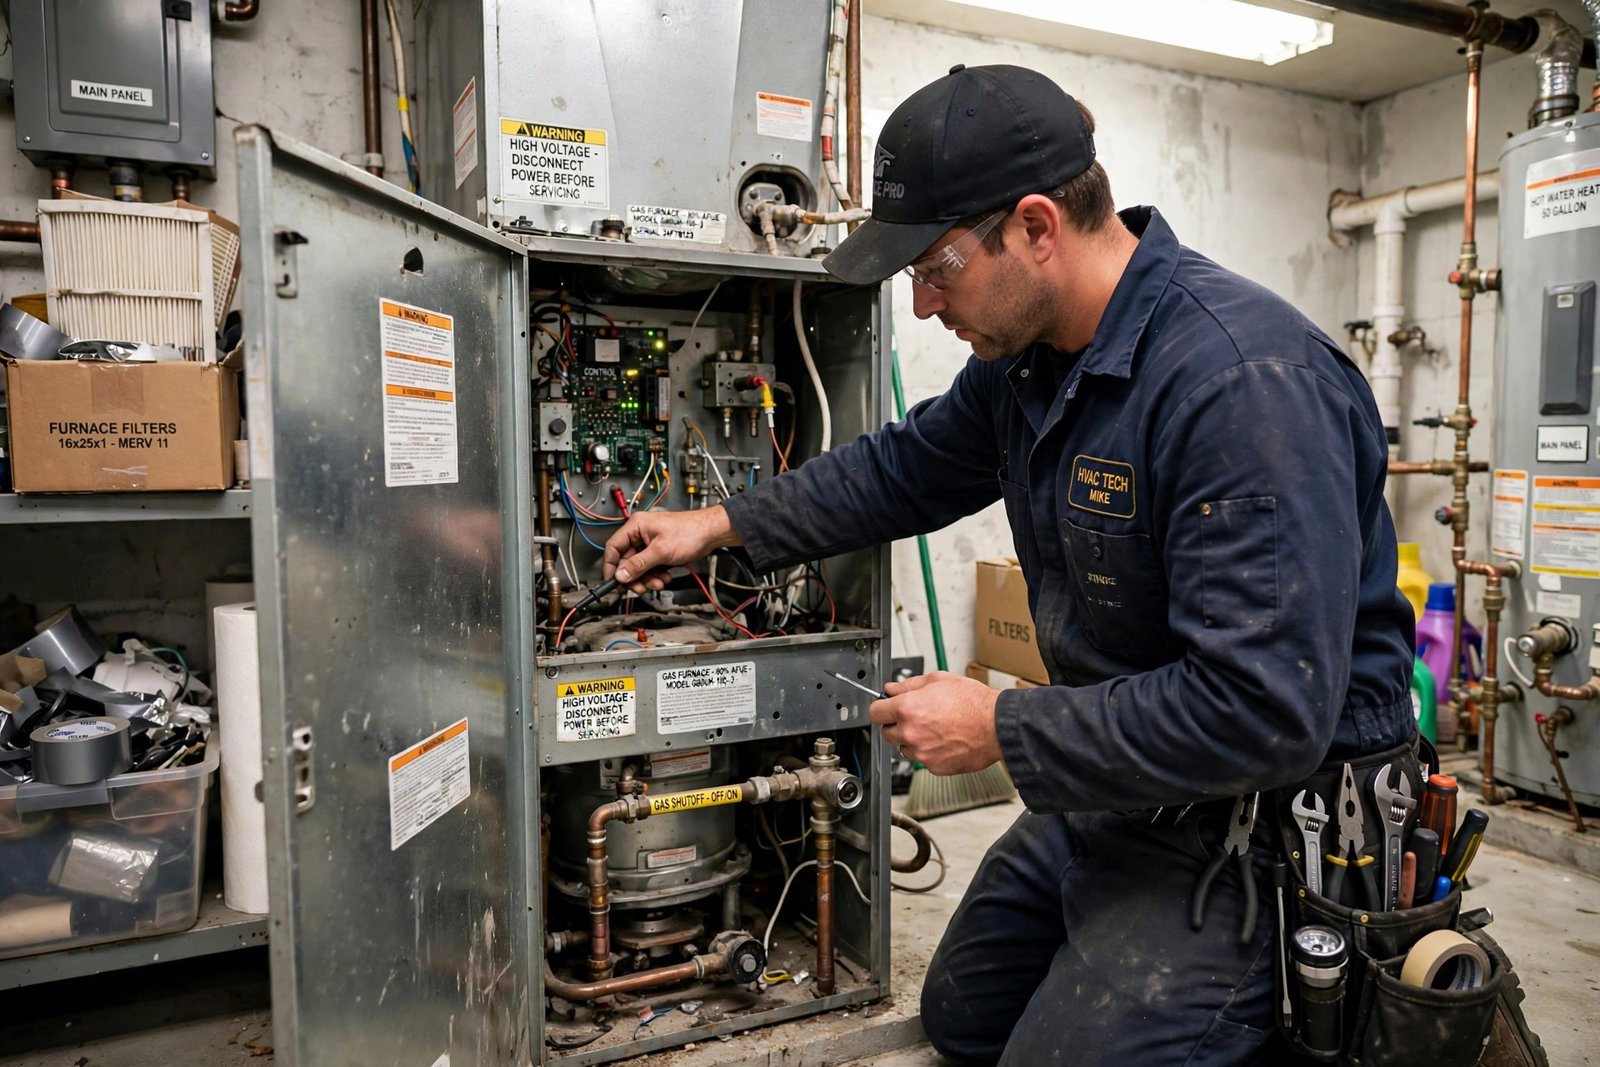
Your furnace or heat pump is about to become the hardest-working appliance in the house. Book a professional inspection now, before the first cold snap clogs every HVAC company’s schedule: a tech will clean the burners, check the heat exchanger for cracks (a cracked one can leak carbon monoxide), and make sure the blower is moving air the way it should.
Then handle the simplest job yourself: the filter. The Department of Energy recommends checking your furnace filter every month and replacing it at least once every three months during heating season. A clogged filter restricts airflow, forces the blower to work harder, and shortens the life of the equipment — all while the house stays colder than the thermostat says it should be.
If your thermostat is a basic manual dial, consider upgrading to a programmable or smart model. Being able to drop the temperature automatically overnight and while you’re at work — and bring it back up before you return — is one of the easiest wins in the Department of Energy’s fall and winter energy-saving tips.
Step 2: Seal the Air Leaks That Bleed Warmth
Air leaks are the silent budget-killers of winter. ENERGY STAR notes that if you added up all the leaks, holes, and gaps in a typical home’s envelope, it would be the equivalent of having a window open every day of the year. Walk the house on a windy day and you’ll feel them: around windows, doors, outlets on exterior walls, recessed lights, and where plumbing and wiring pass through walls and ceilings.
The fixes are the cheapest materials in any hardware store:
- Weatherstripping: Replace cracked or compressed strips around doors and operable windows. Foam tape, V-strip, and door sweeps each take minutes to install.
- Caulk: Seal stationary cracks around window and door frames, siding joints, and anywhere pipes or cables enter the house. Use exterior-rated caulk outdoors.
- Outlet gaskets: Those little foam gaskets that fit behind switch and outlet plates on exterior walls stop a surprising amount of cold air.
- Attic access: Pull-down attic stairs and hatch doors are notorious leaks. Glue rigid foam to the back of the panel and add weatherstripping around the frame.
One caution from the energy experts: seal, but don’t suffocate. Combustion appliances and gas water heaters still need adequate ventilation. If you have fuel-burning equipment, make sure it has its own combustion-air supply before you go aggressive on sealing.
Step 3: Check the Attic Insulation
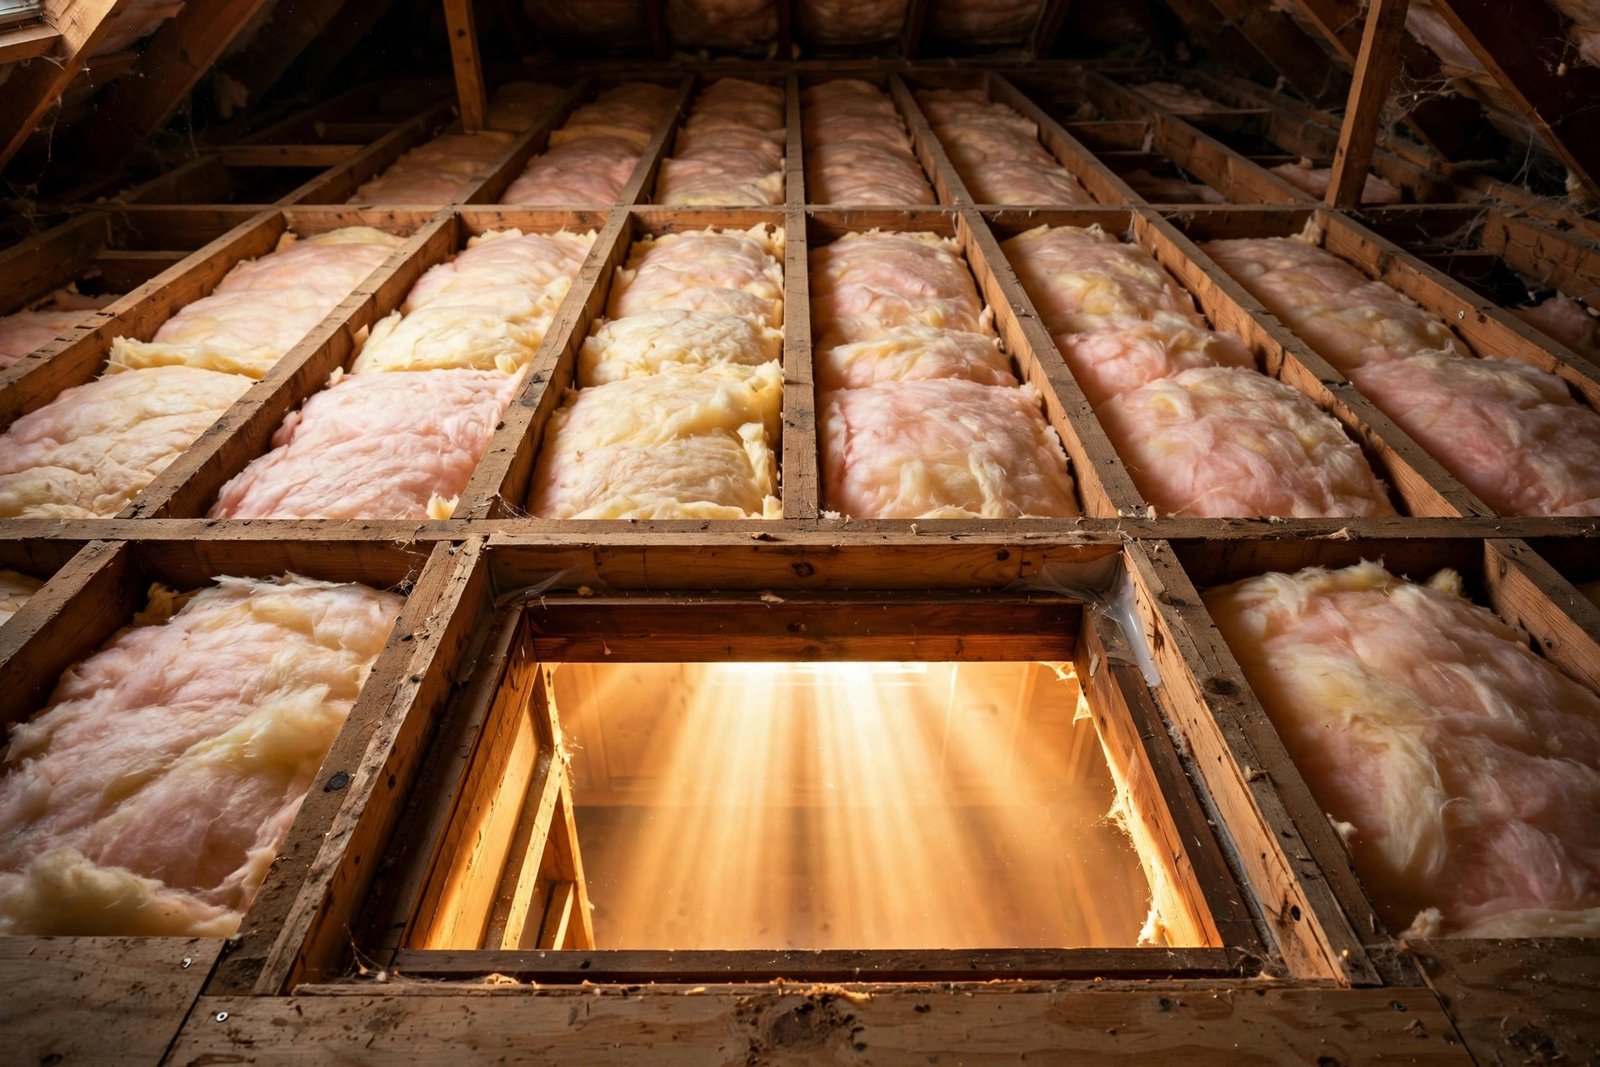
Heat rises, and the attic is where most homes lose it first. ENERGY STAR’s “assess the level of opportunity” guidance is blunt about this: the attic usually has the most potential for energy savings of any project in the house, and it’s typically the most accessible. Start there.
Before you add insulation, air seal the attic floor — every pipe, wire, and recessed-light penetration is a chimney for warm air. The U.S. Department of Energy’s building-science guidance specifically recommends air sealing the attic floor penetrations with caulk or spray foam before adding insulation, because air leakage through the attic is a major source of energy loss and moisture problems.
Then check the depth. In most climate zones, the DOE recommends attic insulation around the R-38 range (roughly 10–14 inches of blown cellulose or fiberglass, depending on the product). If you can see the tops of the ceiling joists, you’re under-insulated and adding more will almost certainly pay for itself. Given that ENERGY STAR estimates air sealing and insulation can save an average of 15% on heating and cooling costs, this is the single highest-impact item on the list.
Step 4: Weatherize Windows and Doors
Even if you plan to replace old windows someday, this winter’s drafts need a this-winter fix. Start by checking the locks — windows that don’t latch tightly leave a gap no caulk can fix. Then:
- Window film: Clear plastic film shrunk tight with a hair dryer over the inside of single-pane or leaky windows is one of the most effective cheap fixes there is. The Department of Energy lists it among its go-to winter moves in its energy-saving hacks to weather the winter.
- Heavy curtains: Tight-fitting, insulating drapes or shades cut the chill you feel near cold glass. Open them on south-facing windows during sunny days to let solar heat in, and close them at night.
- Door draft stoppers: For doors with a gap at the bottom, a door sweep or even a draft snake makes an immediate difference.
If condensation is fogging up between double-pane glass, the seal has failed — the window is functioning as single-pane. That’s worth noting for a future replacement budget, but film will still help this season.
Step 5: Protect Your Pipes from Freezing
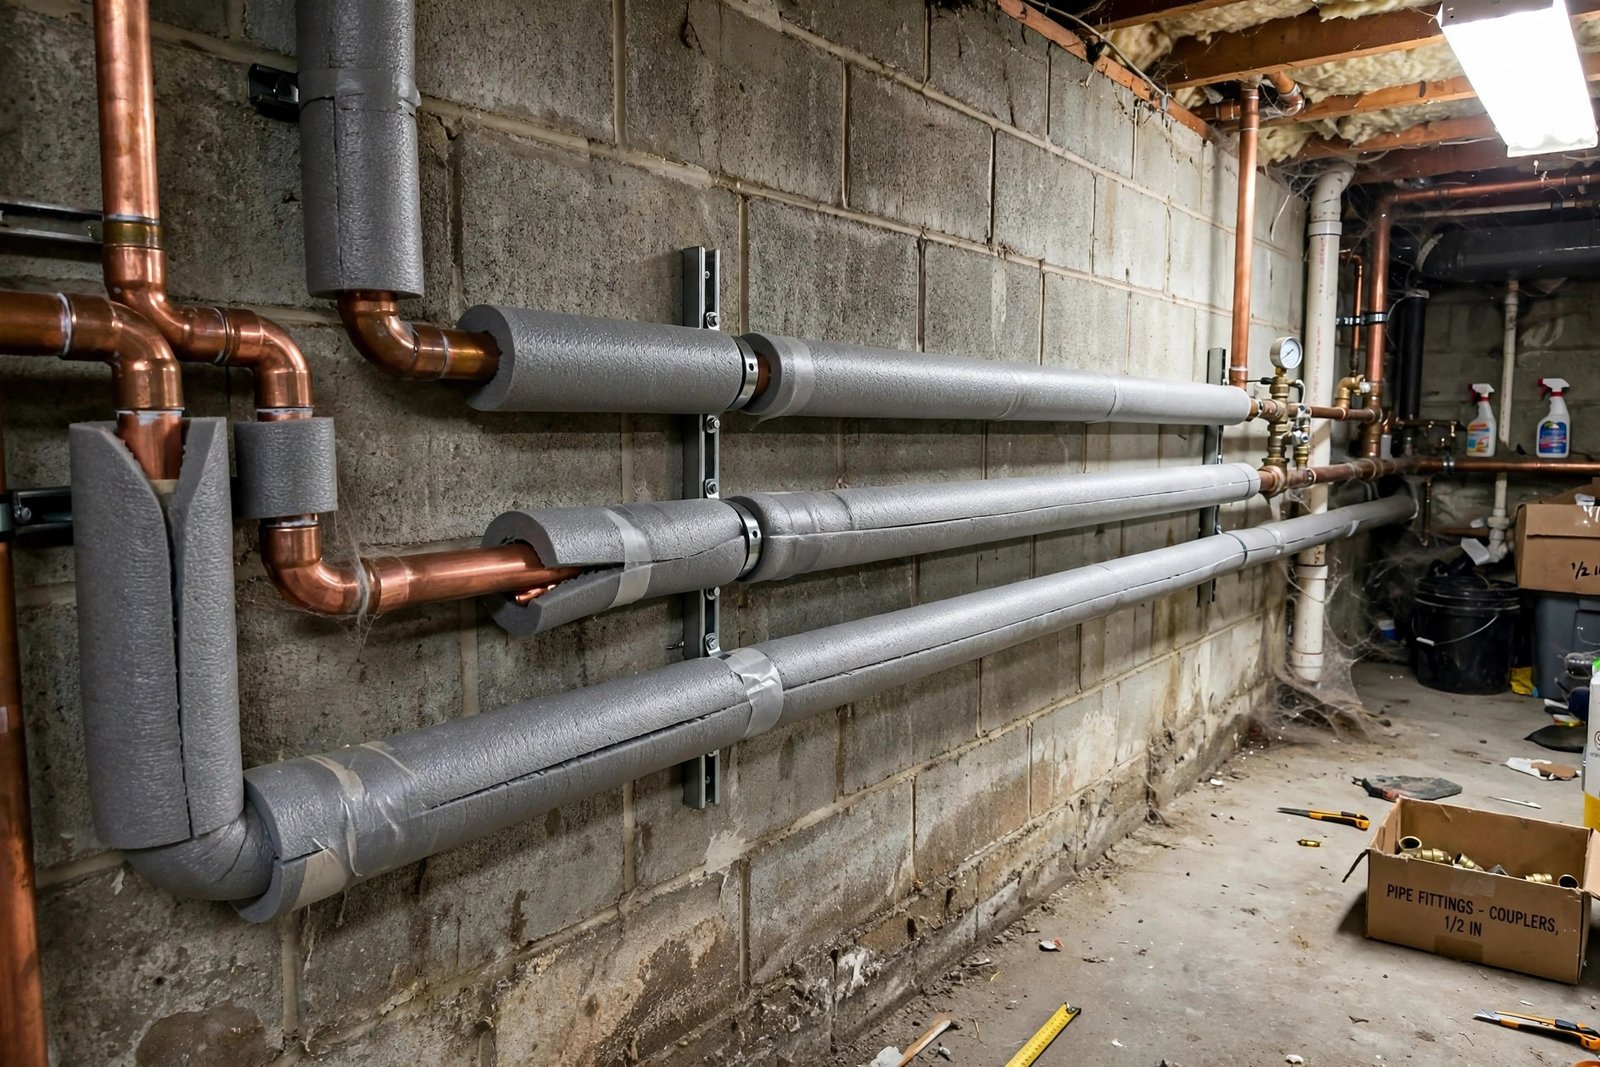
Frozen pipes are the most expensive winter disaster that is also the most preventable. Pipes in unheated spaces — crawl spaces, attics, garages, and along exterior walls — are the vulnerable ones. Slip foam pipe insulation sleeves over any exposed runs; they cost little and take an afternoon. For pipes inside exterior-wall kitchen or bathroom cabinets, the warm room air can’t reach them once the cabinet doors close.
The American Red Cross recommends a short list of habits when temperatures plunge: let the cold water drip from the faucet served by exposed pipes (running water, even at a trickle, helps prevent frozen pipes), open cabinet doors so warmer air circulates around the plumbing, and keep garage doors closed when water lines run through the garage. Traveling? Don’t turn the heat off — the Red Cross advises leaving the thermostat set no lower than 55°F so pipes can’t freeze while you’re away.
Two more basics: know where your main water shutoff valve is before you need it in a panic, and drain any garden hoses and shut off exterior spigots from the inside valve (see Step 8).
Step 6: Get the Chimney and Fireplace Ready
A fireplace that’s sat idle since spring needs attention before the first fire. Creosote — the tar-like residue from burning wood — builds up in the flue and is the leading cause of chimney fires. The National Fire Protection Association advises having chimneys cleaned and inspected every year by a qualified professional, ideally before heating season.
Between professional sweeps, follow the NFPA basics: keep anything that can burn at least three feet from all heating equipment, use a sturdy metal screen in front of open fireplaces, burn only dry seasoned wood (damp wood deposits far more creosote), and put fully cooled ashes in a metal container kept outside, well away from the house. And if you never use the fireplace at all, close the damper — an open flue pulls warm air straight out of the house.
Step 7: Inspect the Roof and Clear the Gutters
Walk the perimeter and look up: missing or curled shingles, damaged flashing around the chimney and vents, and sagging gutters all get worse under snow and ice. Clean the gutters thoroughly — clogged gutters overflow, and overflow refreezes at the eaves into ice dams, the ridges of ice that force meltwater back under the shingles and into your ceilings. Trim back any tree limbs hanging over the roof; a winter storm will do the trimming for you, less gracefully.
If the roof is genuinely near the end of its life, winter is a terrible time to discover that. Read our breakdown of roof replacement costs to budget the project honestly — but at minimum get flashing and shingles patched before the first snow.
Step 8: Shut Down Outdoor Plumbing and Equipment
Work from the outside in. Disconnect and drain garden hoses — a hose left connected can trap water in the spigot, which freezes, expands, and cracks the pipe inside the wall. Shut off the interior valve feeding each exterior faucet, then open the outside spigot to drain the line. If you have irrigation, blow it out with compressed air; trapped water shatters sprinkler lines and heads.
Then: store the patio furniture and grill (or at least cover them), drain the gas from the lawnmower or add stabilizer, and put snow equipment where you can actually reach it — shovels, ice melt, and a snow blower with fresh fuel. Check the batteries in the snow blower now, not during the first storm.
Step 9: Test Smoke and Carbon Monoxide Alarms
Heating season is carbon monoxide season. Furnaces, boilers, fireplaces, and space heaters all produce CO when something goes wrong, and a tightly sealed house keeps it inside with you. Test every smoke and CO alarm in the house — press the test button — and replace any battery-powered unit older than ten years. Alarms belong on every level of the home, especially outside sleeping areas.
If a CO alarm sounds, get everyone out and call emergency services before you try to diagnose anything. No alarm in the house? Install them before you seal a single draft.
Where to Start: Winterization Tasks Ranked
Not everything matters equally. Use this table to triage the list by impact and effort:
| Task | Typical Cost | DIY or Pro | Impact |
|---|---|---|---|
| Replace HVAC filter | Low | DIY | Protects furnace, restores airflow |
| Seal air leaks (caulk, weatherstrip) | Low | DIY | High — cuts drafts and energy waste |
| Insulate pipes | Low | DIY | Prevents freeze/burst damage |
| Attic insulation top-up | Moderate | DIY or pro | Highest heating-bill impact |
| Window film and drapes | Low | DIY | Moderate — comfort boost |
| Furnace inspection | Moderate | Pro | Safety + efficiency |
| Chimney sweep and inspection | Moderate | Pro | Fire safety |
| Roof and gutter repair | Varies widely by region | Pro recommended | Prevents ice dams, leaks |
| Smart thermostat | Moderate | DIY | Automates energy savings |
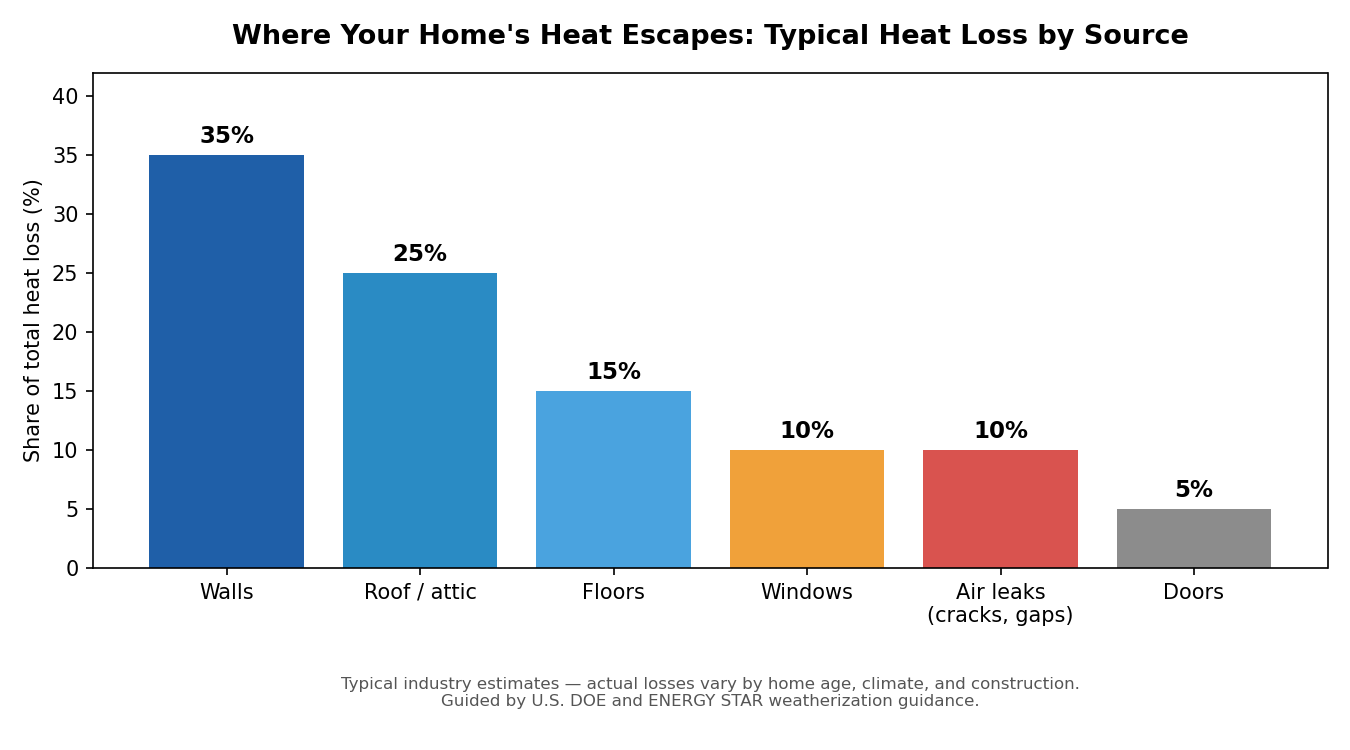
Where Your Home’s Heat Actually Escapes
It helps to know what you’re fighting. Walls, the roof, windows, floors, and all those small air leaks each take a share of your heating budget — which is why no single fix solves a cold house by itself.
Winterizing Mistakes to Avoid
- Waiting until December. By the first freeze, HVAC and chimney pros are booked solid. October and early November are the sweet spot.
- Sealing without ventilating. Tightening the envelope is great, but fuel-burning appliances need combustion air, and bathrooms and kitchens need exhaust. Seal the leaks; don’t block the vents.
- Skipping the attic because it’s uncomfortable. It’s the highest-impact insulation project in most homes. An hour up there beats a winter of high bills.
- Closing vents in unused rooms. It rarely saves energy with modern systems and can strain the blower and ductwork.
- Forgetting the detectors. Every heating-season CO incident involves equipment people thought was fine. Test the alarms.
Frequently Asked Questions
When should I start winterizing my home?
Aim for October or early November — before the first hard freeze in your region. That gives you time to book a furnace inspection and chimney sweep while contractors still have open schedules, and to buy supplies before the hardware store runs dry.
How much does it cost to winterize a house?
Costs vary widely by region and home size, but the DIY basics — caulk, weatherstripping, pipe insulation, window film, a new furnace filter — are inexpensive materials available at any hardware store. Professional work like a furnace tune-up or chimney sweep adds to the bill but prevents far costlier repairs.
What temperature should I set the thermostat in winter?
The Department of Energy’s guidance is to set the thermostat as low as is comfortable while you’re home and awake, and to lower it automatically when you’re asleep or away. A programmable or smart thermostat handles this without you thinking about it. If you’re traveling during cold weather, the Red Cross advises not dropping below 55°F so pipes can’t freeze.
How do I keep pipes from freezing during a cold snap?
Insulate exposed pipes in unheated spaces, let faucets served by exposed pipes drip at a trickle, open cabinet doors so warm air reaches the plumbing, and keep the thermostat at a steady temperature day and night. These are the American Red Cross’s core recommendations for preventing frozen pipes.
Is it worth adding insulation if my house is old?
Almost certainly yes. ENERGY STAR reports that 9 out of 10 U.S. homes are under-insulated, and its guidance identifies the attic as the project with the most savings potential in most homes. Air sealing plus insulation is one of the most cost-effective upgrades an older home can get.
Can I winterize my home in a single weekend?
The DIY items — filters, weatherstripping, caulk, pipe insulation, window film, detector tests, hose disconnection — absolutely. Book the professional jobs (furnace inspection, chimney sweep) for the following week. Knock out the DIY list on Saturday and you’ll have handled the bulk of the energy savings in one day.
The Bottom Line
Knowing how to winterize your home is really about respecting the season’s physics: warm air rises, water expands when it freezes, and every gap in the envelope costs you. Work the checklist in order — heating system, air leaks, attic, windows, pipes, chimney, roof, outdoors, detectors — and you’ll spend winter warm instead of reactive. Do it this October, and February-you will be grateful.